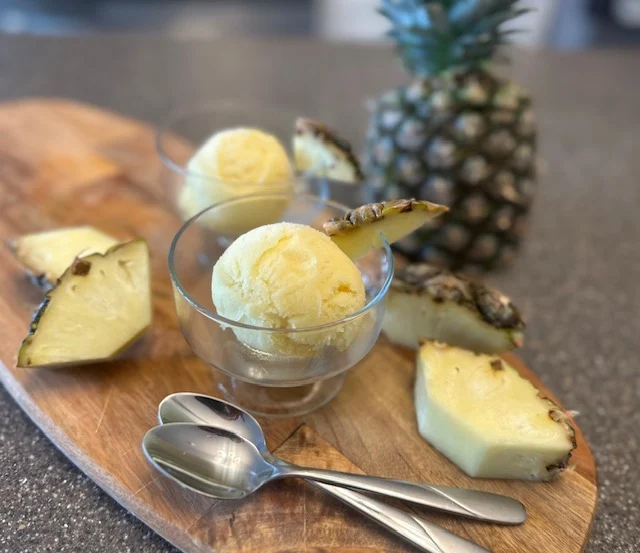
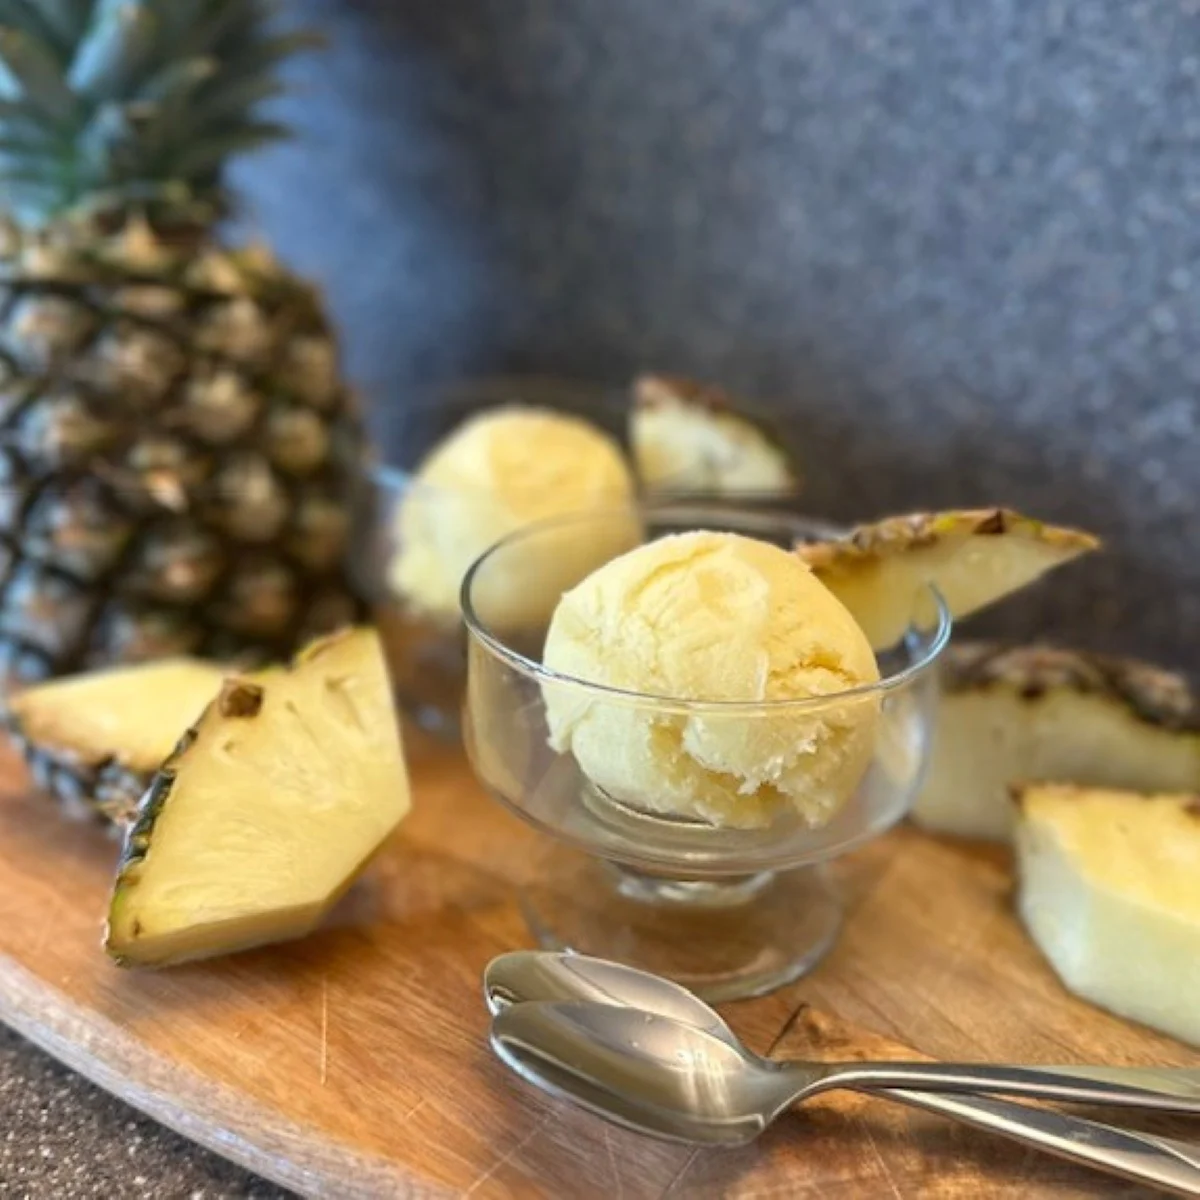
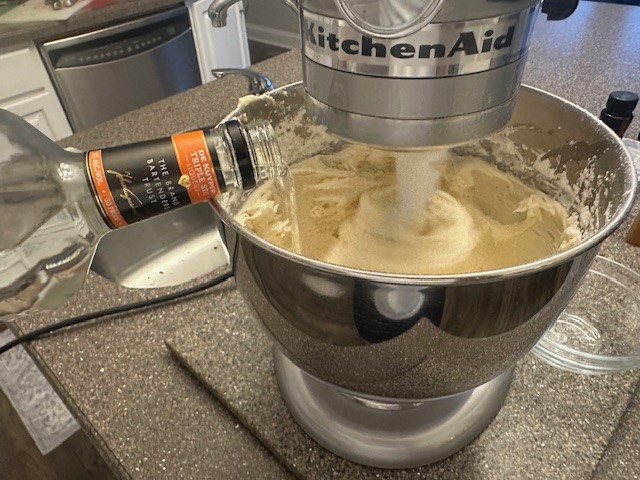
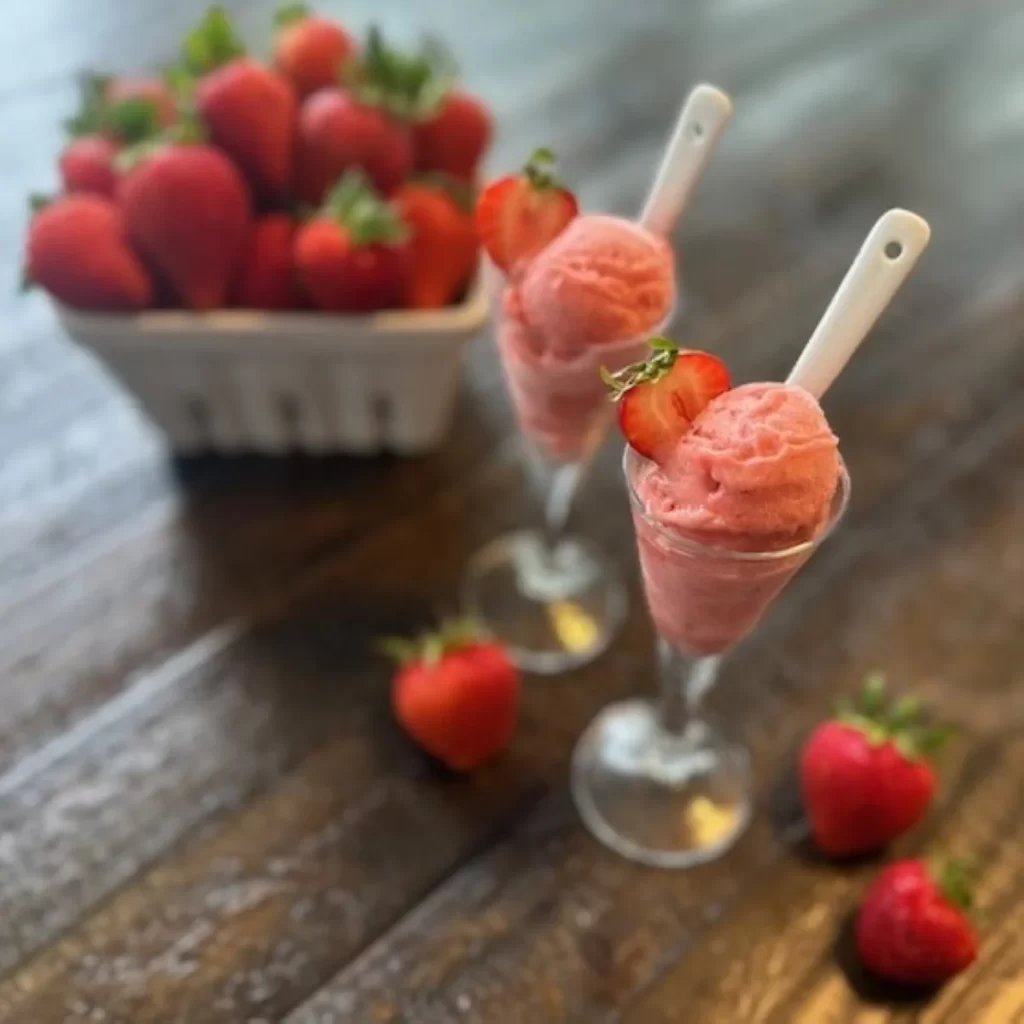
This creamy, strawberry lemonade sorbet screams summer! This has been a favorite when I've taught my ice cream, sorbet and gelato class, refreshing and sweet, accented by a light tartness from fresh lemon juice. While sorbet can easily be made by blending fresh, pureed fruit and simple syrup, I've learned that the addition of just a little xanthan gum in the mix plays a unique role of ensuring a perfect, scoopable texture. While you can always just allow your strawberries to macerate, releasing their natural juices when mixed with sugar and a pinch of salt), roasting the berries yields a more robust flavor, especially when they're super ripe. This recipe is made in two parts, a sorbet base and a puree, so if you're able, give yourself several hours ahead of time to prepare both components (or even the day before, if you can), to ensure the ingredients are very cold before adding them to your ice cream maker.
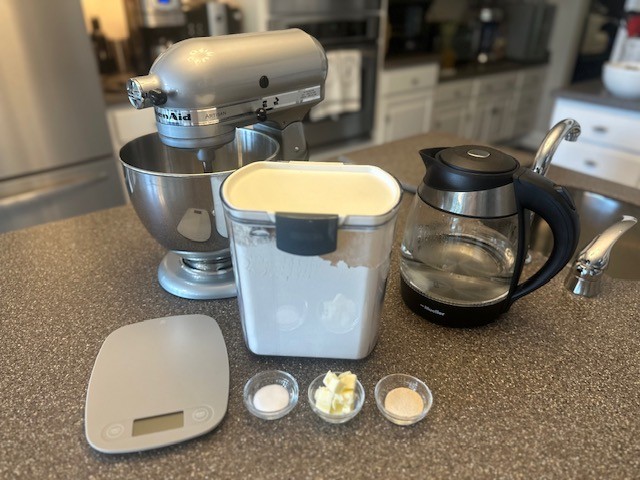
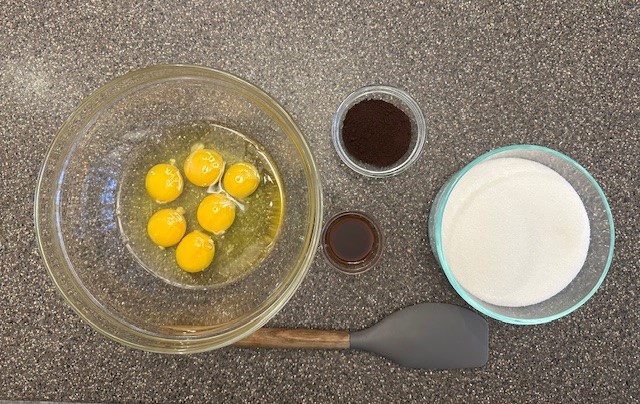
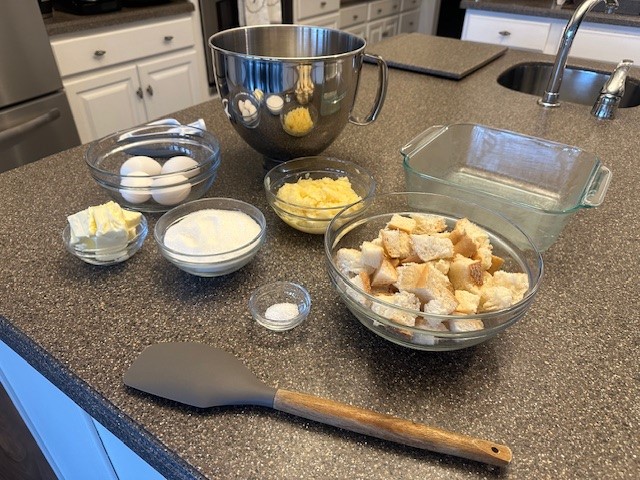
INGREDIENTS:
Sorbet Base
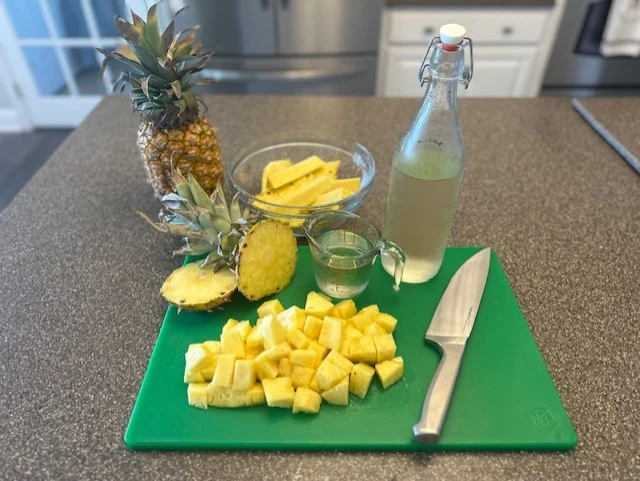
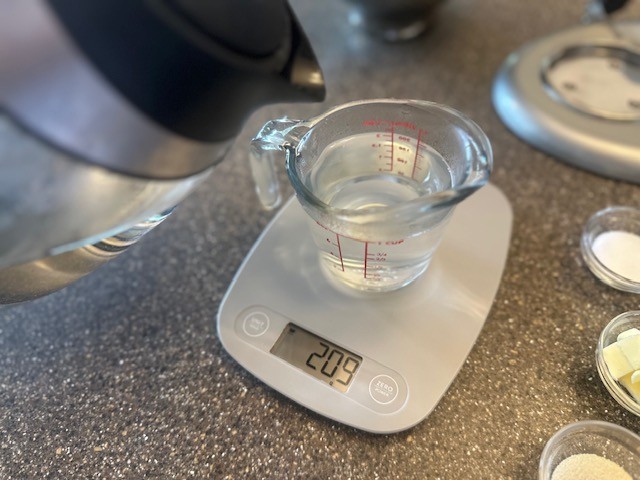
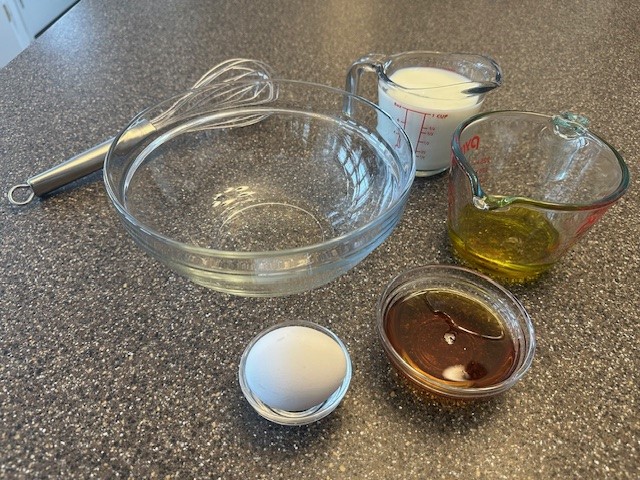
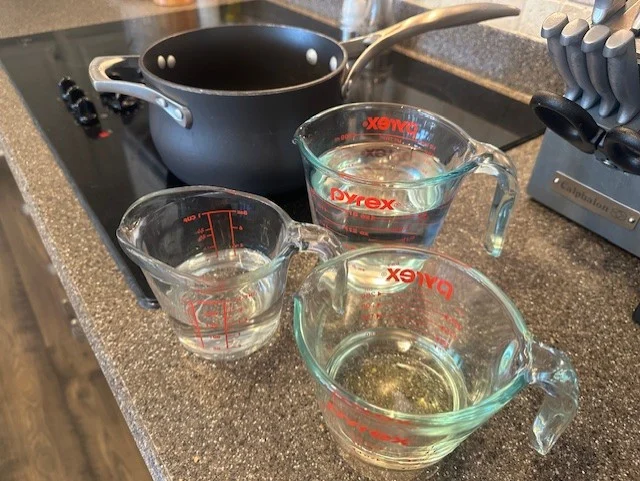
- 1-¼ C. Water
- 1 C. Granulated Sugar
- ¼ C. Light Corn Syrup
- ½ tsp. Xanthan Gum
Strawberry Lemonade Puree
- 1-½ Pints Fresh Strawberries, hulled and quartered
- ½ C. Granulated Sugar
- 2 Each Lemons, Freshly Squeezed
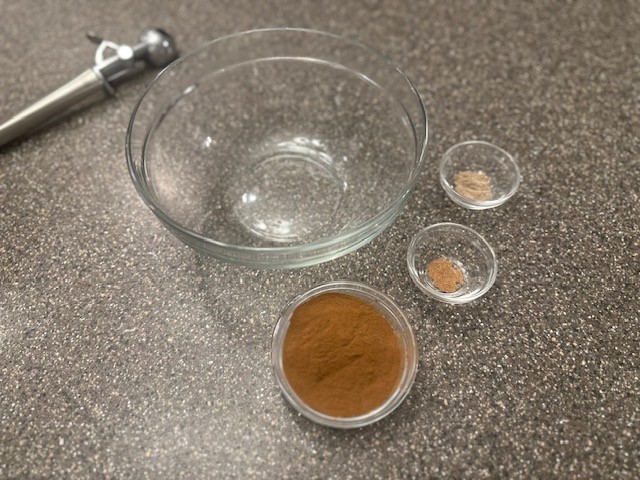
- ¼ tsp. Kosher Salt
INSTRUCTIONS:
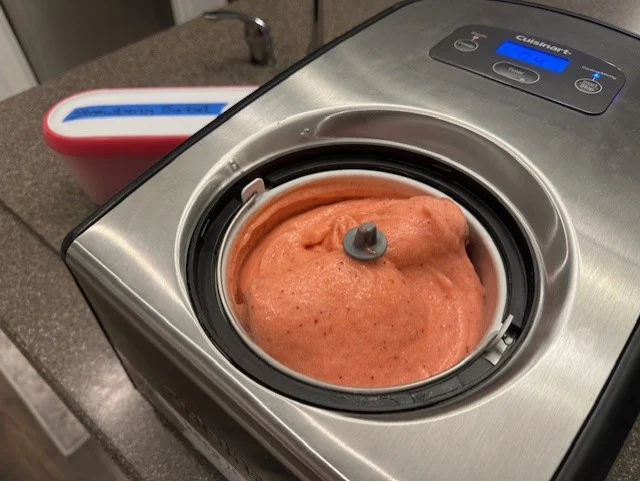
Before getting started, follow the instructions for your ice cream maker and be sure to freeze the core, if required. My favorite ice cream maker is this one from Cuisinart, which has an automatic, commercial-grade compressor so it’s ready to use anytime, batch after batch, no pre-freezing necessary.
Prepare the Sorbet Base
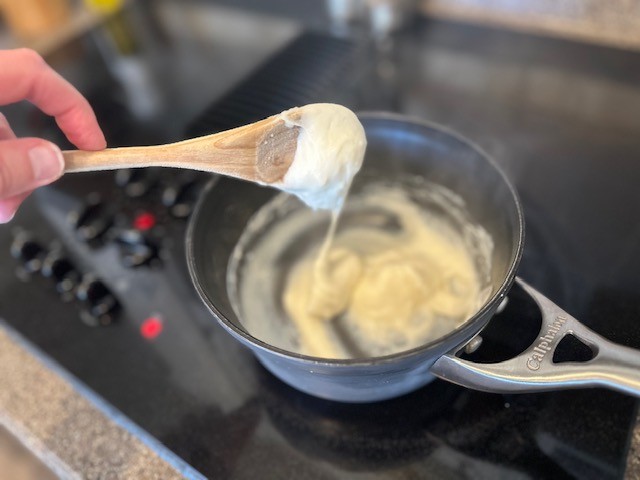
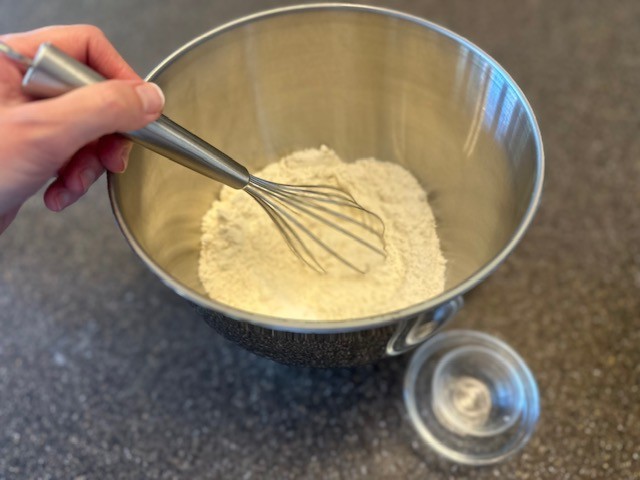
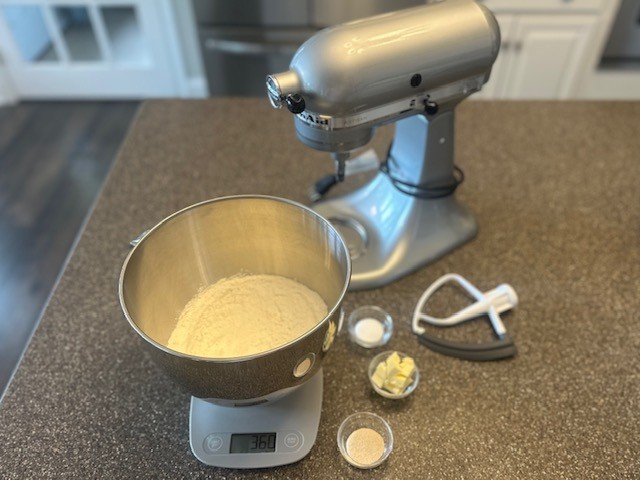
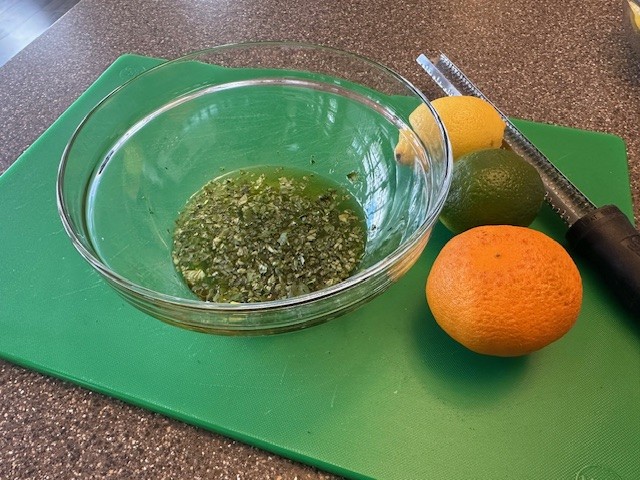
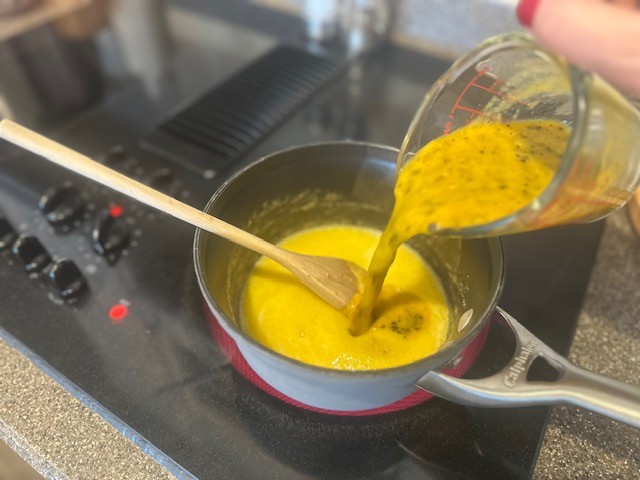
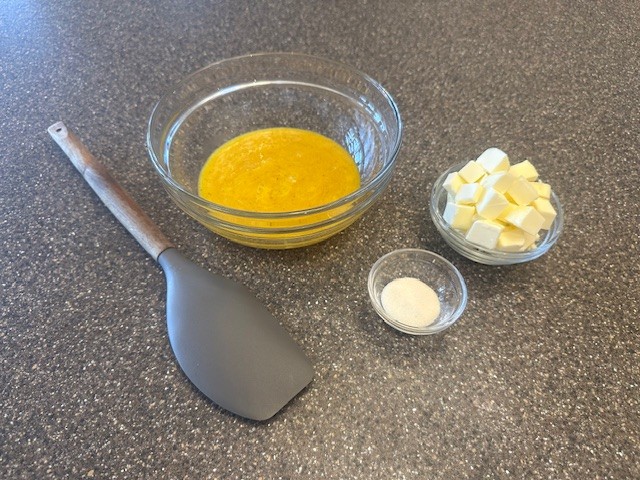
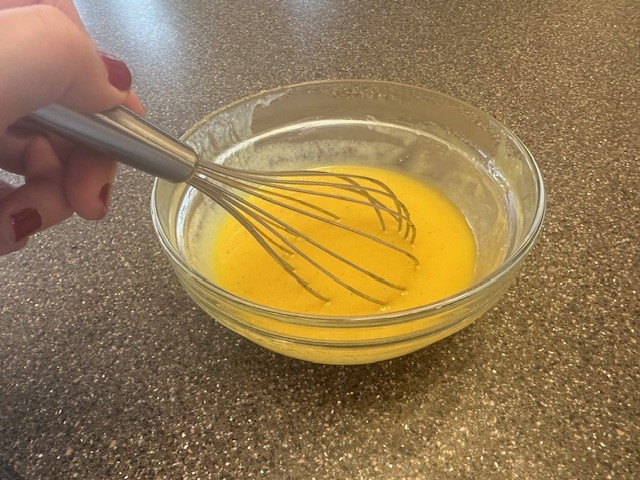
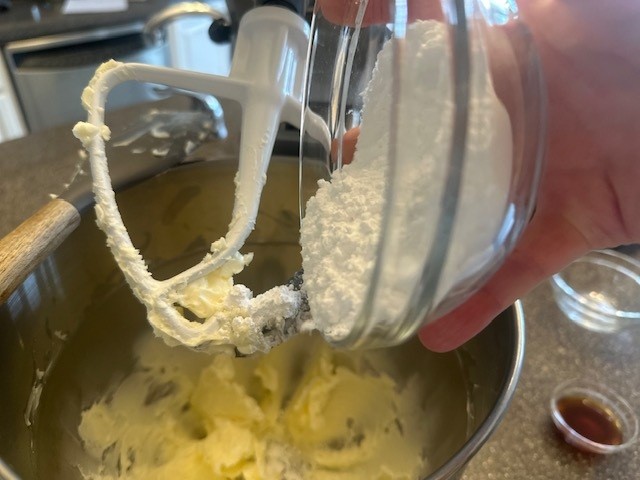
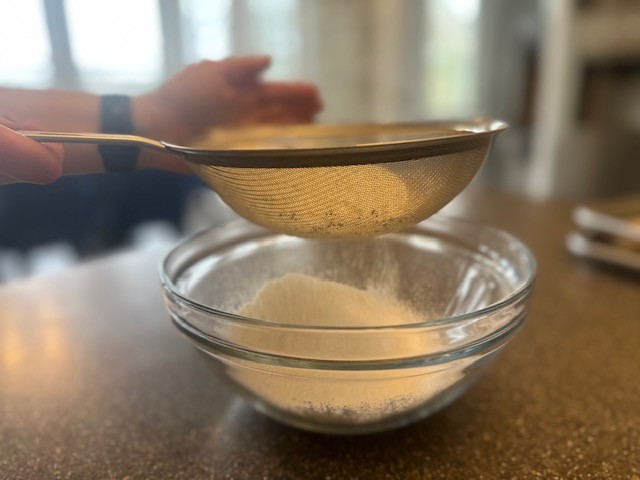
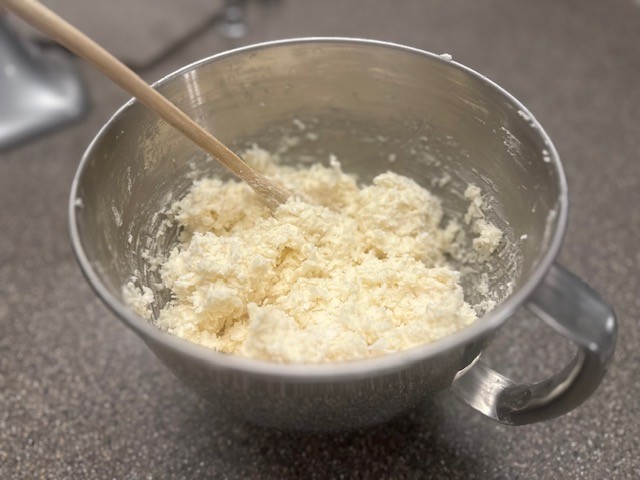
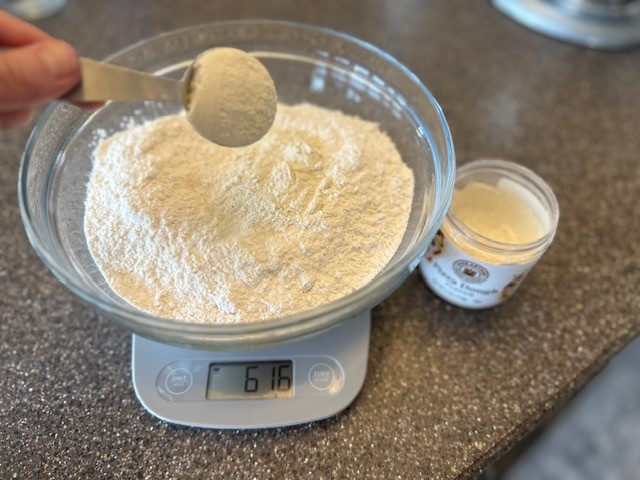
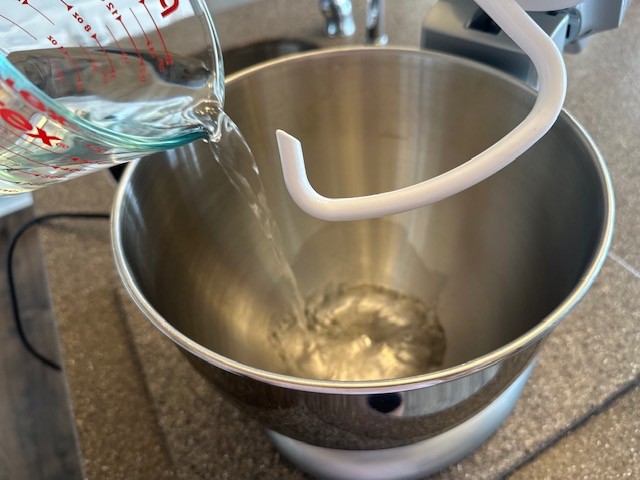
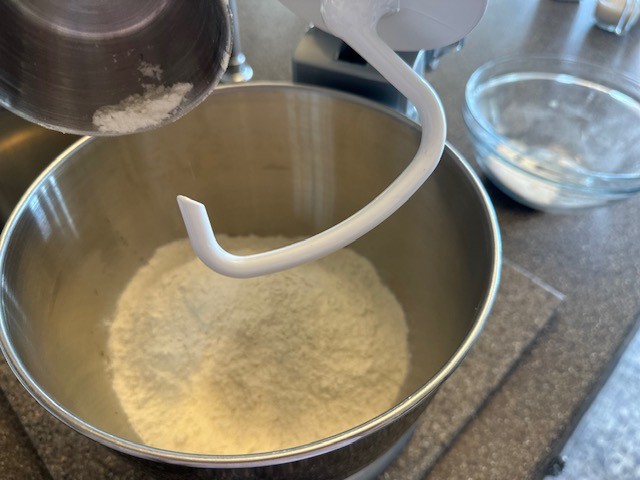
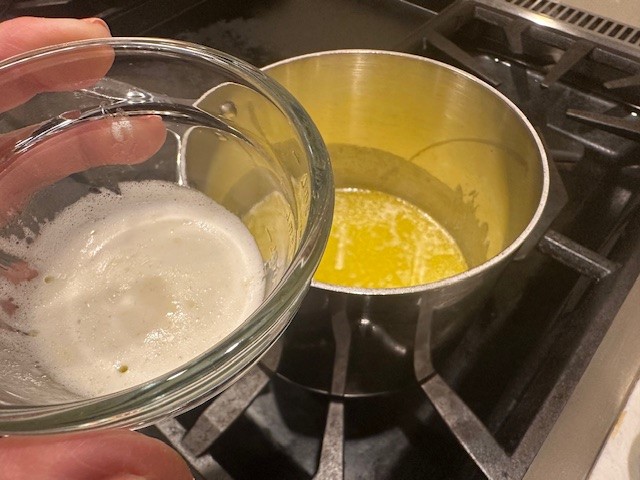
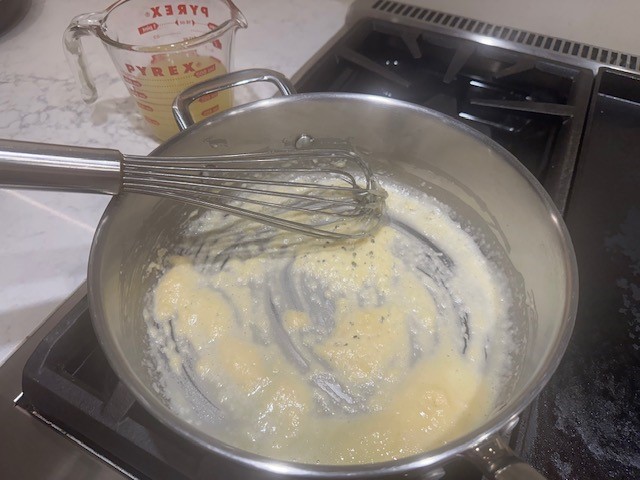
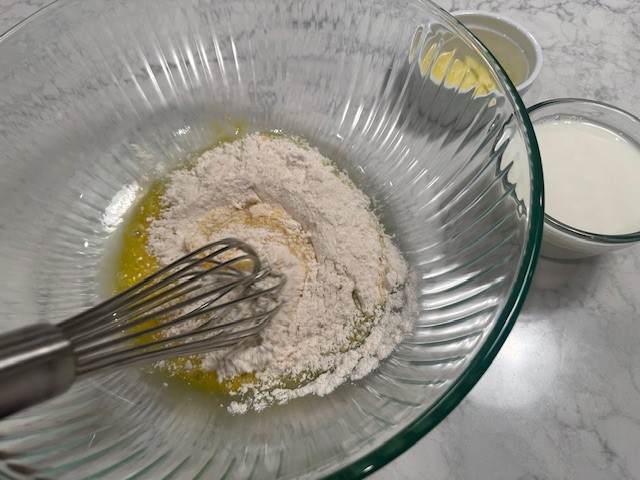
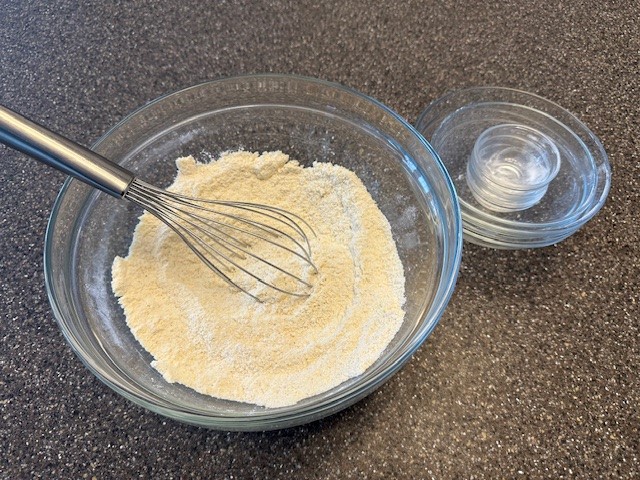
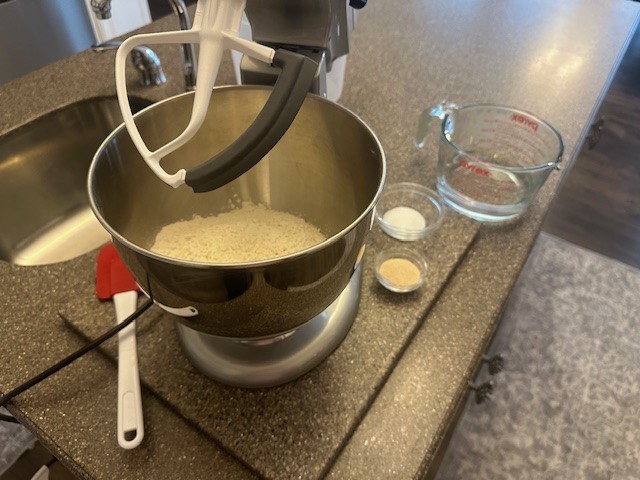
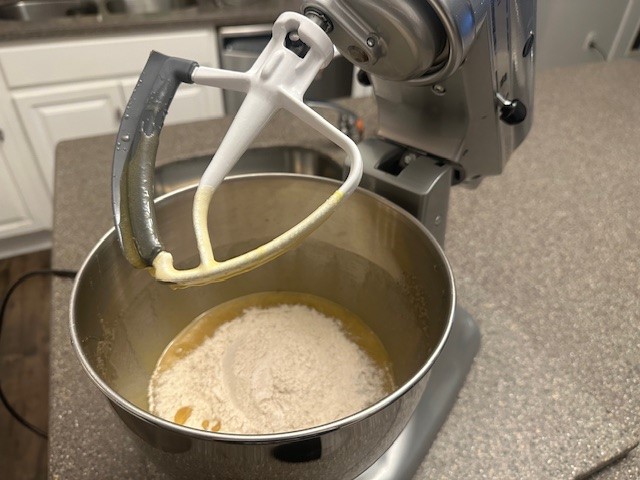
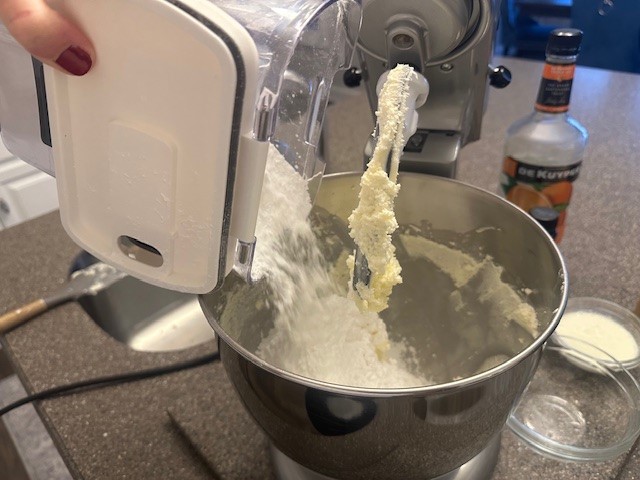
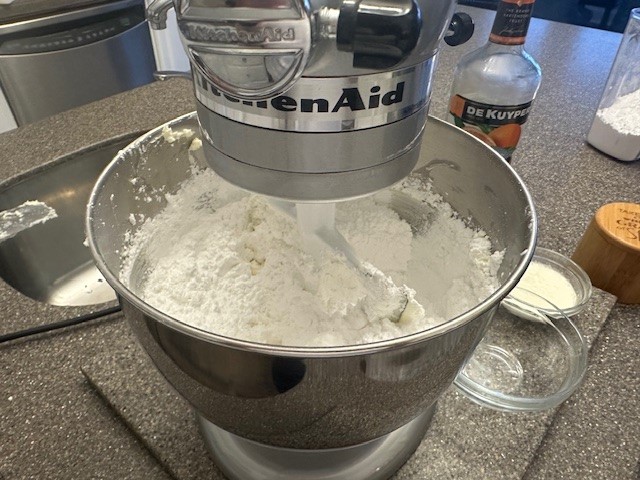
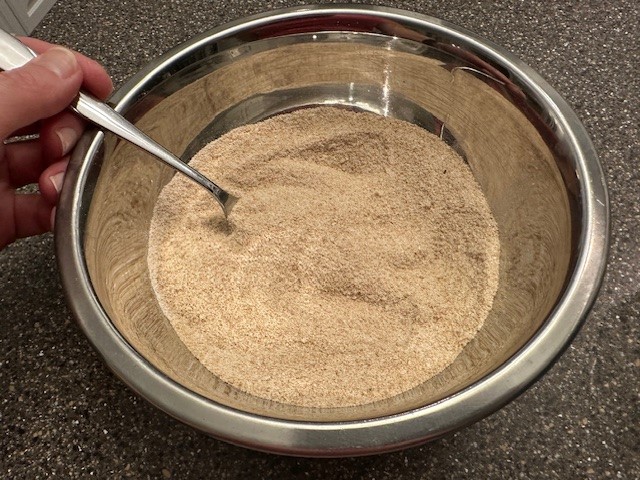
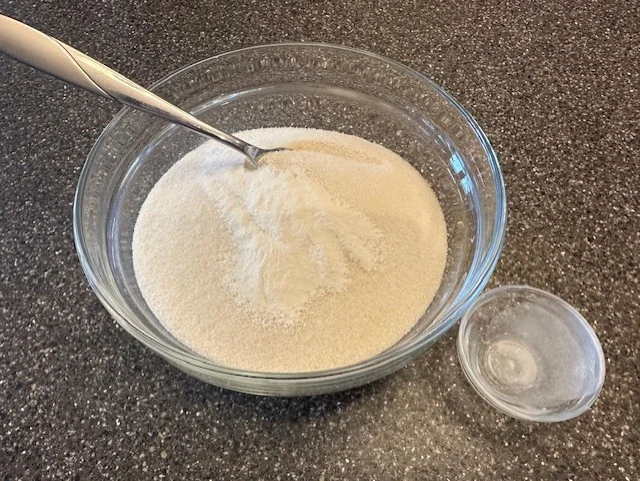
Step 1: To prepare the sorbet base, measure the water, granulated sugar, light corn syrup and xanthan gum. Mix the sugar and the xanthan gum together.
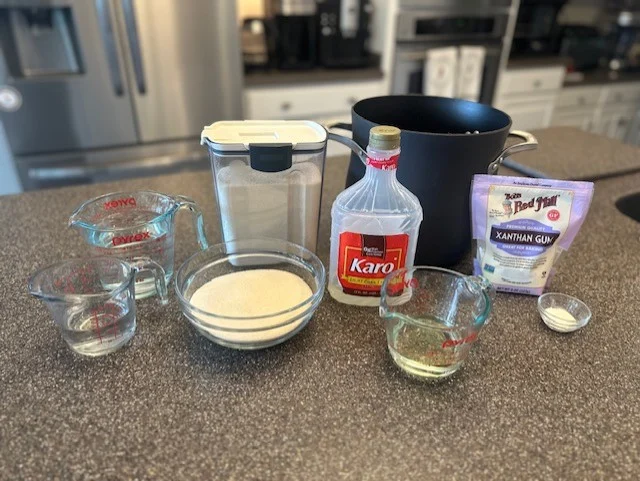
While xanthan gum is an ingredient you may not be too familiar with, adding it will help protect your homemade sorbet (or ice creams) from developing ice crystals when frozen; you can find it the baking aisle of most grocery stores.
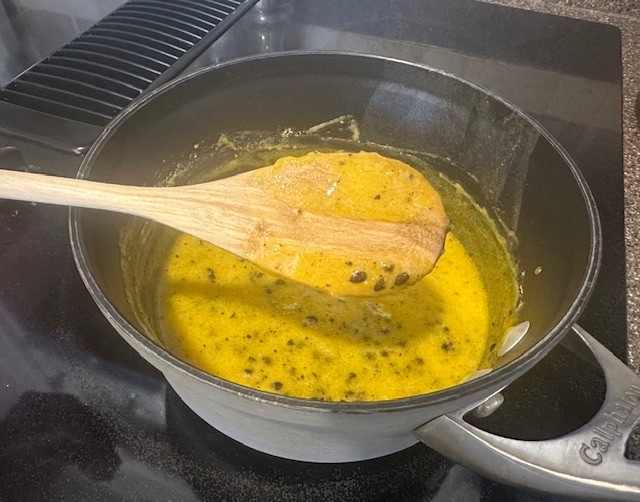
Note: I used Pure Cane Granulated Golden Sugar, which is less processed than regular white sugar, and what I had on hand. Your base will come out looking a bit cloudy using regular sugar- mine just has a slight golden-brown hue.
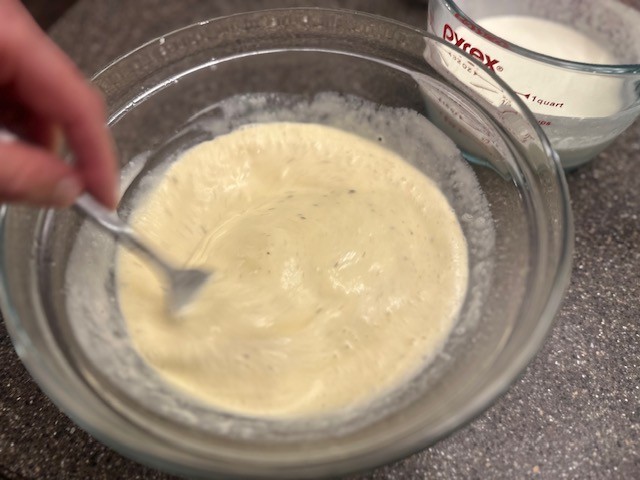
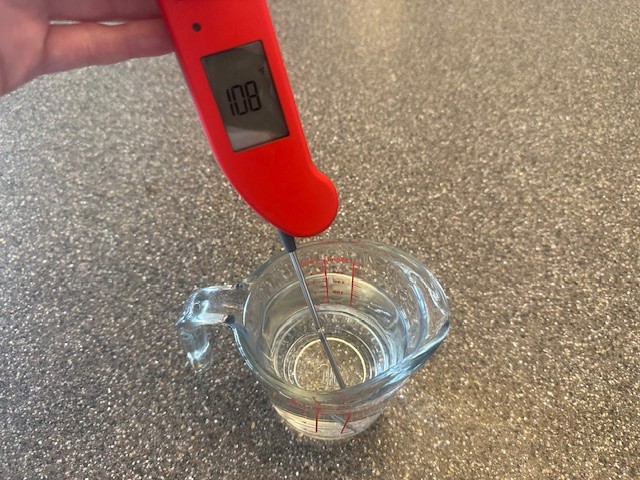
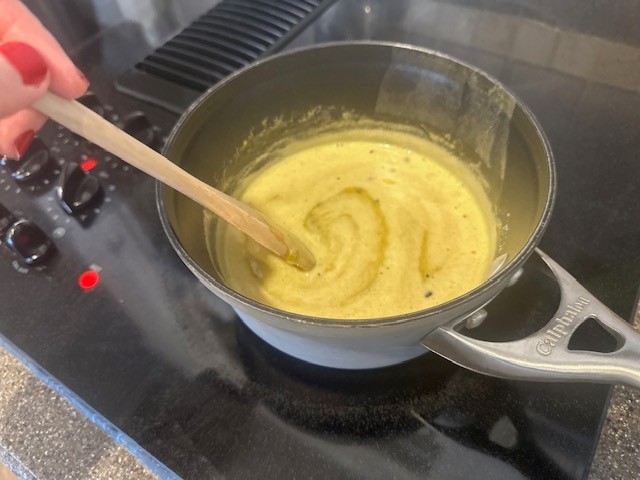
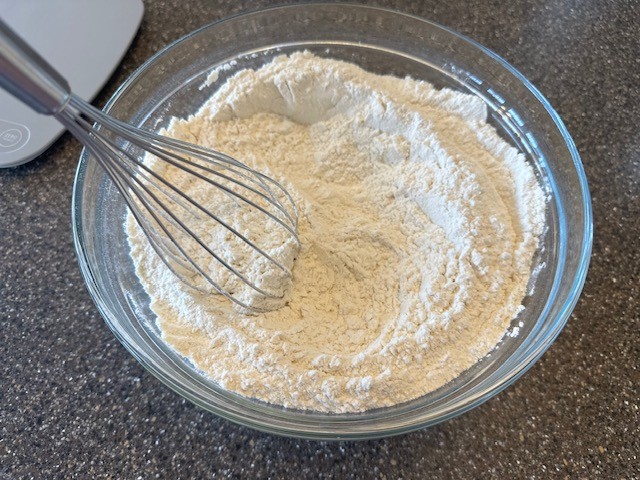
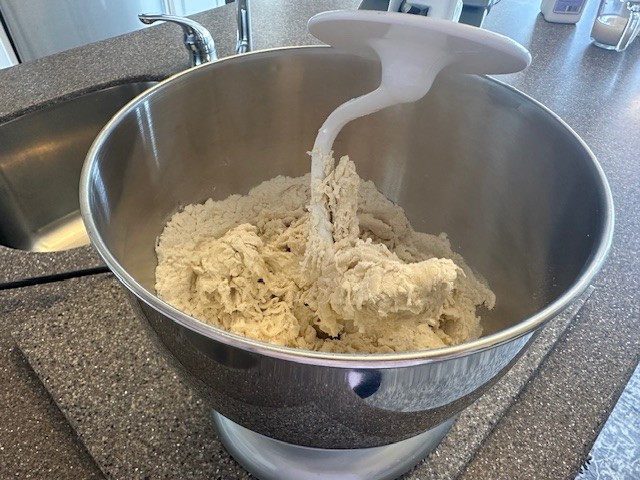
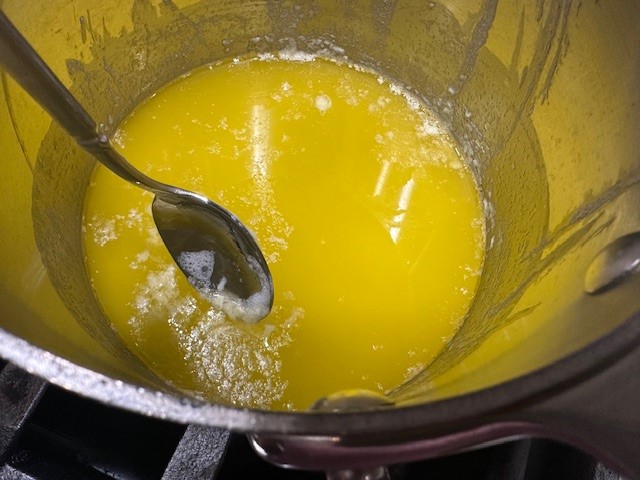
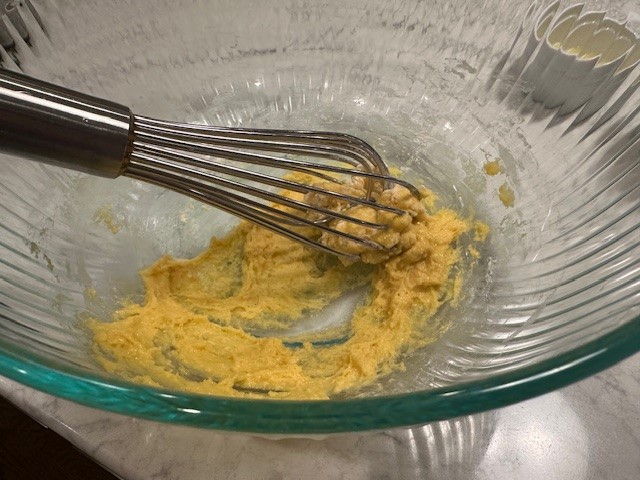
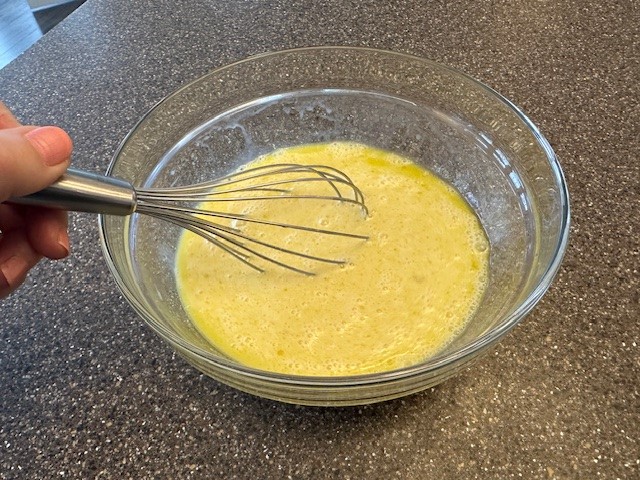
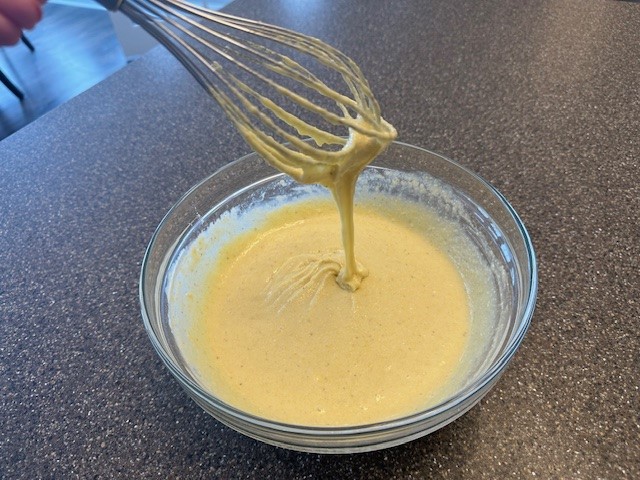
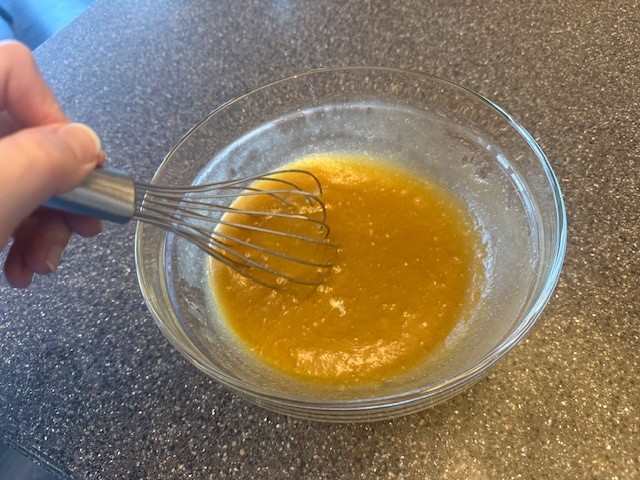
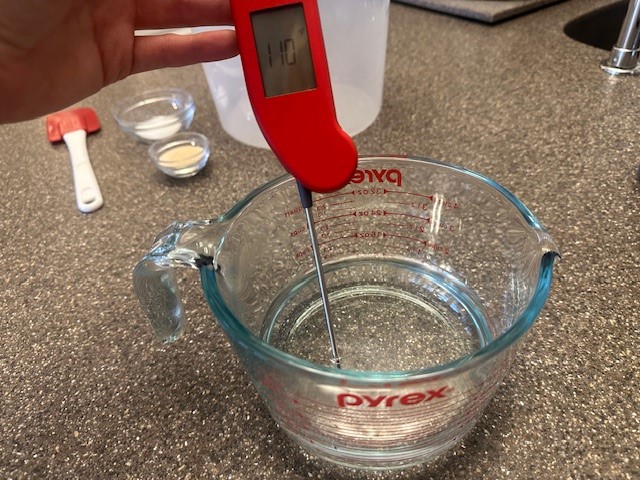
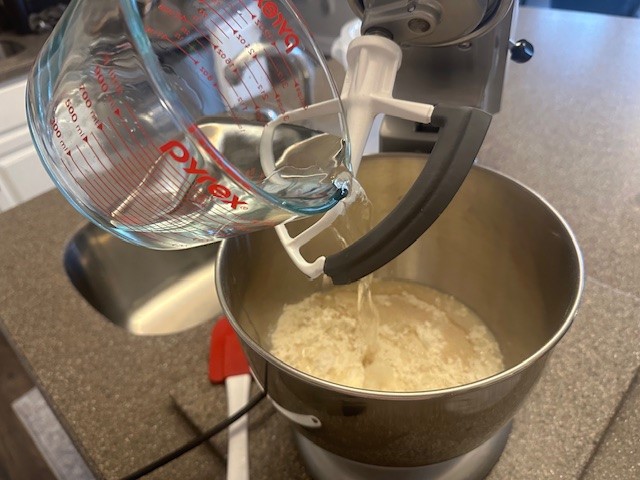
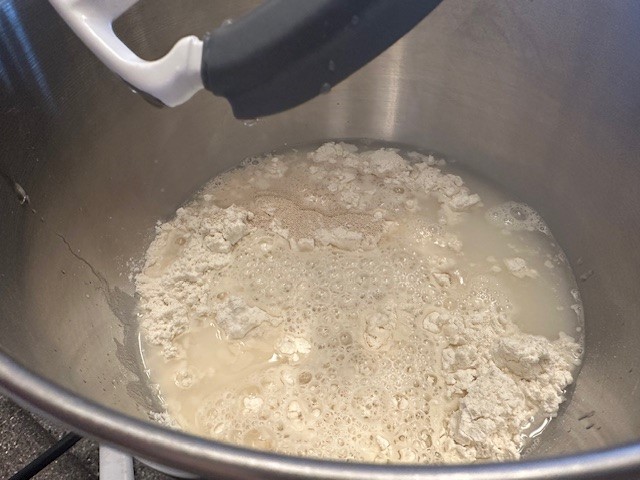
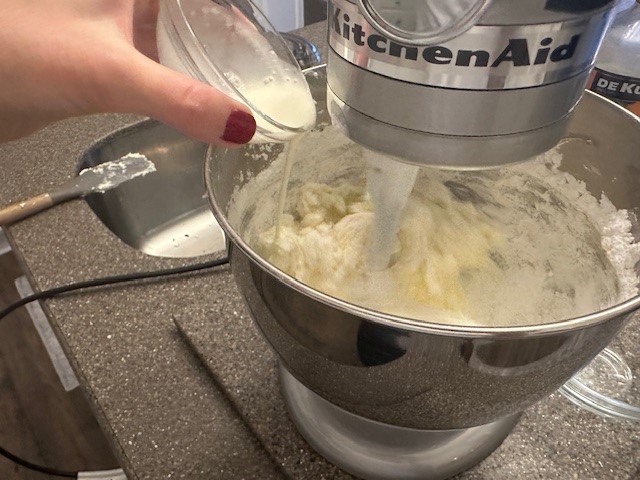
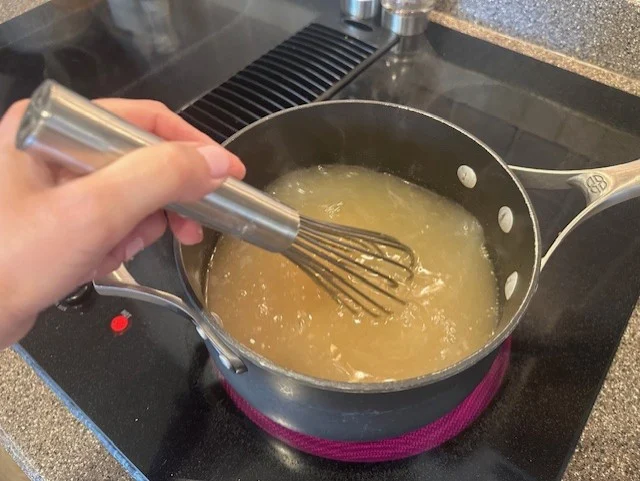
Step 2: Add all of the sorbet base ingredients together in a pot over medium-low heat. Whisk just until the sugar has fully dissolved, about 3-4 minutes. Keep an eye on it, as you don't want the mixture to simmer.
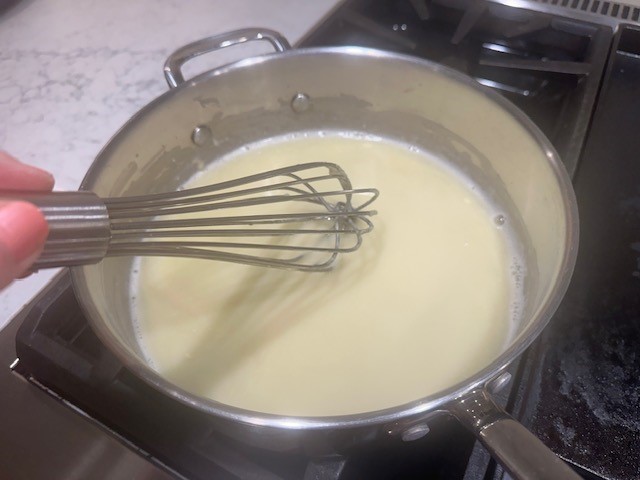
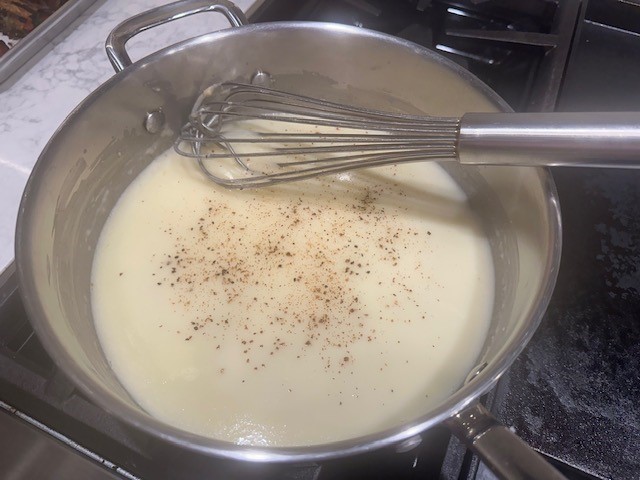
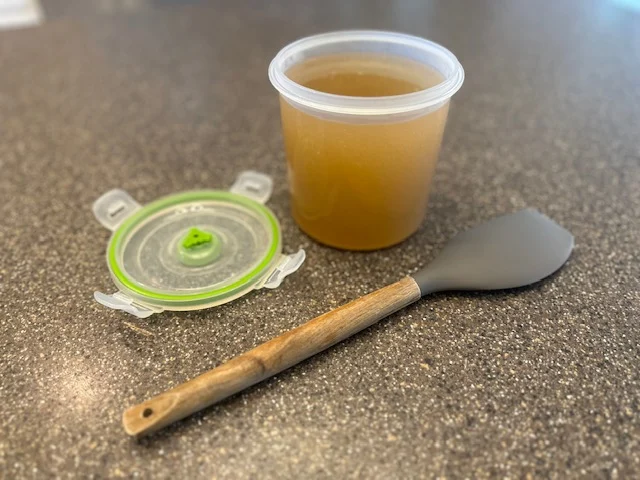
Step 3: Remove the mixture from heat, pour into a separate container with a tight-fitting lid or a glass bowl, allow to cool completely, and then store in the refrigerator, covered, for at least 4 hours.
Prepare the Strawberry Lemonade Puree
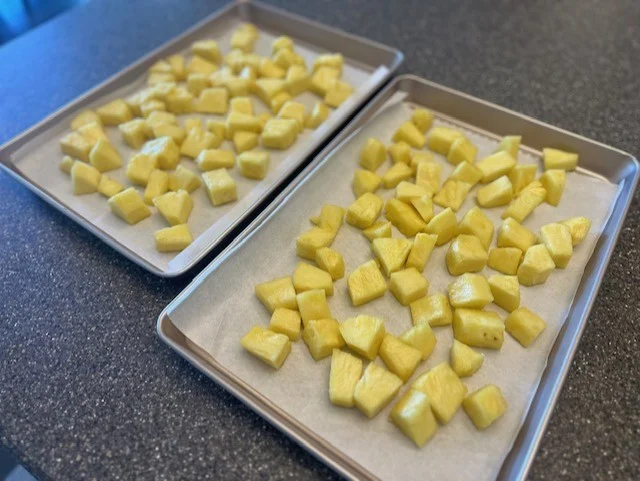
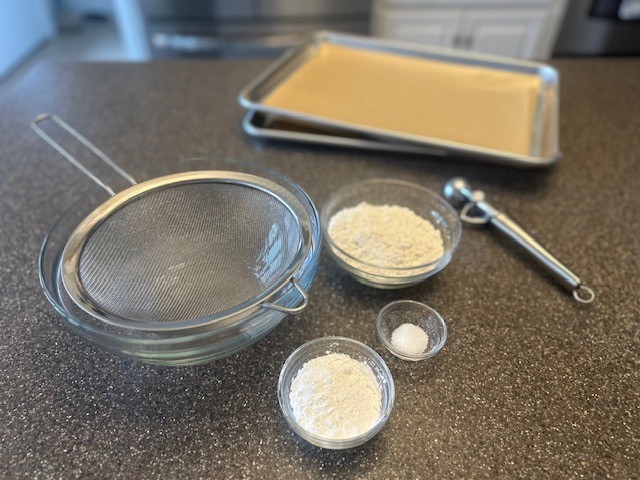
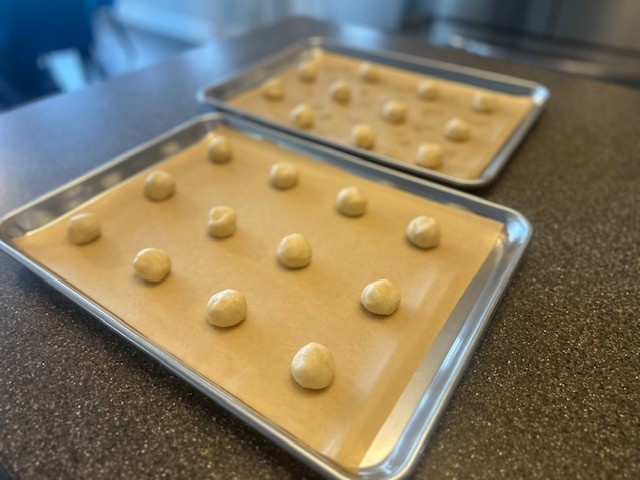
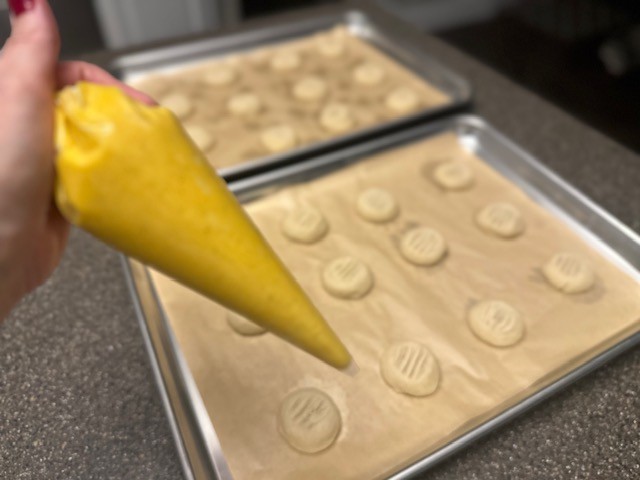
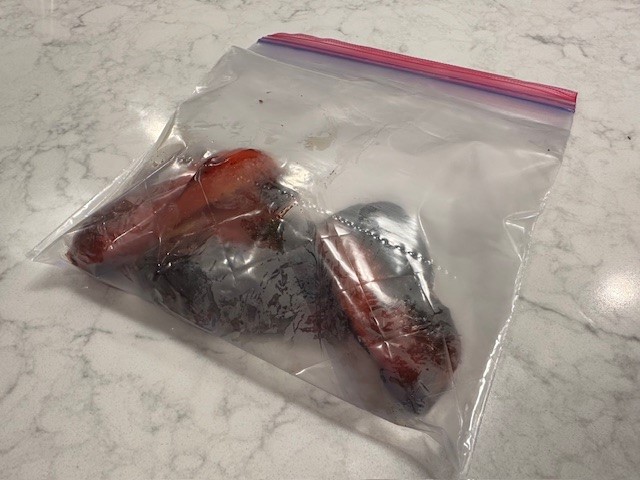
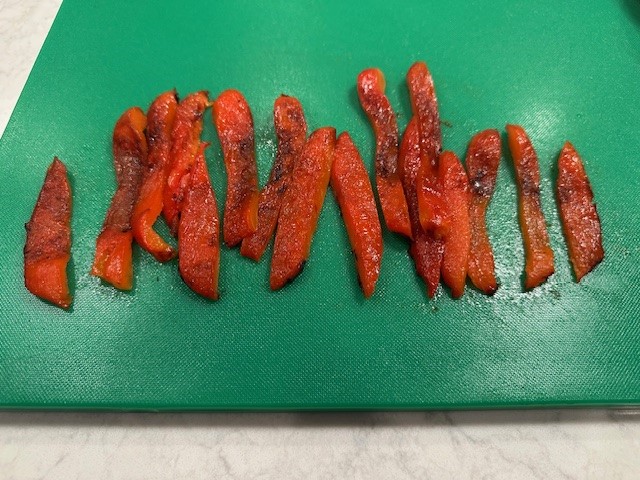
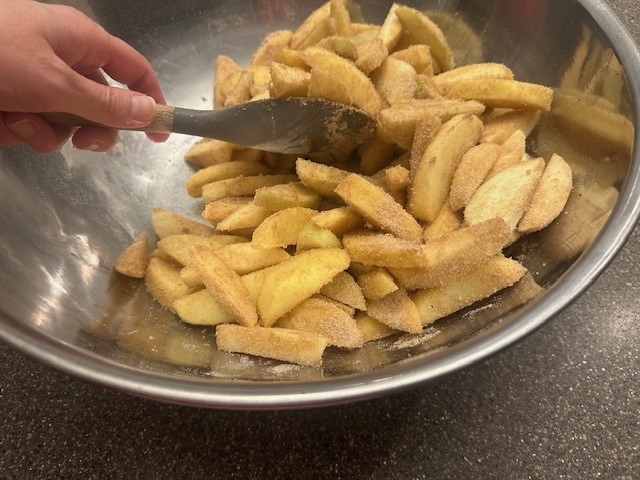
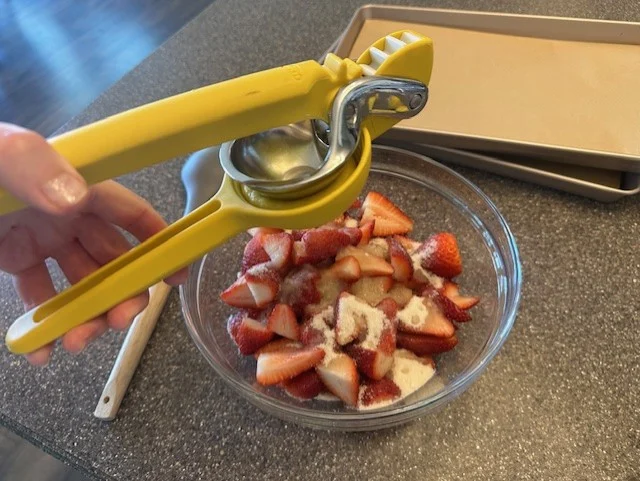
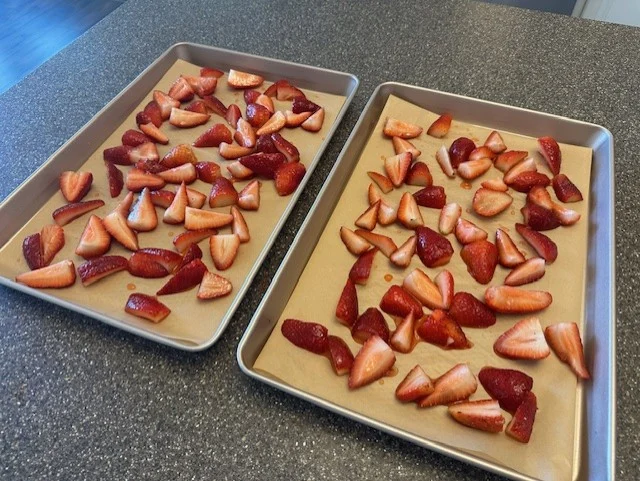
Step 4: Preheat your oven to 350℉. Line 2 baking sheet pans with parchment paper and gather all of your ingredients. Hull and quarter the strawberries.
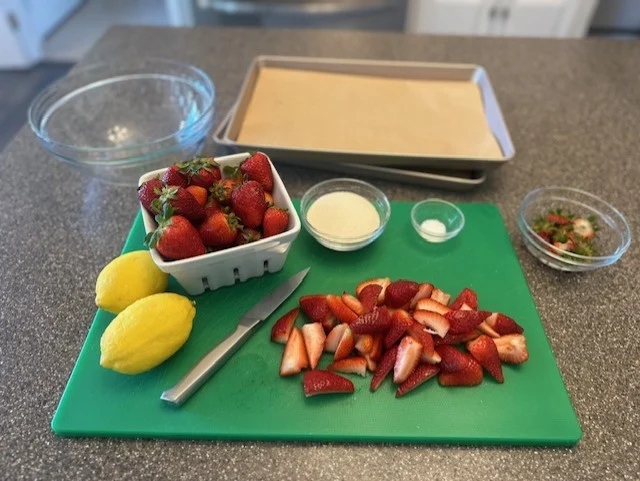
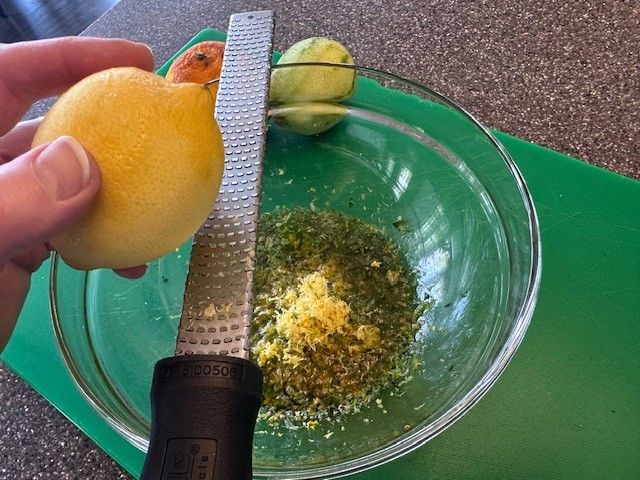
Step 5: In a large bowl, toss the strawberries with the sugar and salt. Squeeze in the juice from both lemons and mix well. If you want a more 'tart' and less 'sweet' sorbet with a stronger lemonade flavor, first zest the lemons, and then cut in half before squeezing.

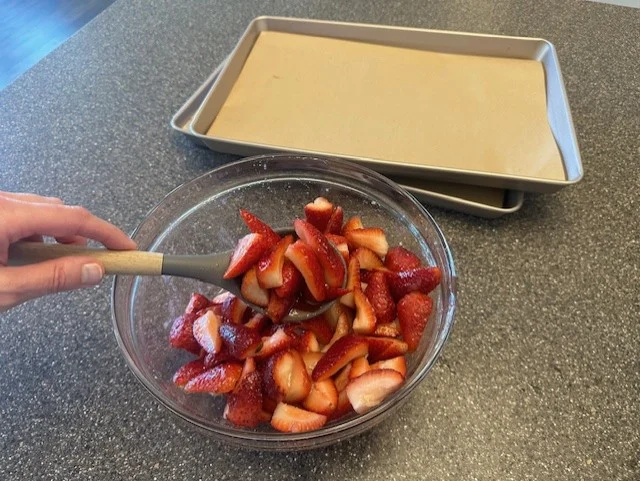
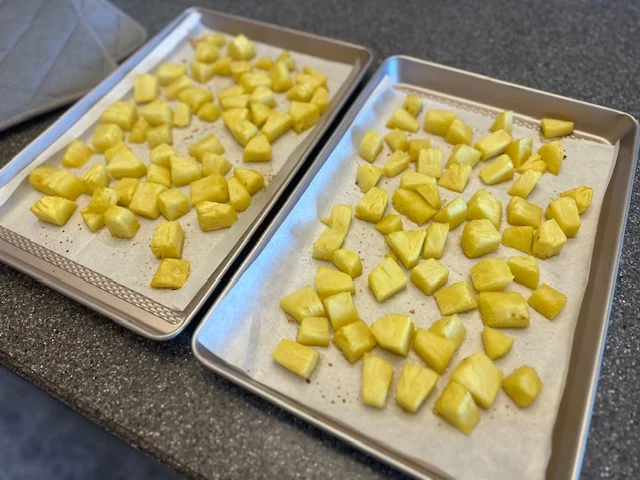
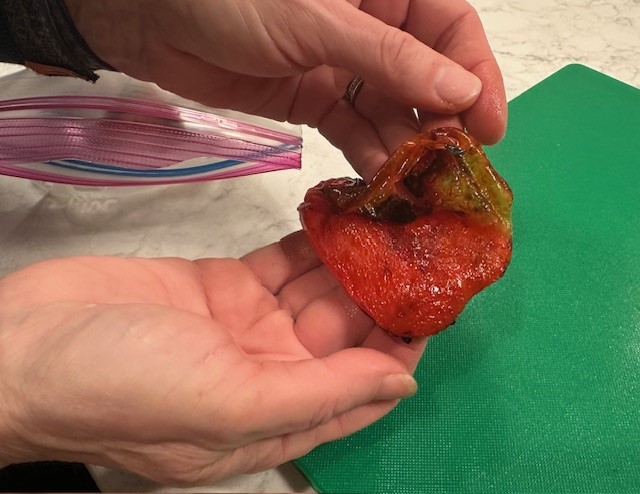
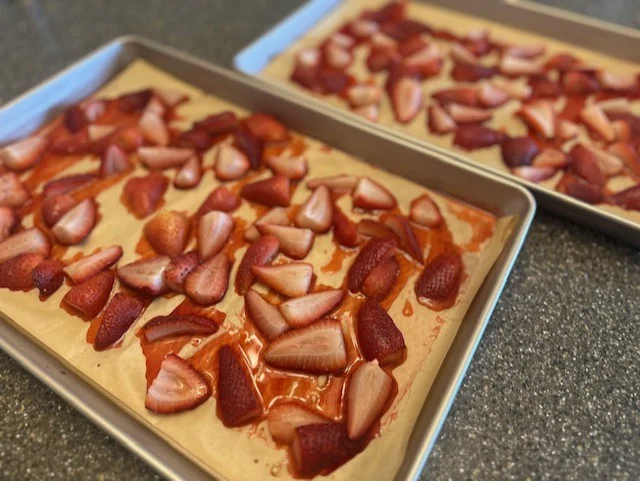
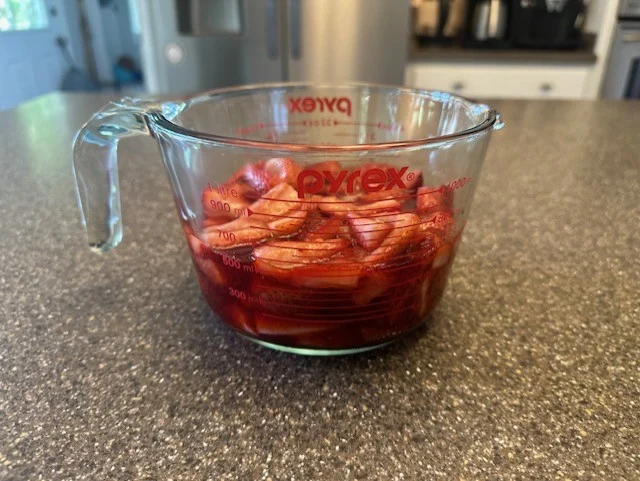
Step 6: Spoon the prepared strawberries onto the baking sheets and place in the preheated oven for 20 minutes. We're just looking to enhance the flavor of the berries and release their natural juices, not take on any color.
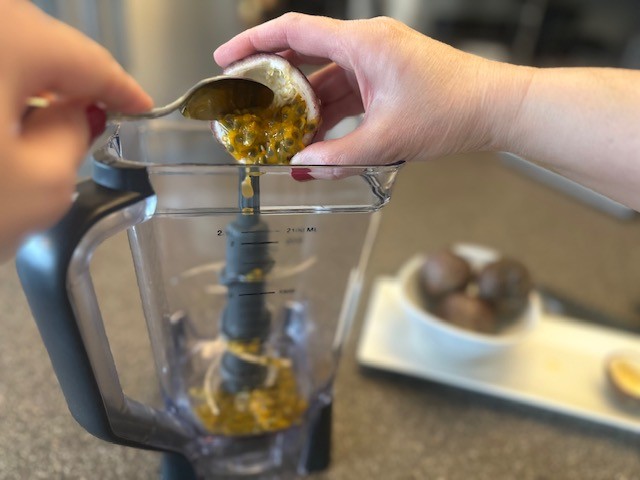
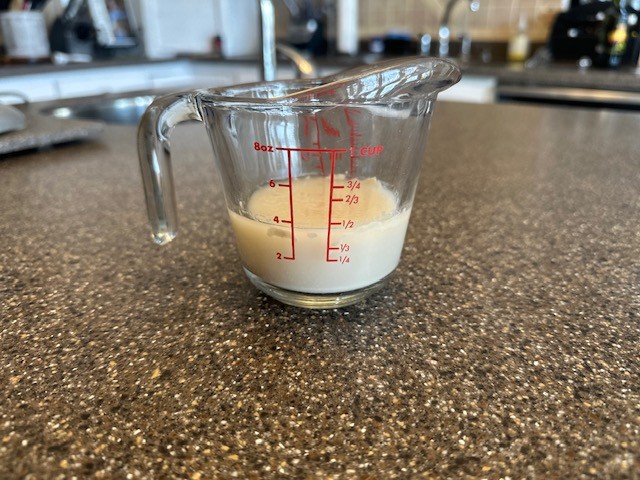
Step 7: After baking, move the strawberry pieces and any juice into a bowl or large glass liquid measuring cup. Allow the berries to cool.
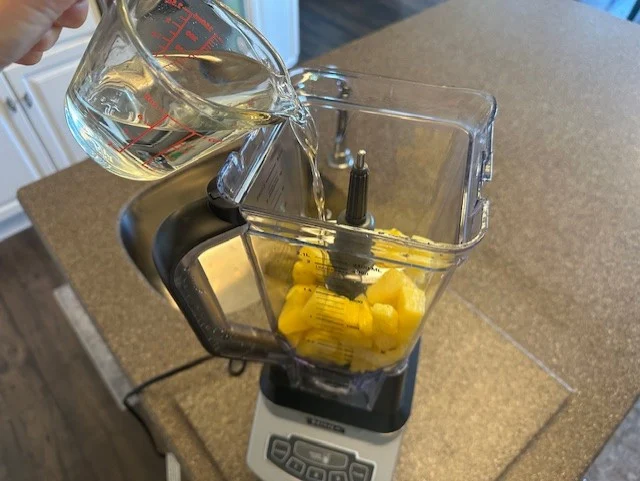
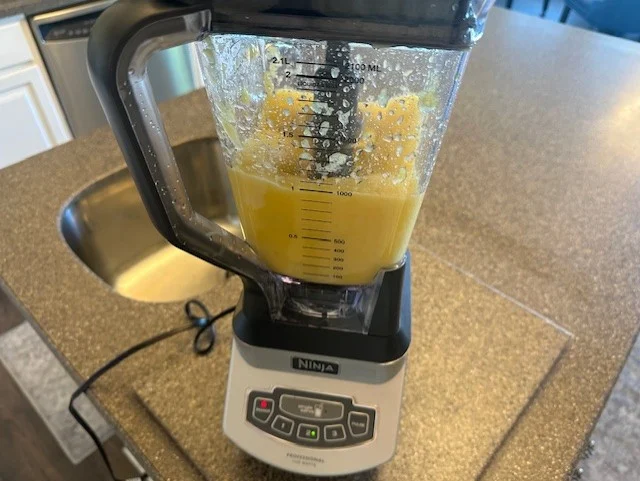
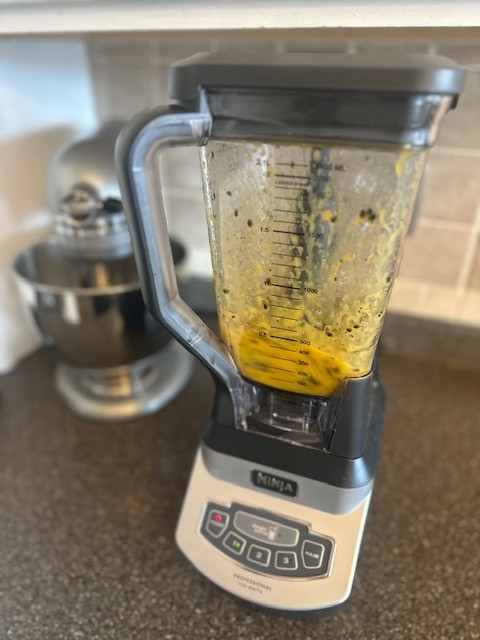
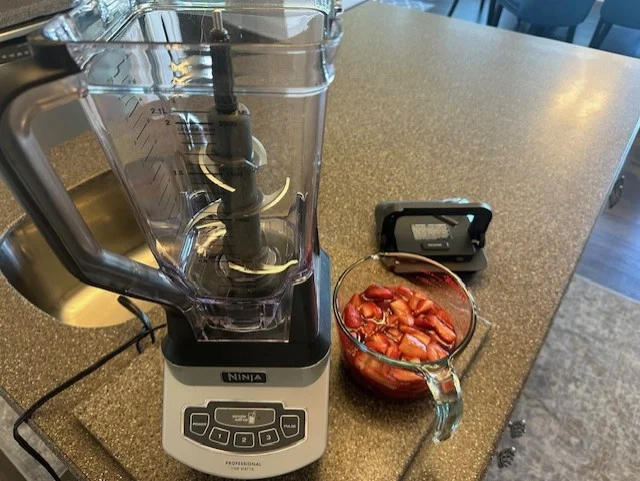
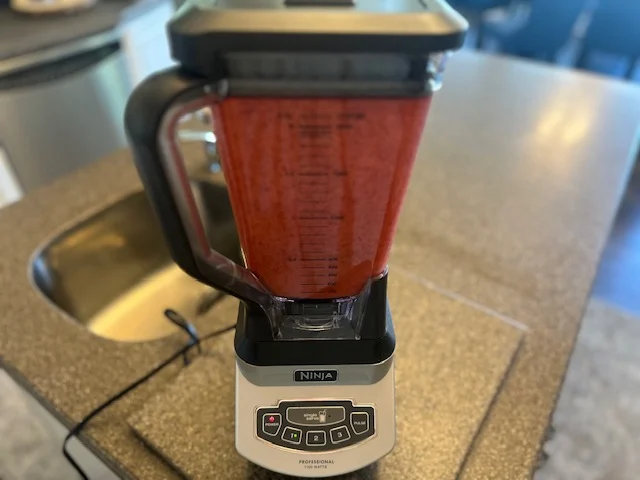
Step 8: Once cooled, process the berry mixture in a blender for 2-3 minutes. Move the liquid to a container with a tight-fitting lid, or a glass bowl fitted tightly with plastic wrap. Place in the refrigerator for a few hours to get cold.
Churn the Sorbet
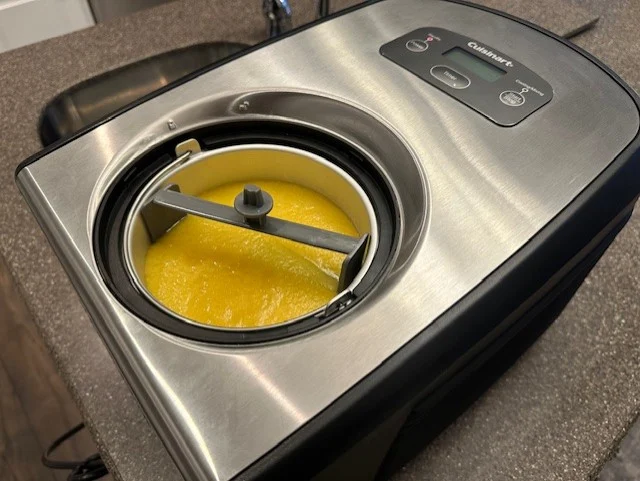
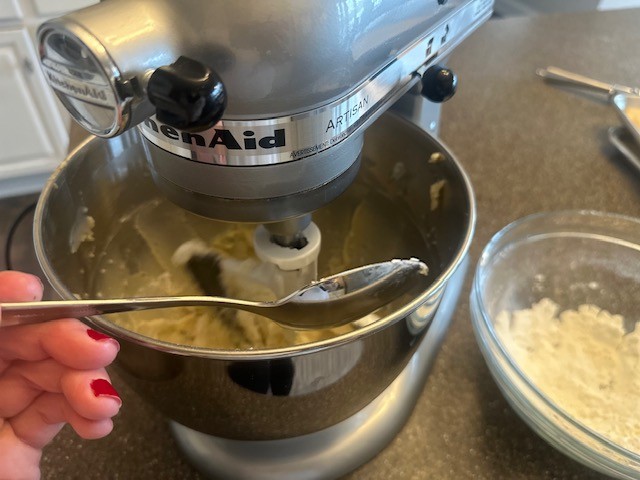
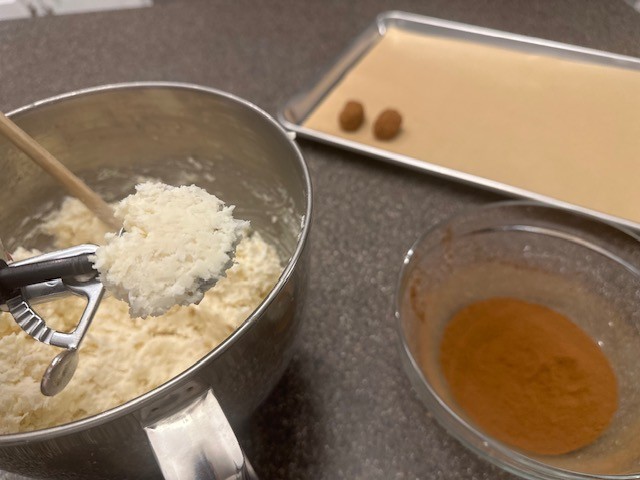
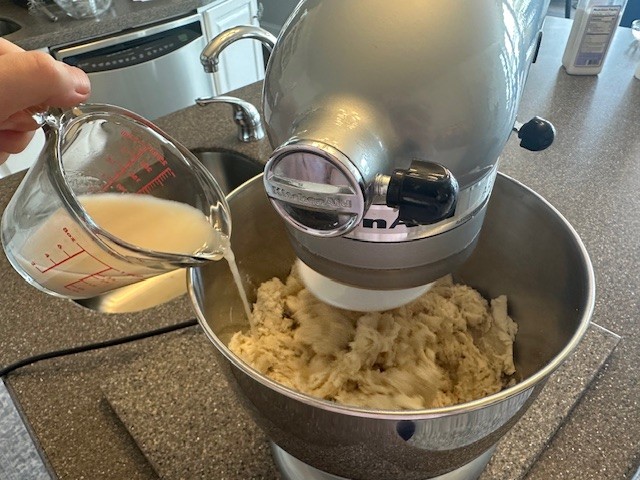
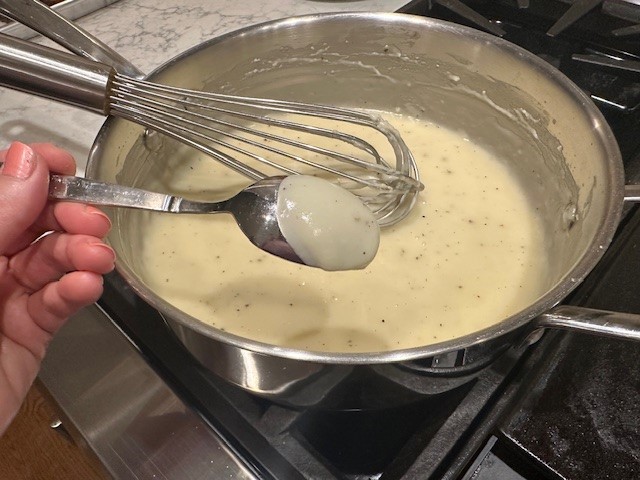
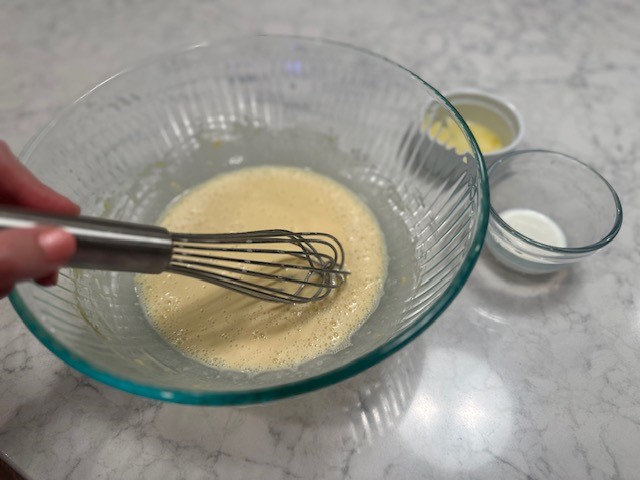
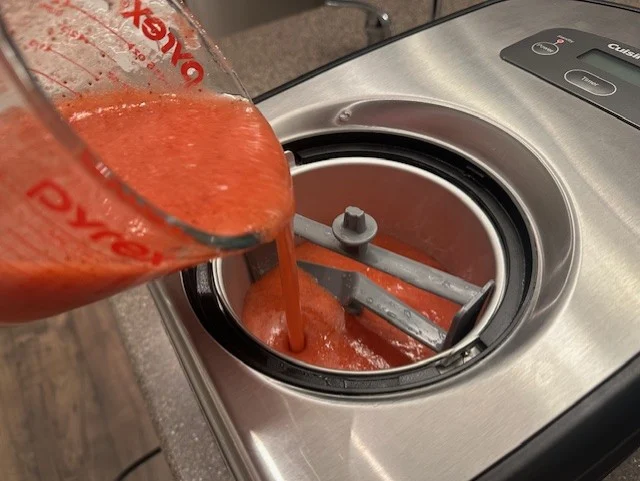
Step 9: Once both the sorbet base and the strawberry lemonade puree have chilled for several hours, combine the two liquids together and whisk thoroughly.

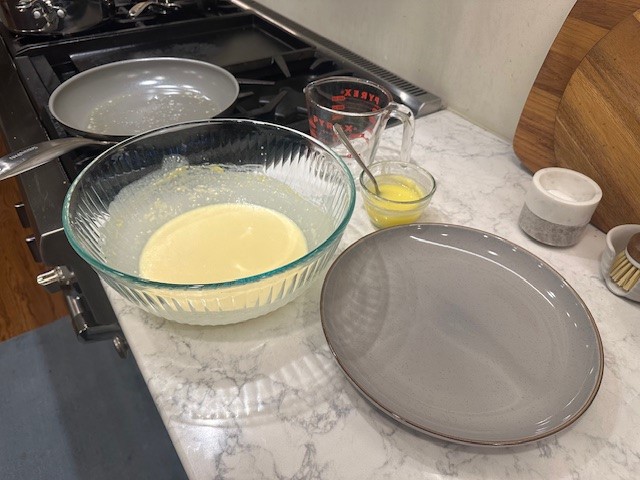
Step 10: Pour the mixture directly into your ice cream maker, and churn for about 40-45 minutes, or until the sorbet has reached a creamy, thickened consistency.
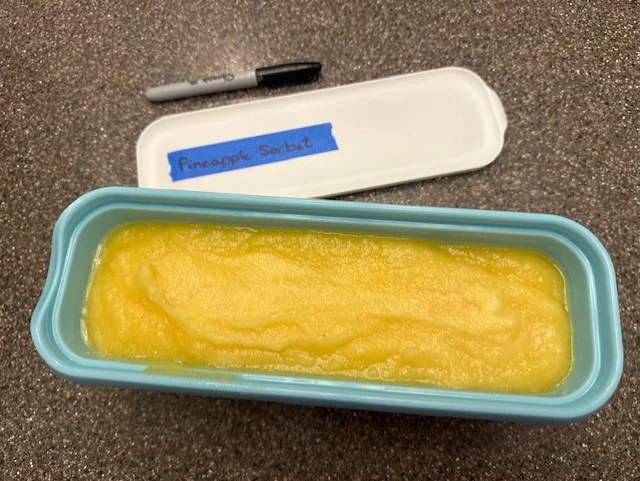
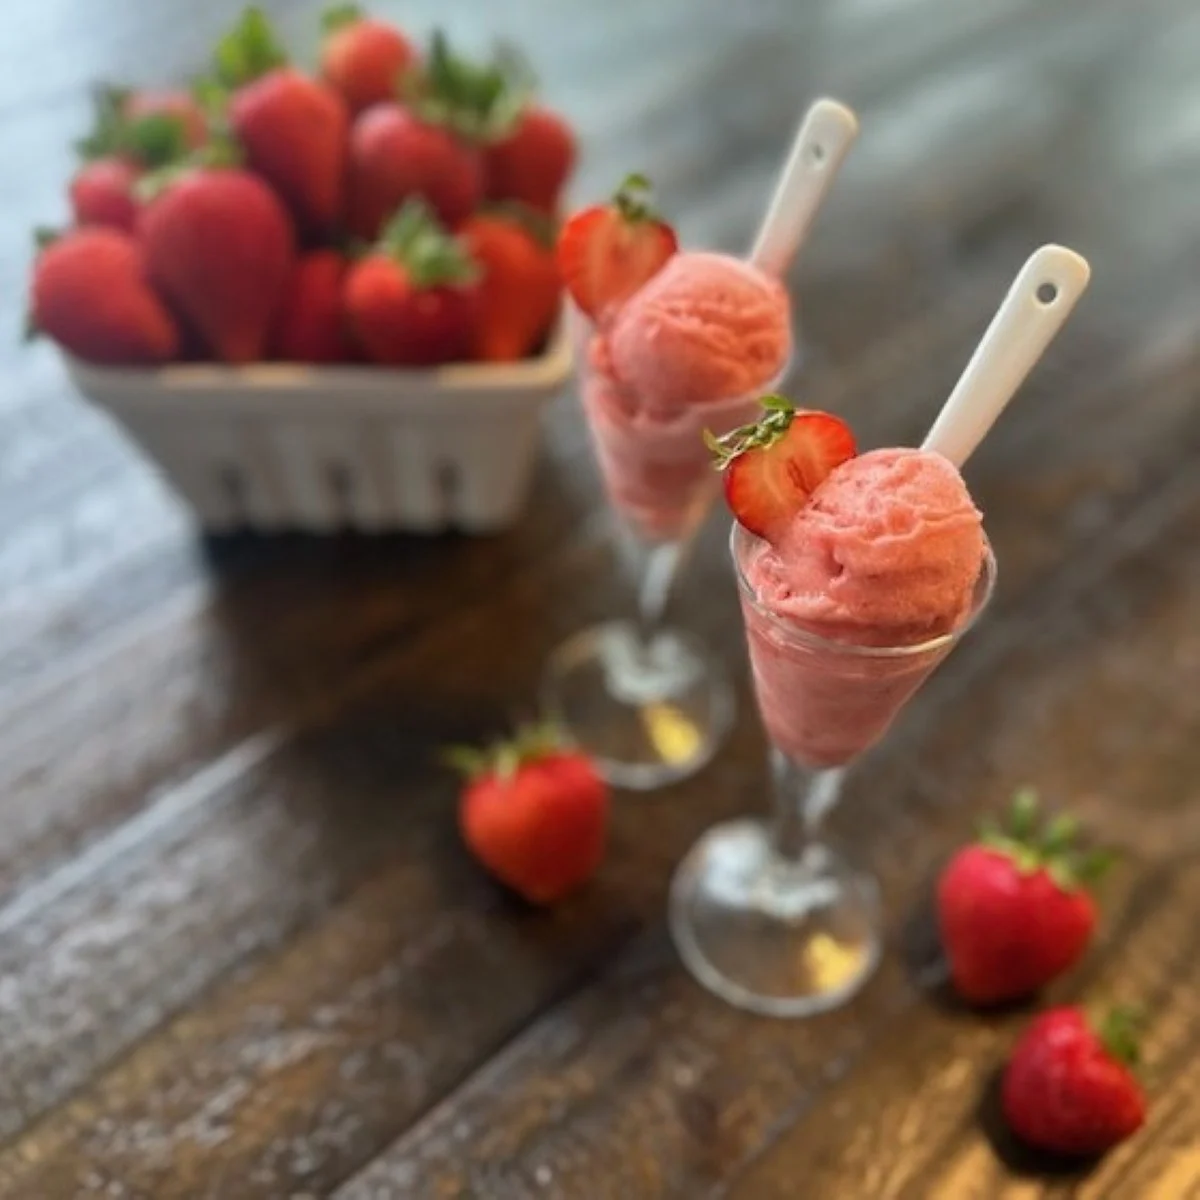
Step 11: Spoon your finished sorbet into an ice cream container with a tight-fitting lid and place in the freezer for a minimum of 4 hours to allow it to freeze properly for the right texture.


Strawberry Lemonade Sorbet
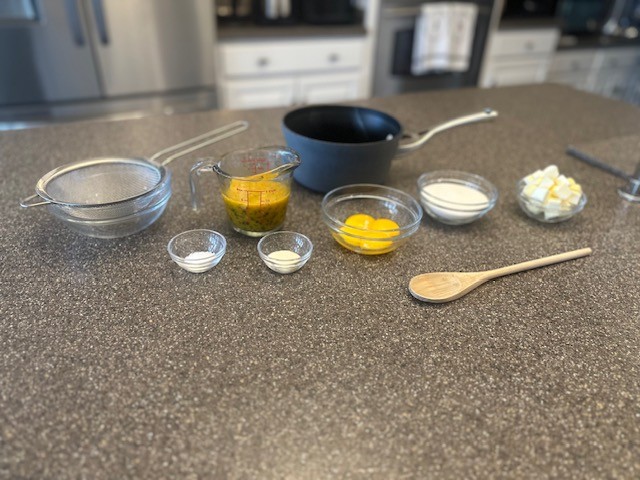
Equipment
- Cutting Board
- Paring Knife
- 2 Baking Sheets, lined with Parchment Paper
- Large Bowl
- Wire Whisk
- Fruit Reamer (Citrus Juicer) optional
- Large Spoon
- Glass Measuring Cups
- Medium Pot
- Medium Mixing Bowl
Ingredients
Sorbet Base
- 1-¼ C. Water
- 1 C. Granulated Sugar
- ¼ C. Light Corn Syrup
- ½ tsp. Xanthan Gum
Strawberry Lemonade Puree
- 1-½ Pints Fresh Strawberries, hulled and quartered
- ½ C. Granulated Sugar
- 2 Each Lemons, Freshly Squeezed
- ¼ tsp. Kosher Salt
Instructions
- Before getting started, follow the instructions for your ice cream maker and be sure to freeze the core, if required. My favorite ice cream maker is this one from Cuisinart, which has an automatic, commercial-grade compressor so it’s ready to use anytime, batch after batch, no pre-freezing necessary.
Prepare the Sorbet Base
- To prepare the sorbet base, measure the water, granulated sugar, light corn syrup and xanthan gum. Note: I used Pure Cane Granulated Golden Sugar, which is less processed than regular white sugar, and what I had on hand. Your base will come out looking a bit milky using regular- mine just has a slight brown hue.
- Mix the xanthan gum and the sugar, then add all of the sorbet base ingredients together in a pot over medium-low heat. Whisk just until the sugar has fully dissolved, about 3-4 minutes. Keep an eye on it, as you don't want the mixture to simmer.
- Remove the mixture from heat, pour into a separate container with a tight-fitting lid or a glass bowl, allow to cool completely, and then store in the refrigerator, covered, for about 4 hours.
Prepare the Strawberry Lemonade Puree
- Preheat your oven to 350℉. Line 2 baking sheet pans with parchment paper and gather all of your ingredients. Hull and quarter the strawberries.
- In a large bowl, toss the strawberries with the sugar and salt. Squeeze in the juice from both lemons and mix well. If you want a more 'tart' and less 'sweet' sorbet, first zest the lemons, and then cut in half before squeezing.
- Spoon the prepared strawberries onto the baking sheets and place in the preheated oven for 20 minutes. We're just looking to enhance the flavor of the berries and release their natural juices, not take on any color.
- After baking, move the strawberry pieces and any juice into a bowl or large glass liquid measuring cup. Allow the berries to cool.
- Once cooled, process the berry mixture in a blender for 2-3 minutes. Move the liquid to a container with a tight-fitting lid, or a glass bowl fitted tightly with plastic wrap. Place in the refrigerator for a few hours to get cold.
Churn the Sorbet
- Once both the sorbet base and the strawberry lemonade puree have chilled for several hours, mix the two liquids together and whisk thoroughly to combine.
- Pour the mixture directly into your ice cream maker, and churn for about 40-45 minutes, or until the sorbet has reached a creamy, thickened consistency.
- Spoon your finished sorbet into an ice cream container with a tight-fitting lid and place in the freezer for a minimum of 4 hours to allow it to freeze properly for the right texture.