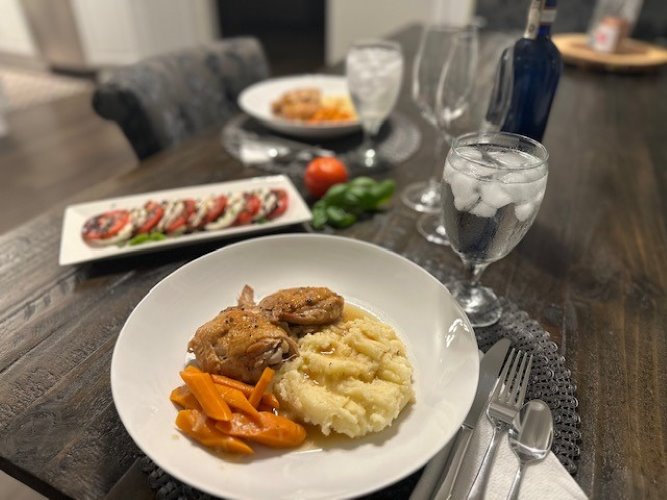
Many lemon chicken dishes tend to be sweet, yet this one marries the earthiness of roasted potatoes and garden herbs like thyme, rosemary and parsley alongside the brightness of fresh citrus. This simple and filling one-pot meal comes together quickly and showcases the beautiful colors of fall, with deep reds from the onion and potatoes, bright orange sweet potatoes and brilliant yellow from the lemon. It's a healthy, comforting dish that's also perfect for meal prep!
INGREDIENTS
- 8 Boneless, Skinless Chicken Thighs
- 2 Sweet Potatoes
- 4 Small Red Potatoes
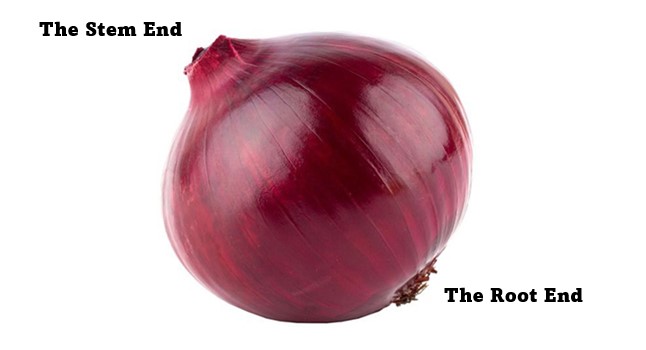
- ½ Large Red Onion, Peeled
- 2 Large Lemons
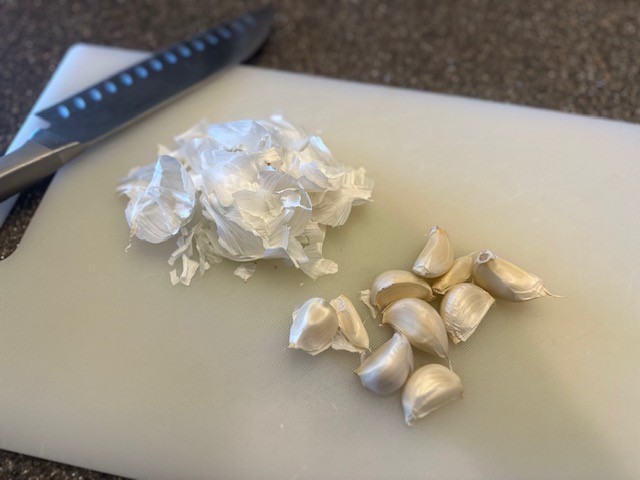
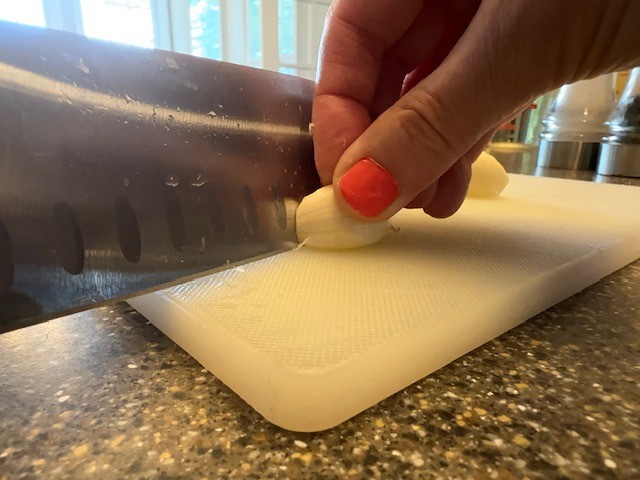
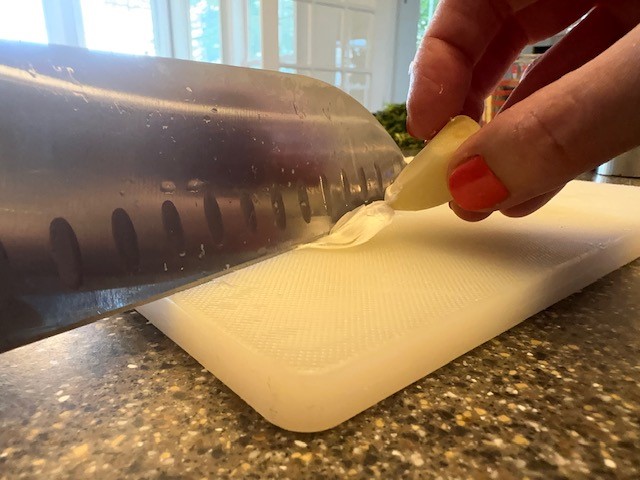
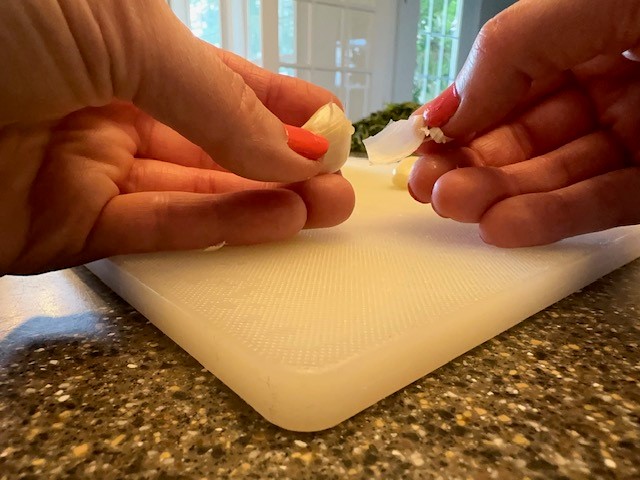
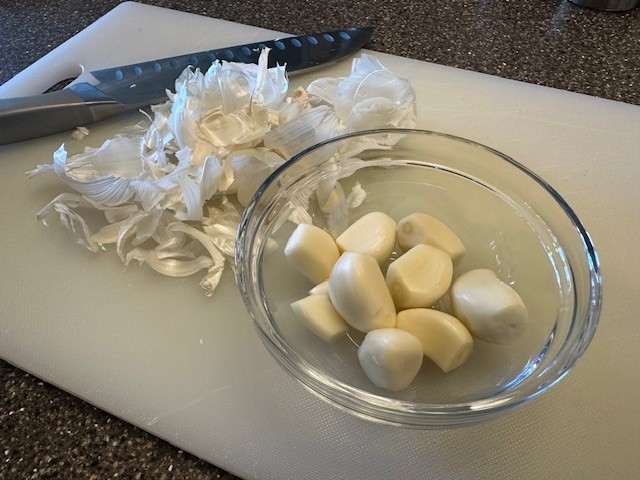
- 2 Tbsp. Finely Minced Garlic
- 1 Pint Chicken Stock or broth
- Olive Oil
- 1 Tbsp. Kosher Salt plus extra
- 2 tsp. Fresh Ground Black Pepper plus extra
- 2 tsp. Dried Oregano plus extra
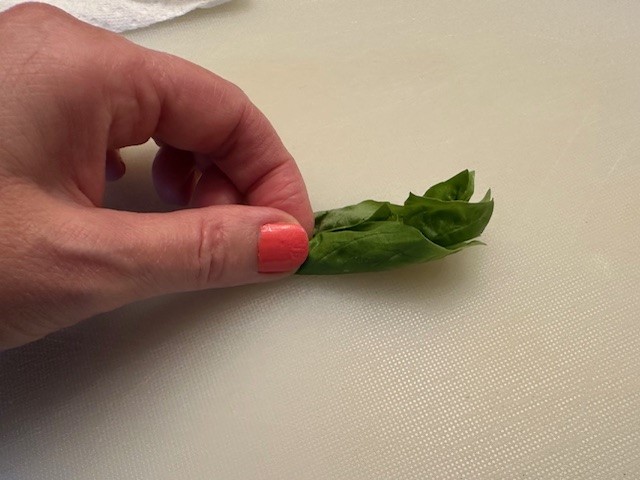
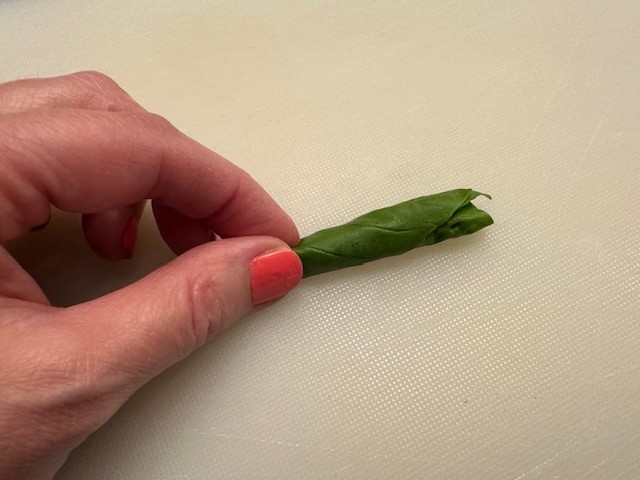
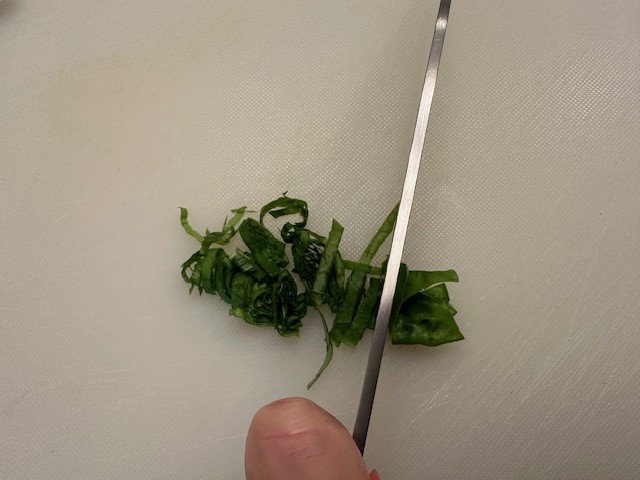
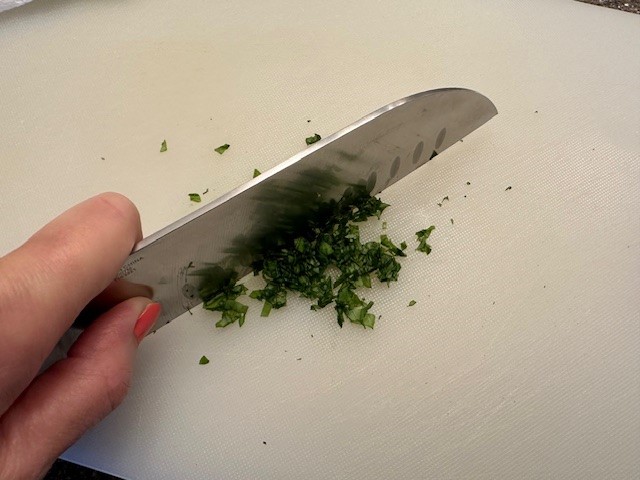
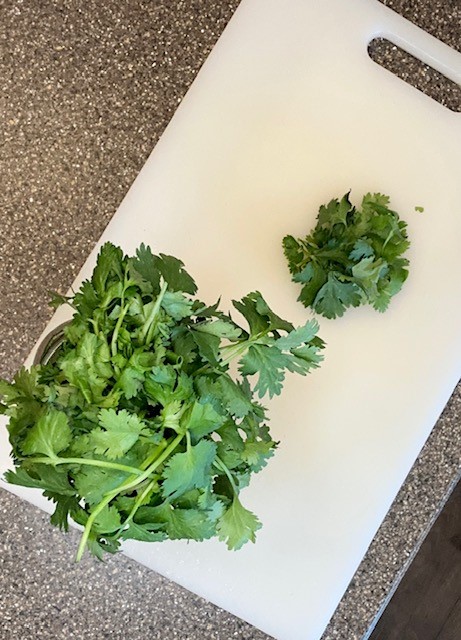
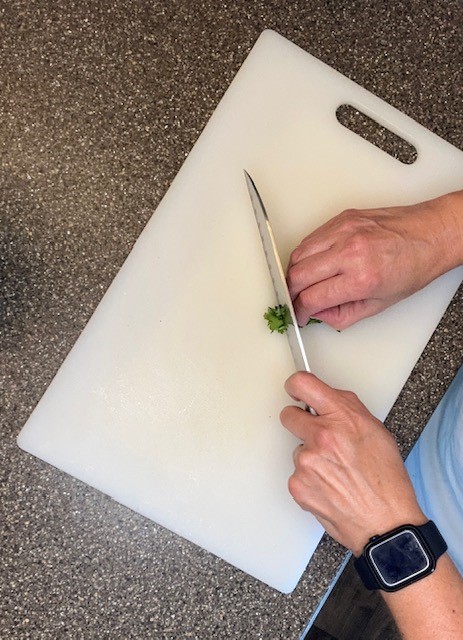
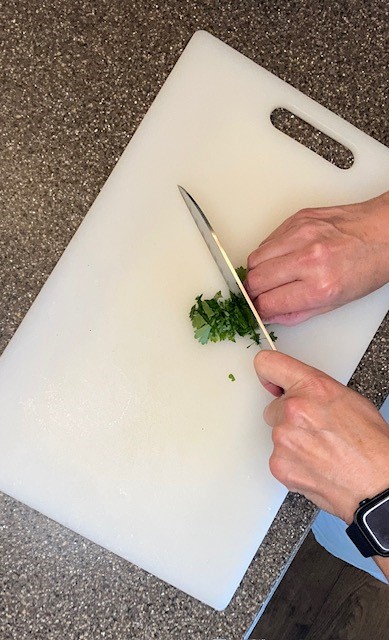
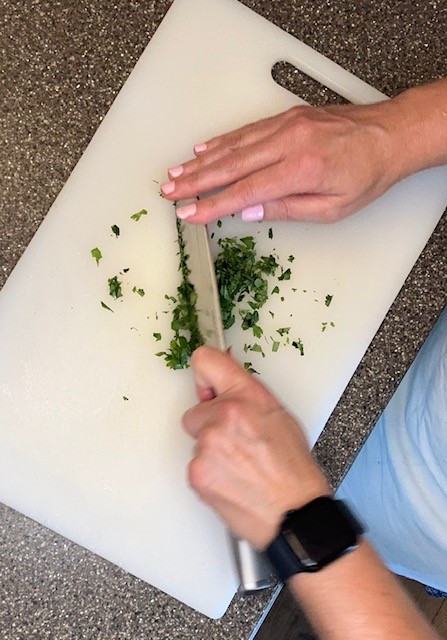
- Fresh Thyme, Rosemary and Parsley
INSTRUCTIONS
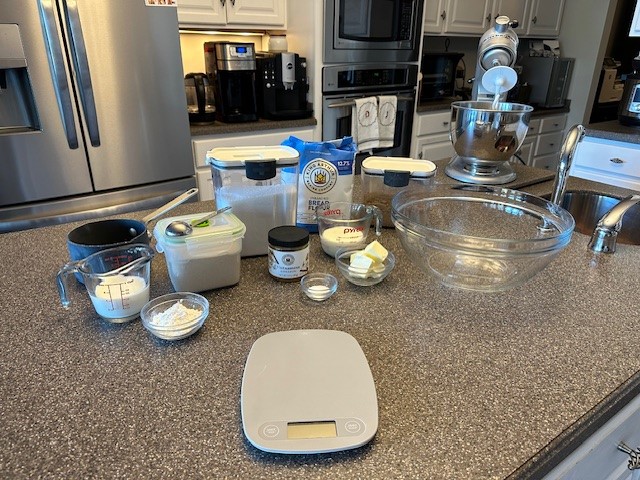
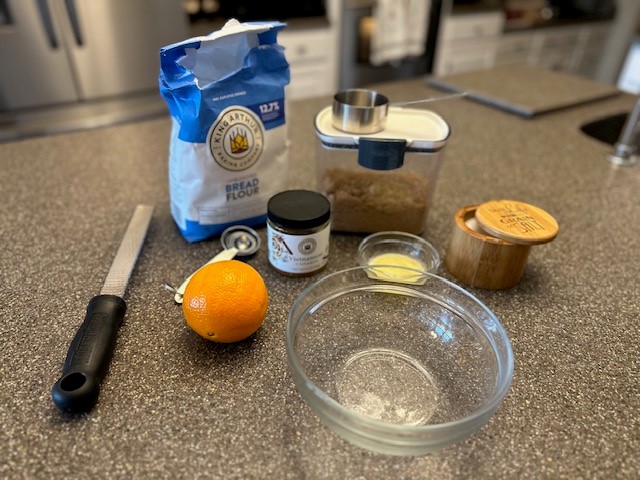
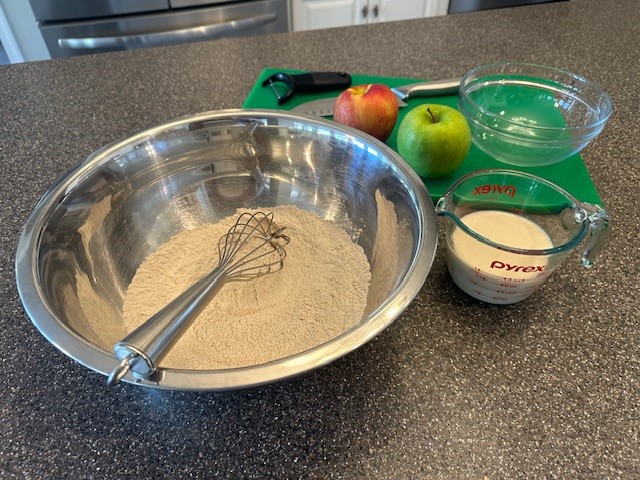
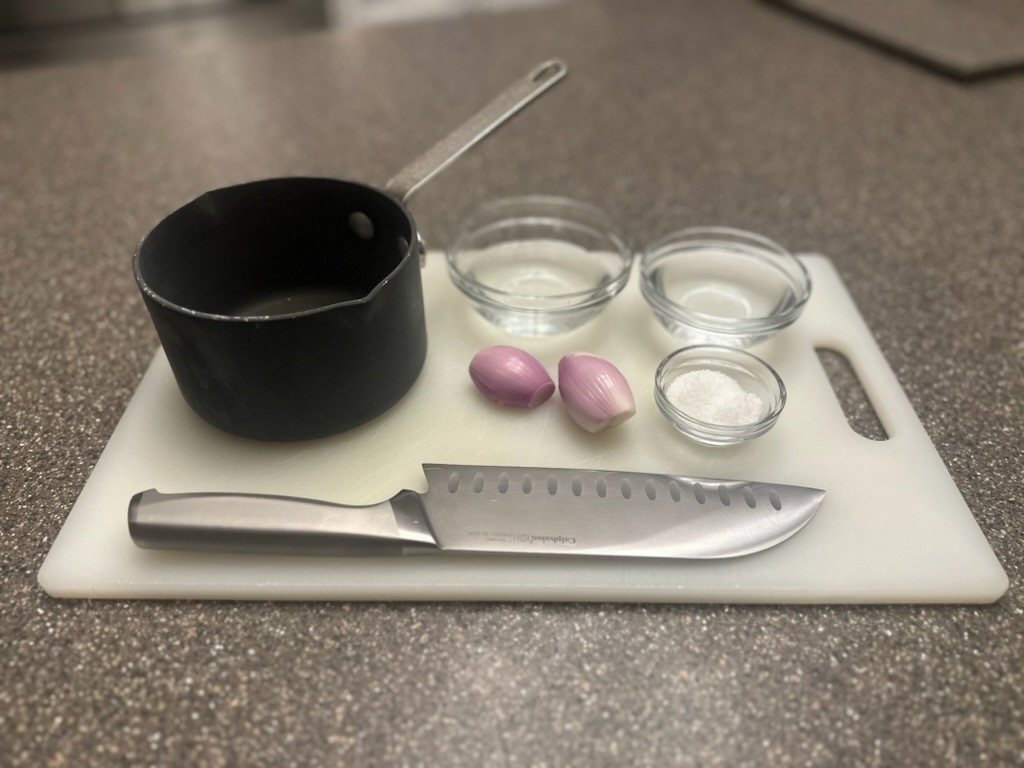
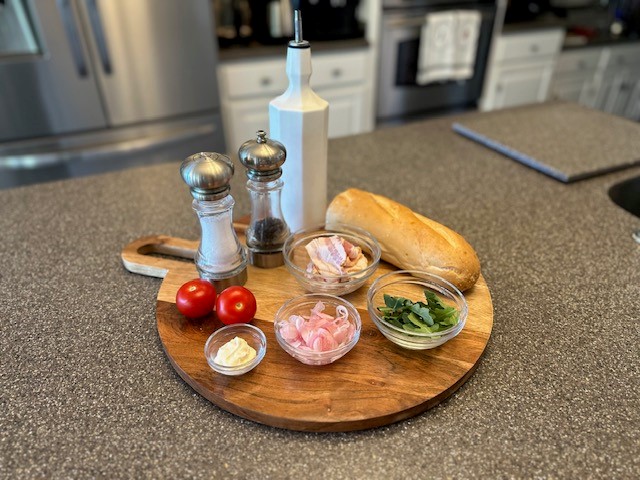
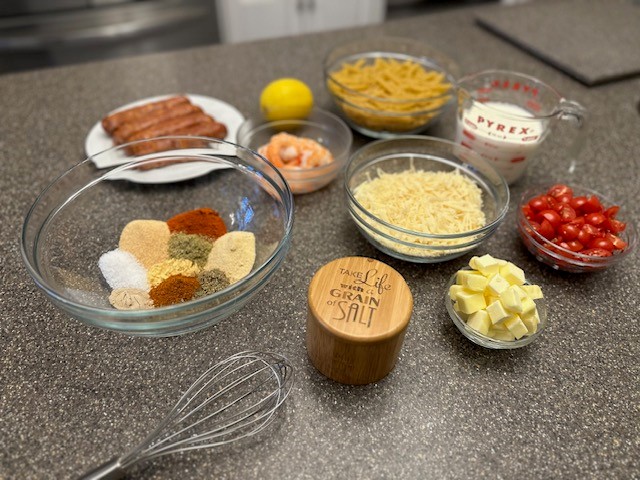
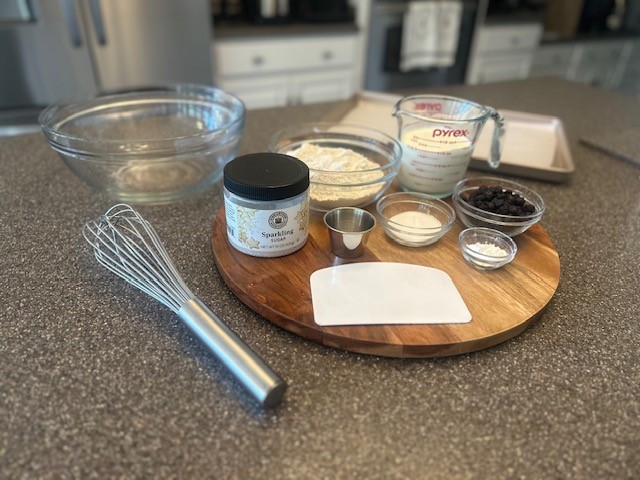
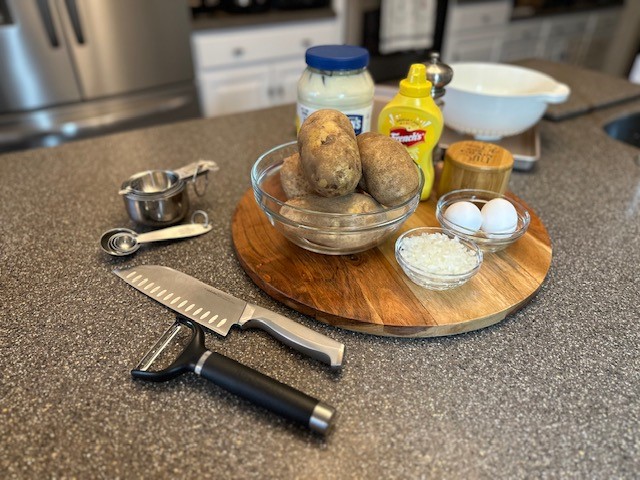
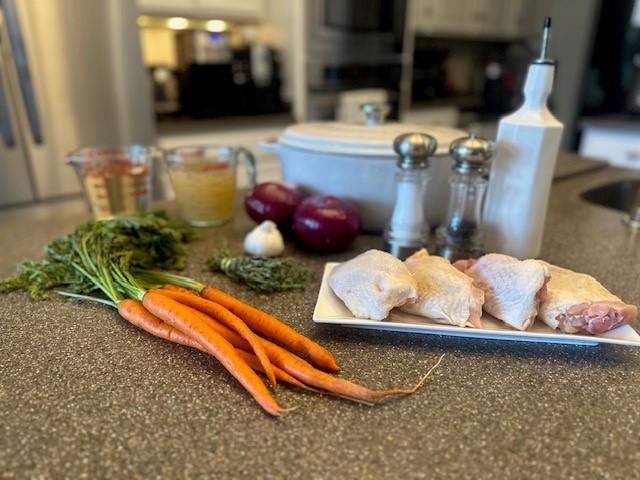
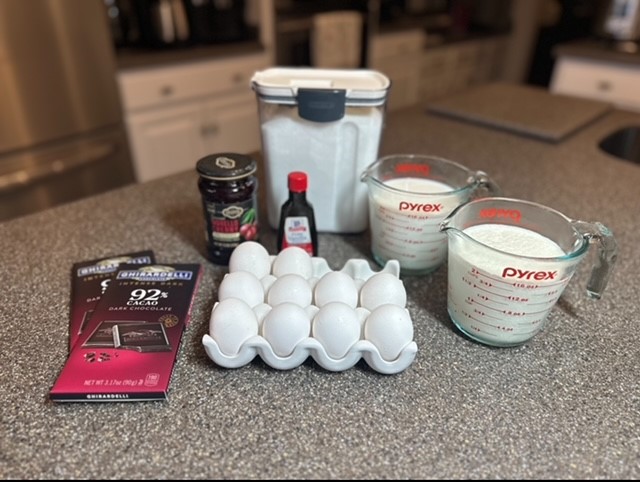
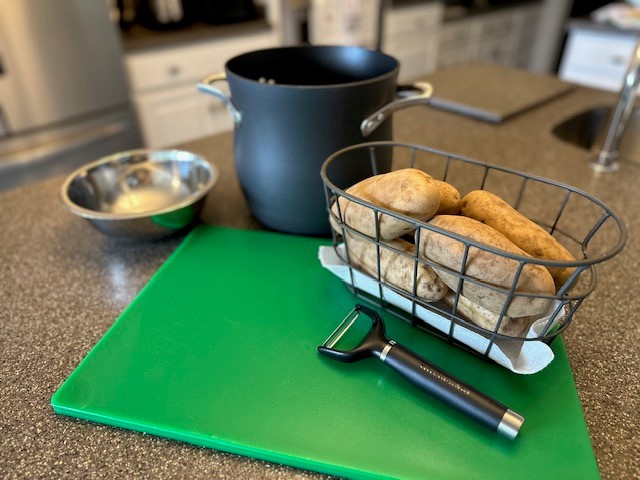
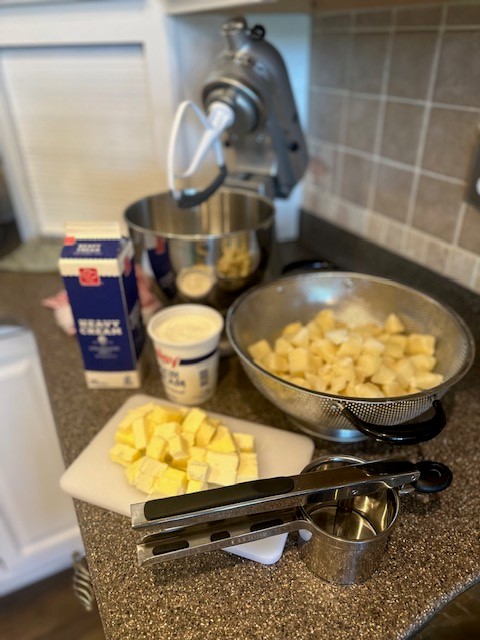
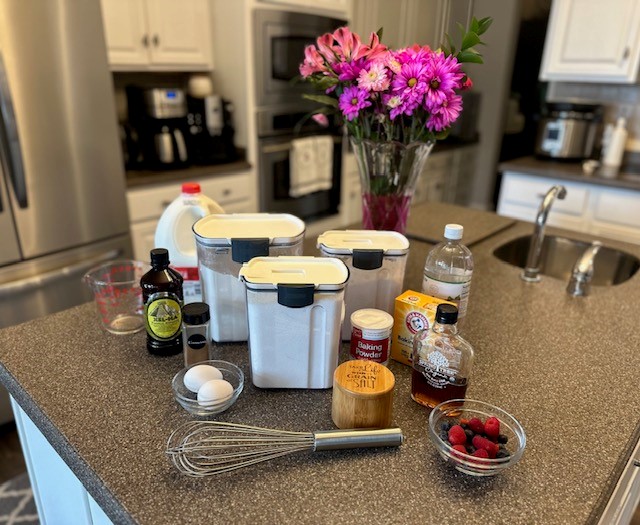
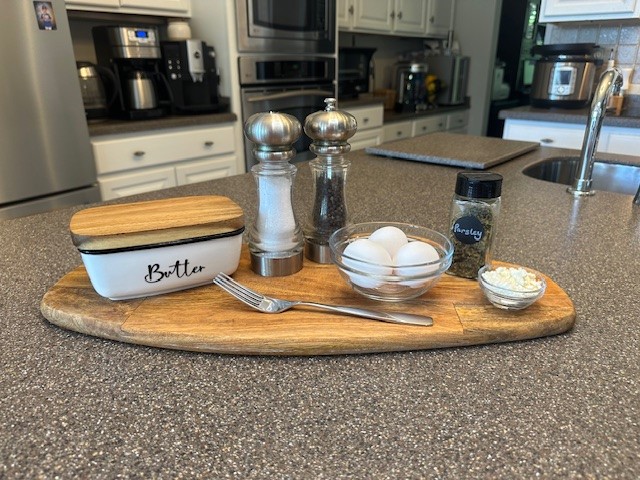
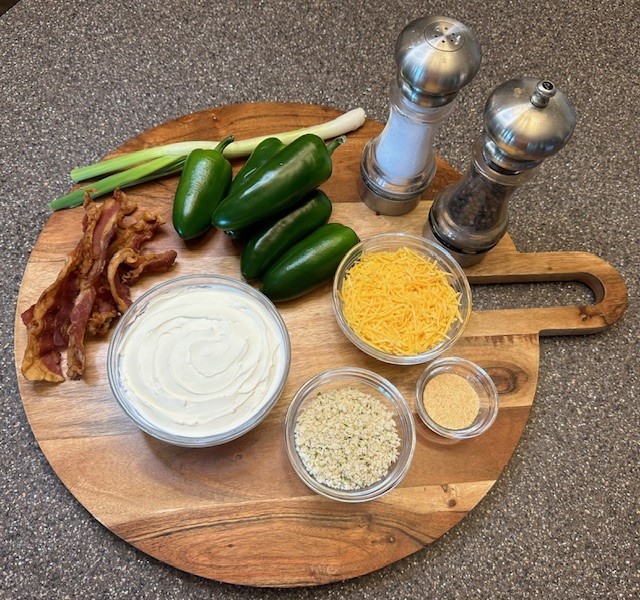
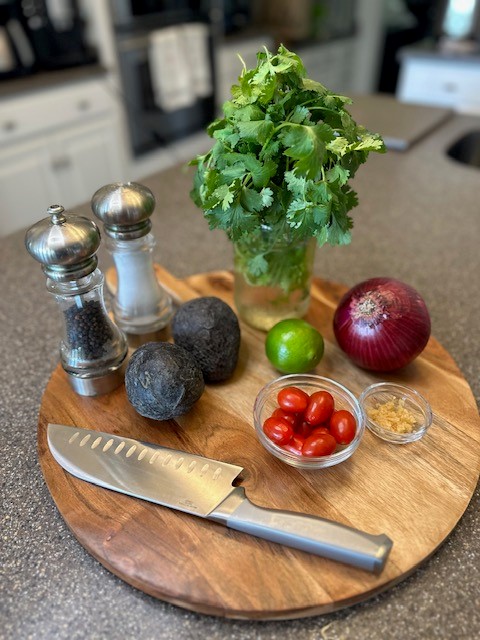
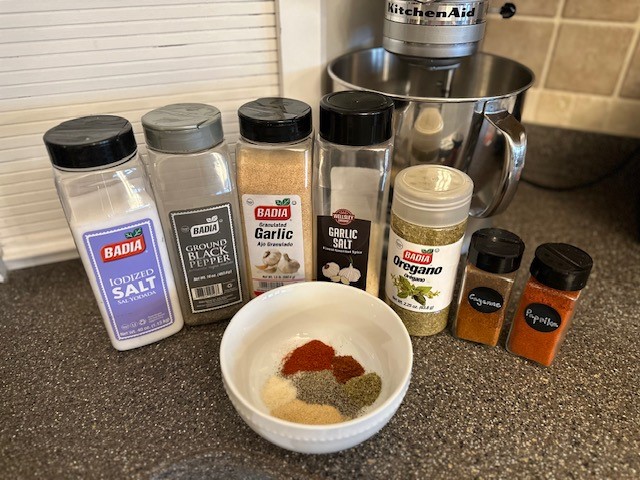
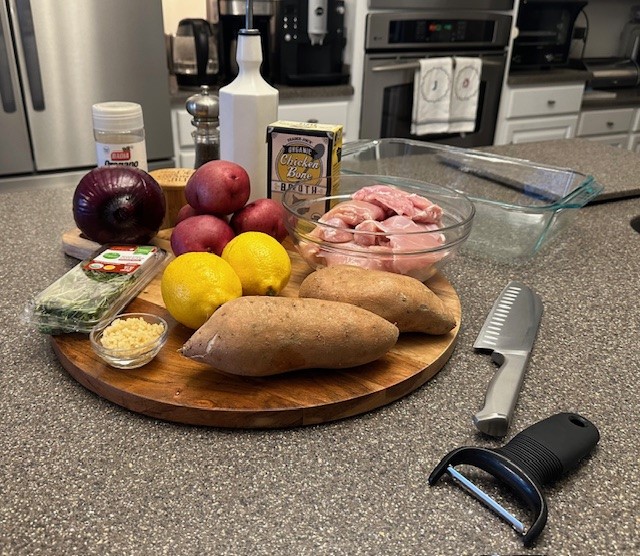
Step 1: Gather all of your ingredients, equipment you'll need for this recipe, and preheat your oven to 425℉.
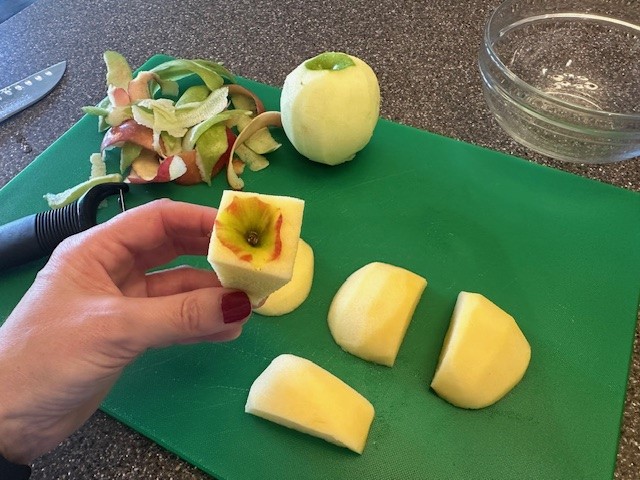
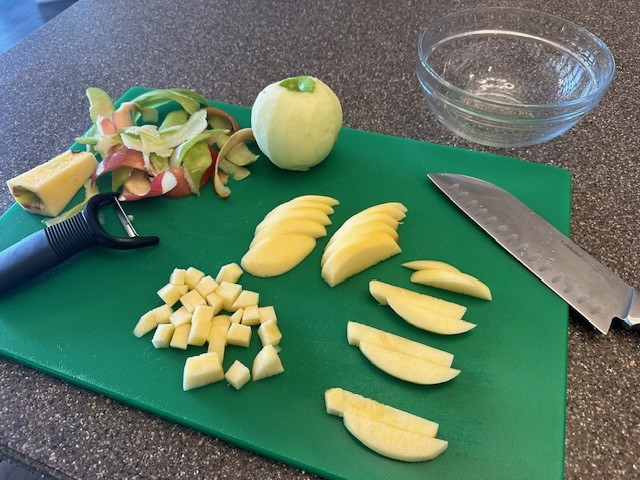
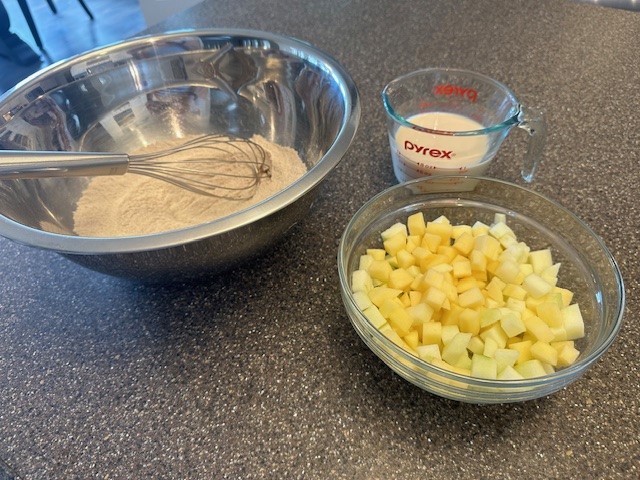
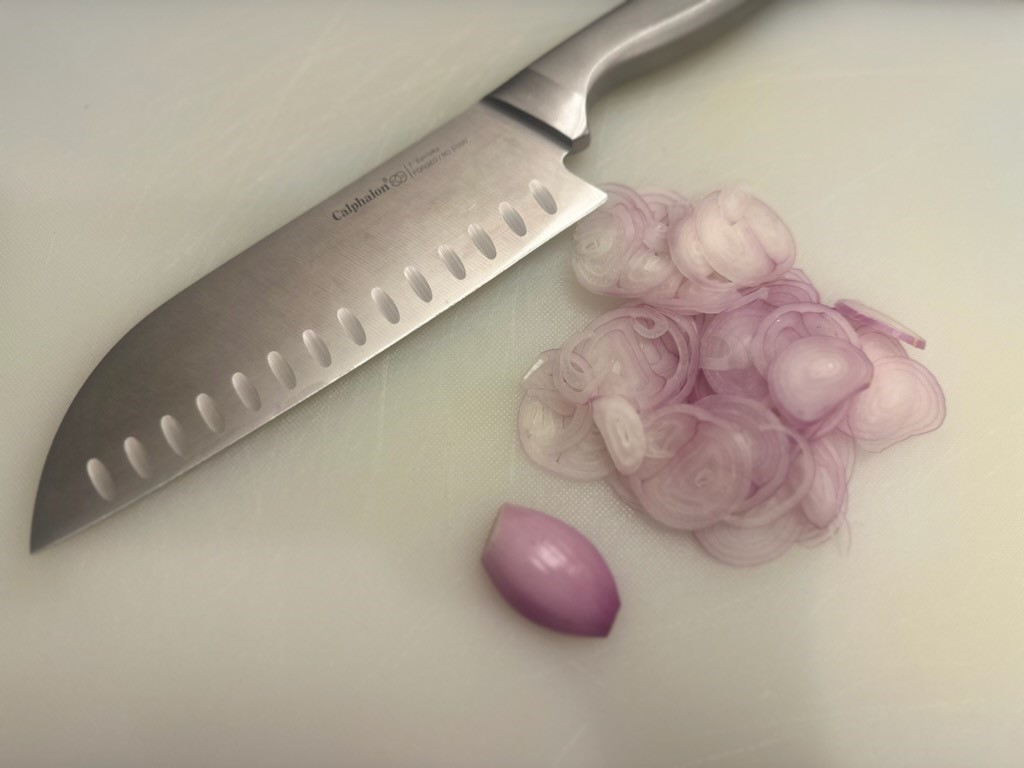
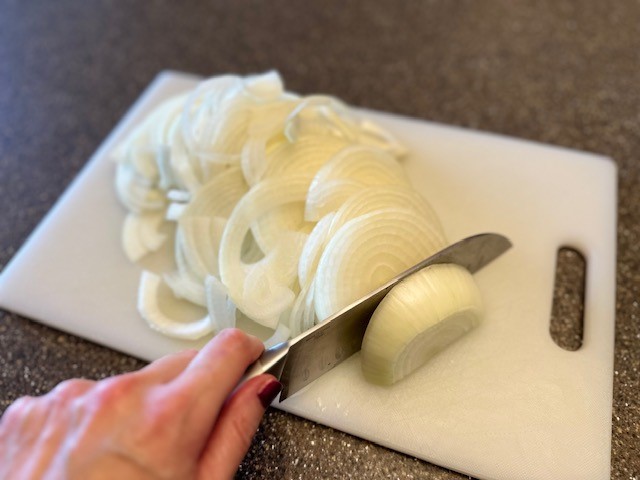
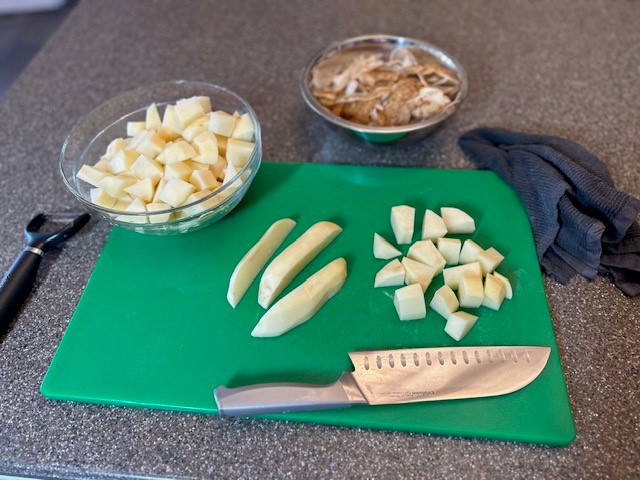
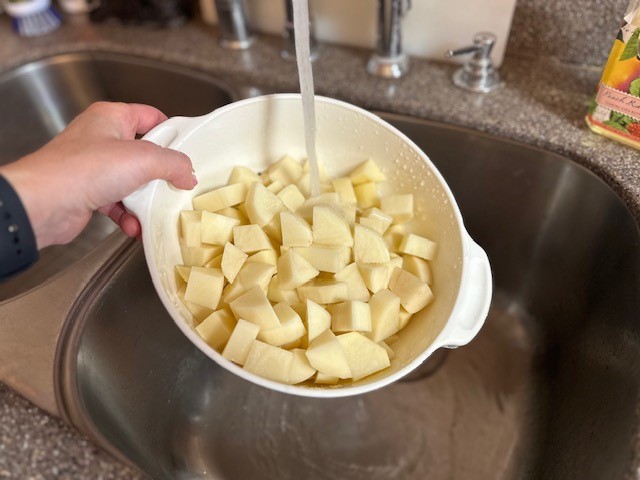
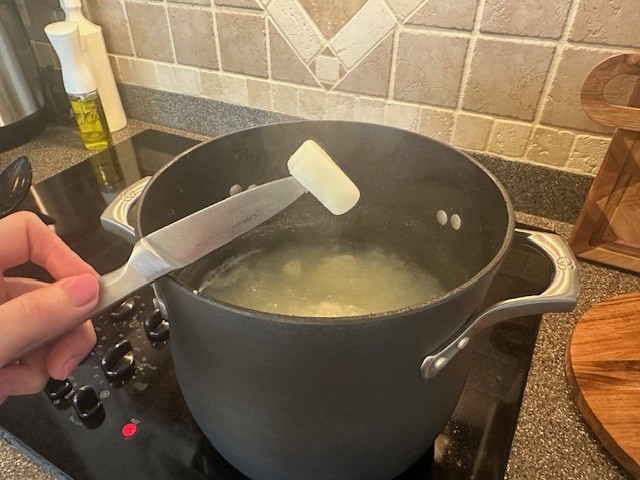
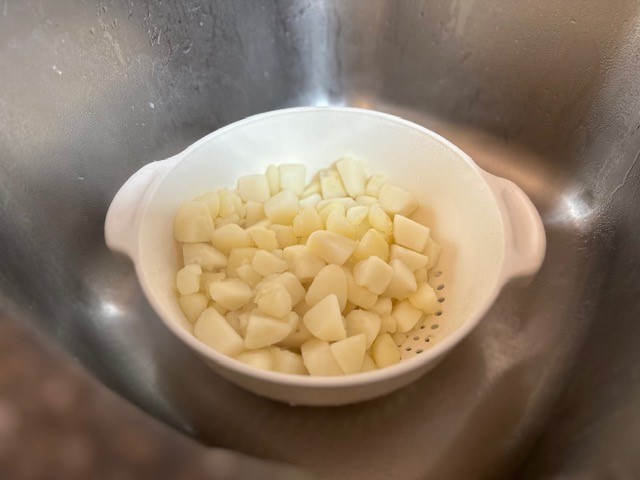
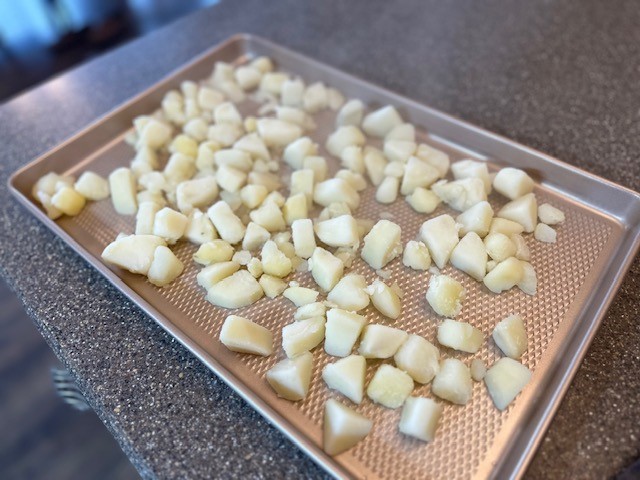
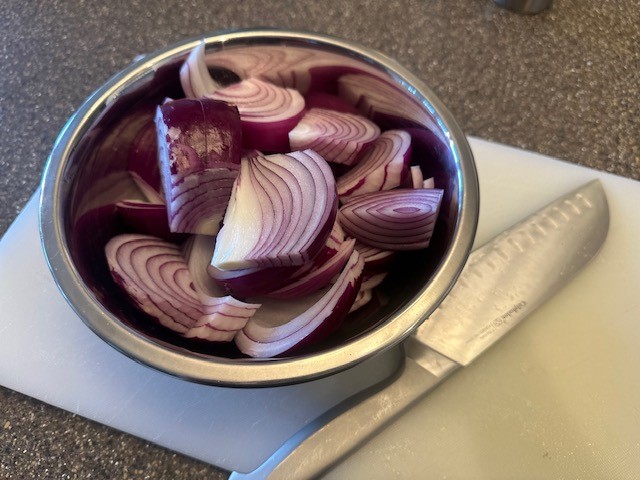
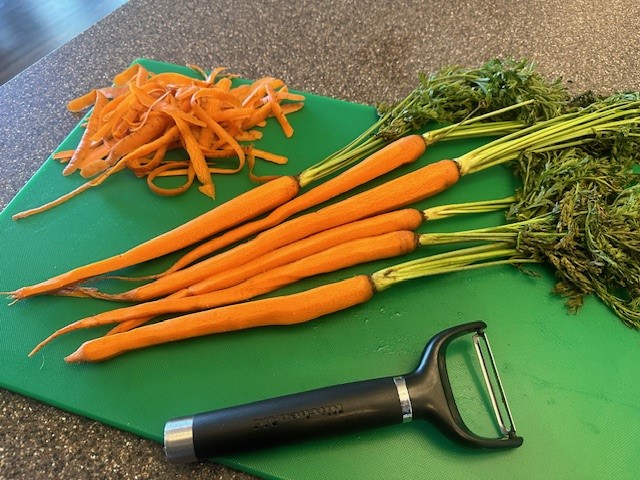
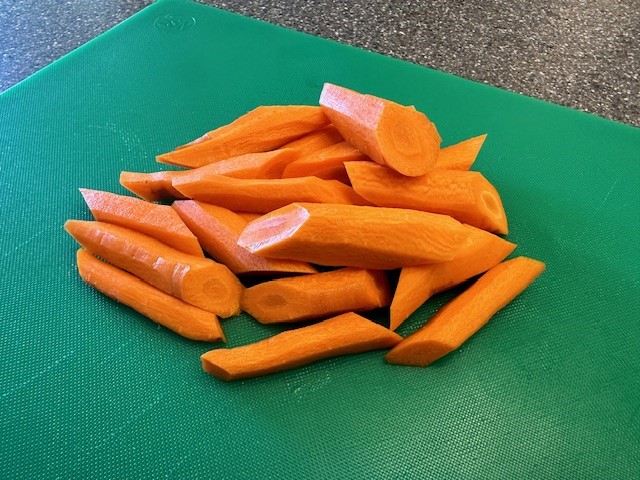
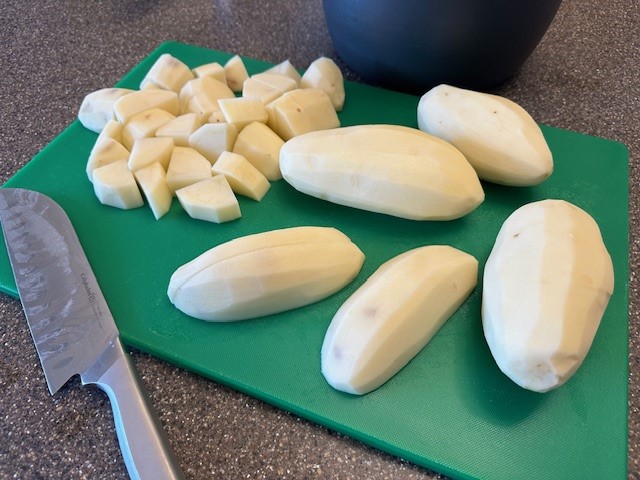
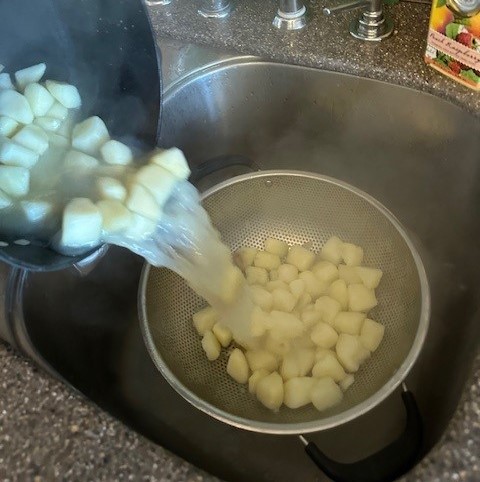
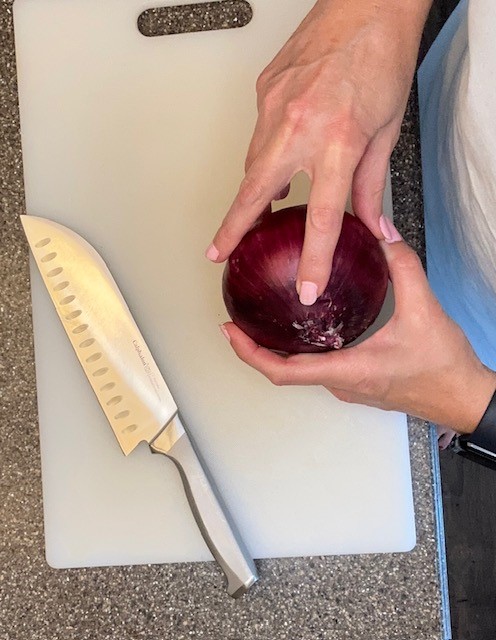
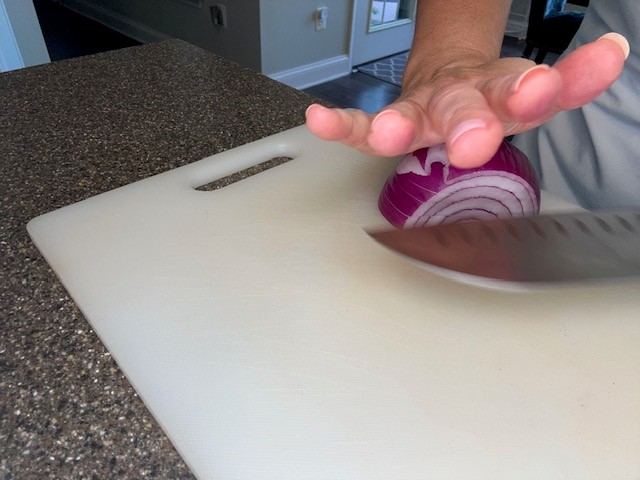
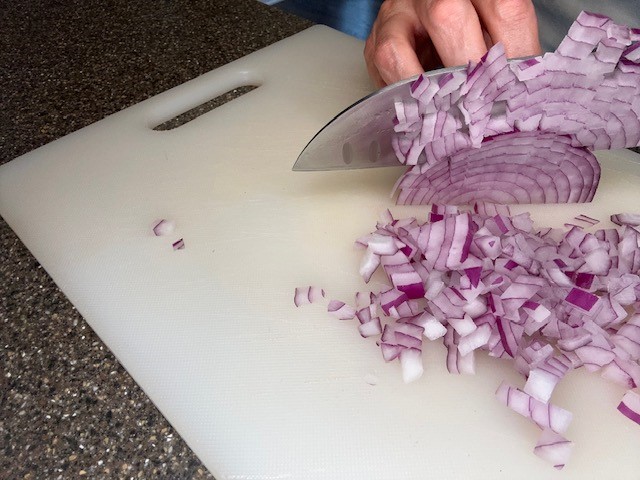
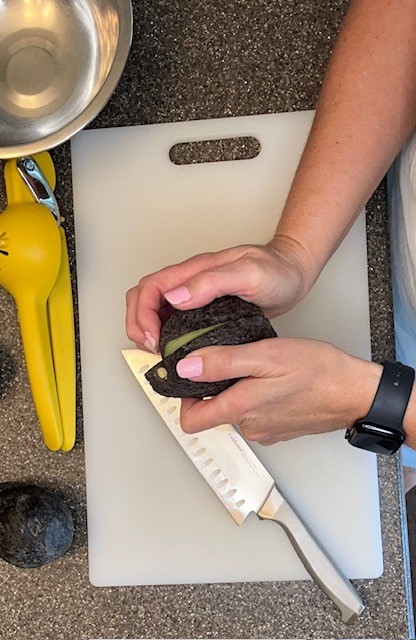
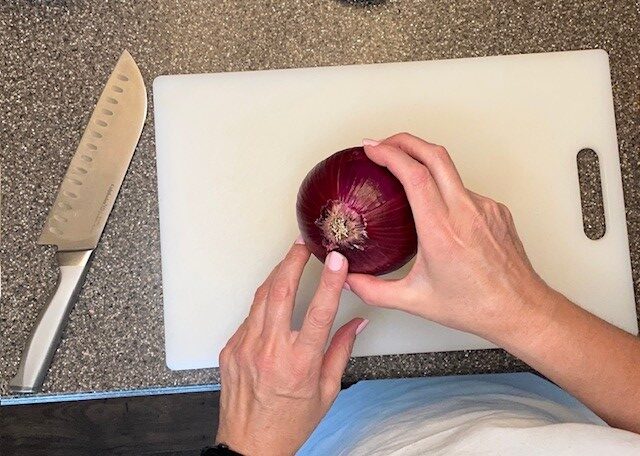
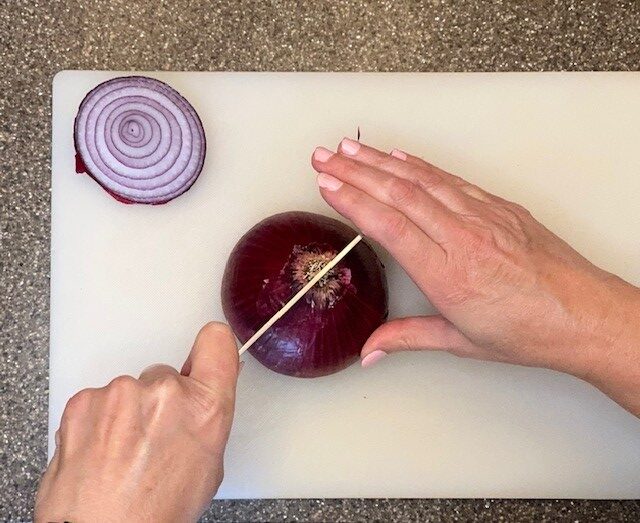
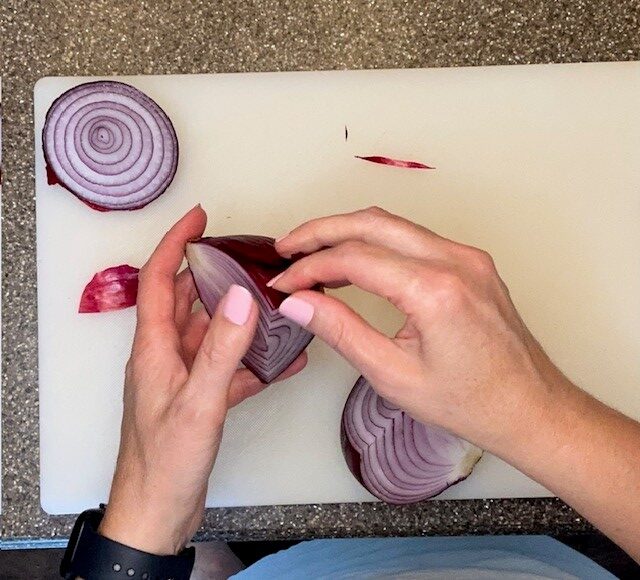
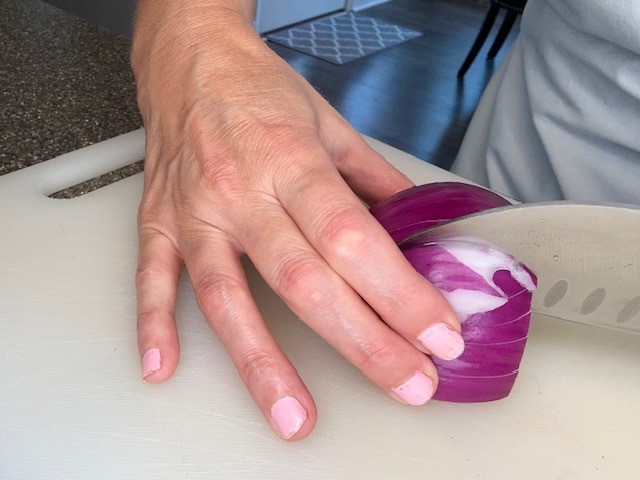
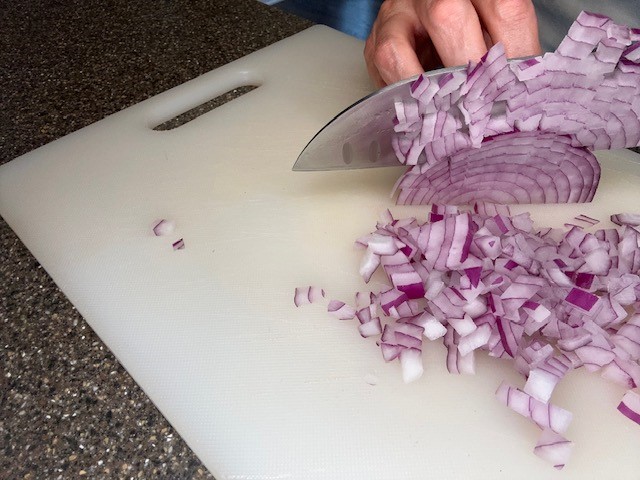
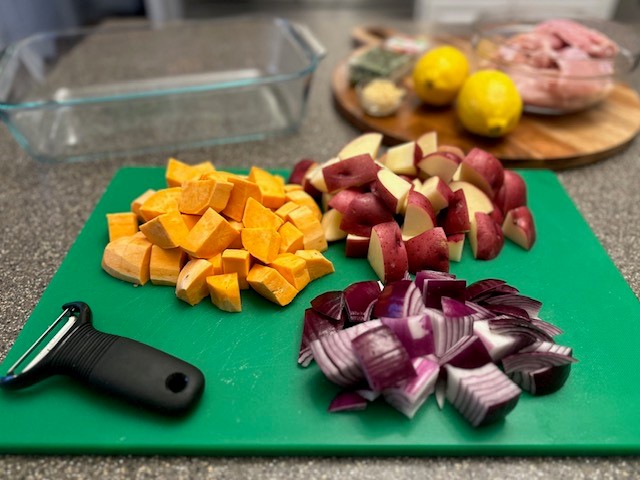
Step 2: After scrubbing your potatoes, peel the sweet potatoes but keep the skin on the red potatoes. Cut both into bite-sized pieces. Chop the onion into similarly sized chunks.
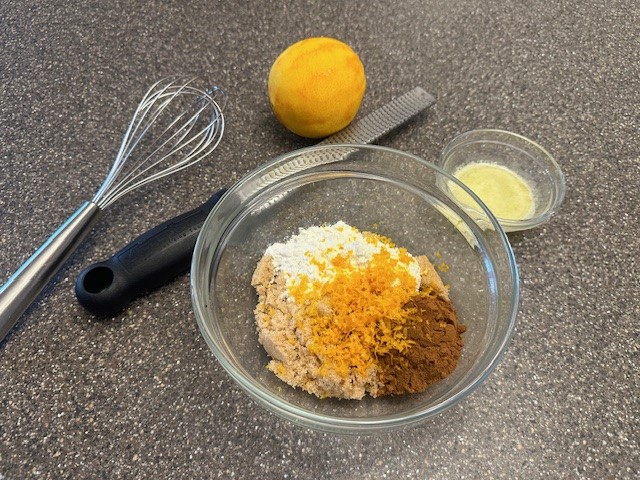
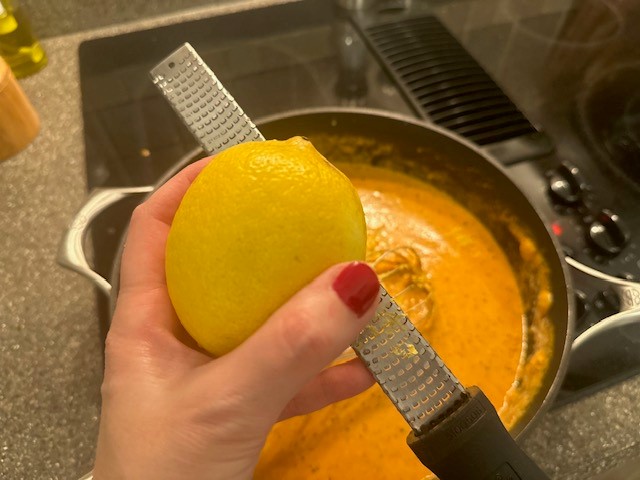
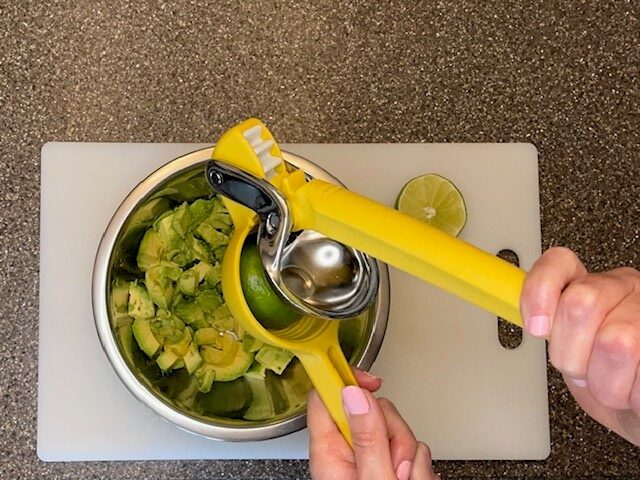
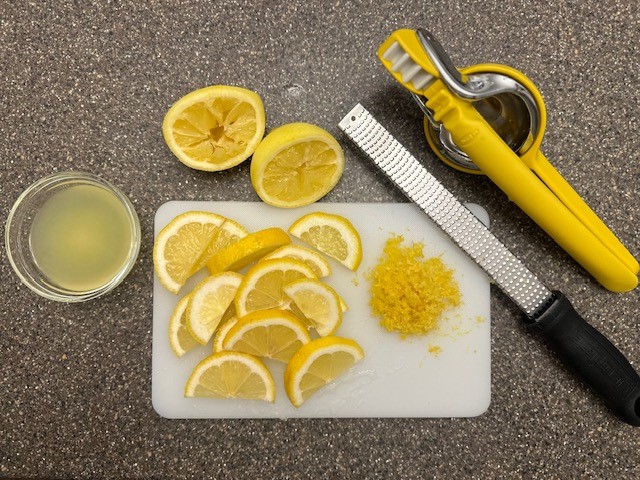
Step 3: Zest and juice one large lemon and cutting the other lemon in half lengthwise, slice into half-wheels.
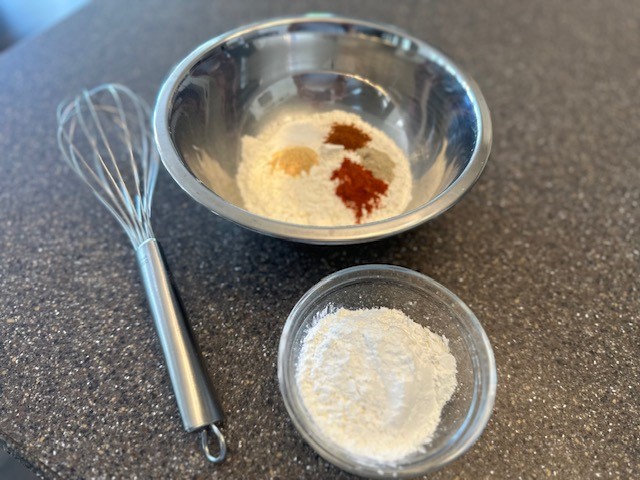
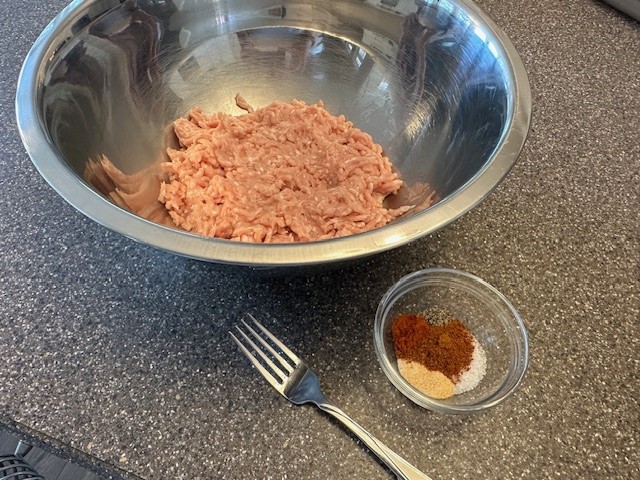
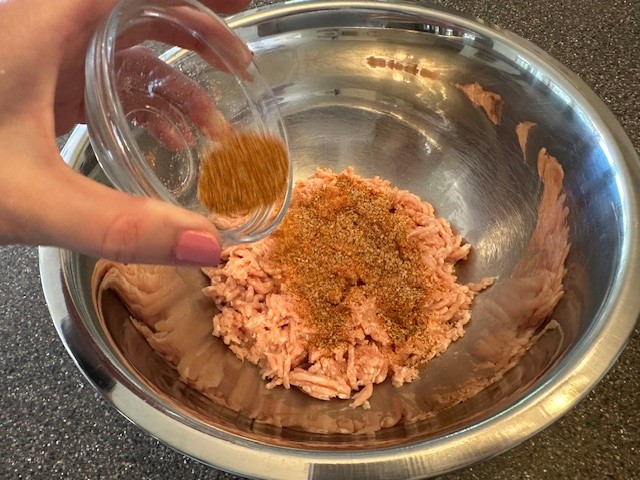
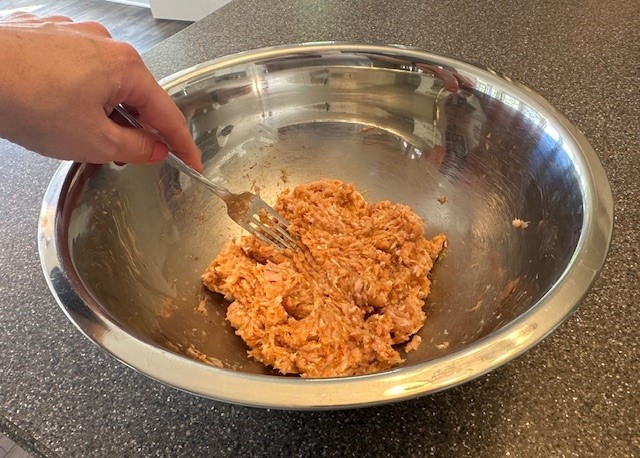
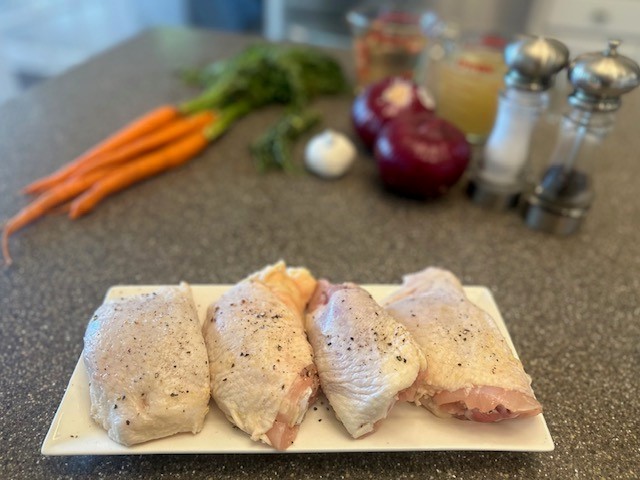
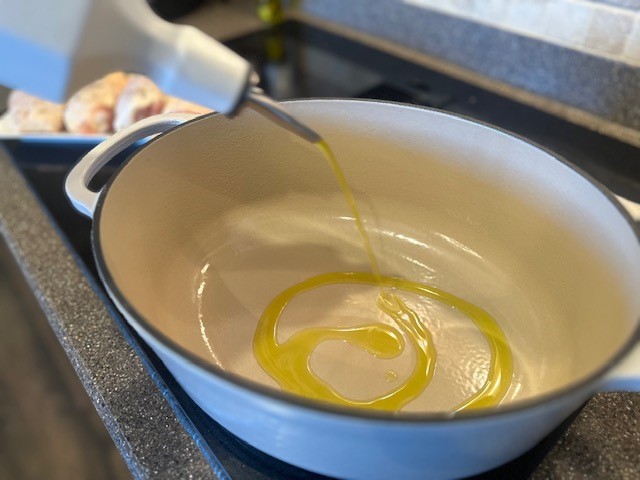
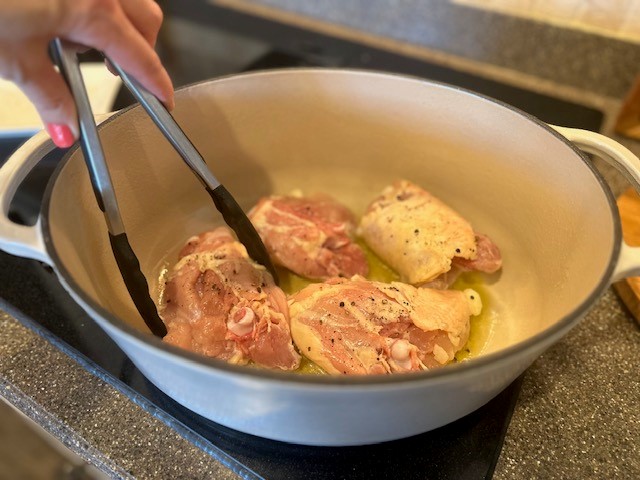
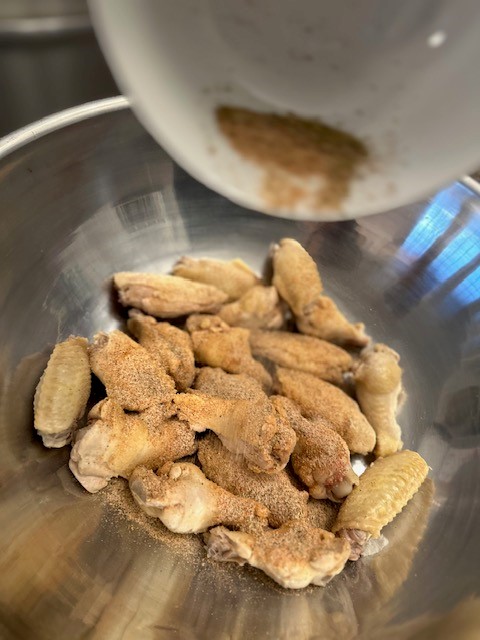
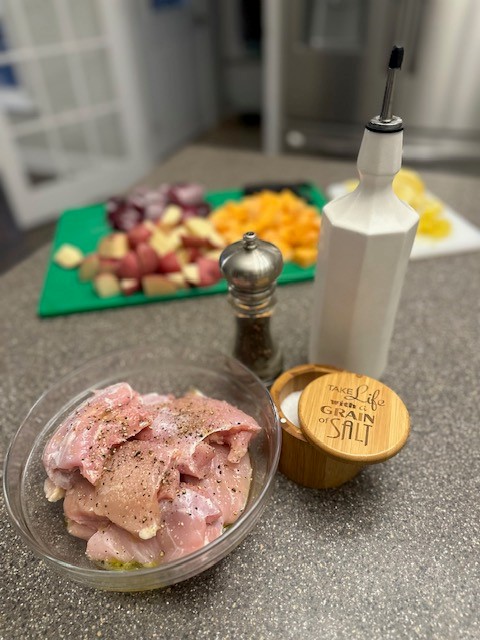
Step 4: In a mixing bowl, drizzle the chicken with olive oil, and then season with salt, pepper, minced garlic and oregano, massaging the skin well.
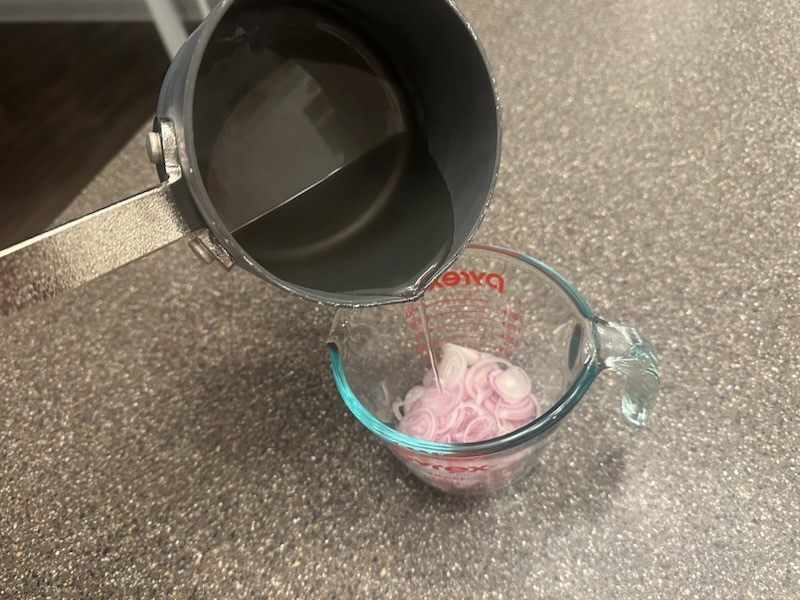
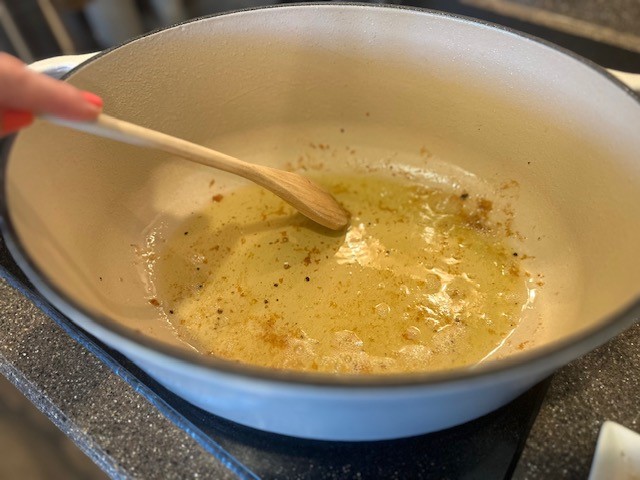
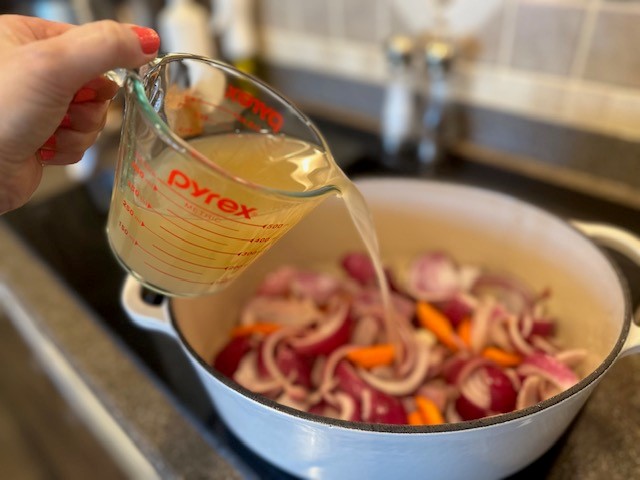
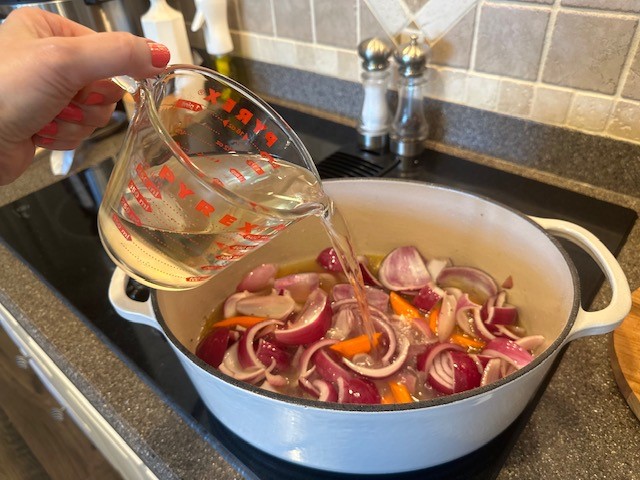
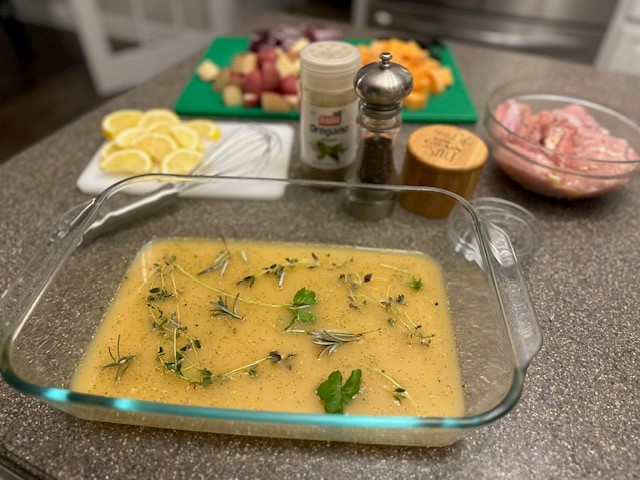
Step 5: Into the 13x9 baking dish, add the chicken stock (or broth), freshly squeezed lemon juice, and season with additional salt, pepper and oregano (to taste). Add a few sprigs of fresh thyme, rosemary and parsley.
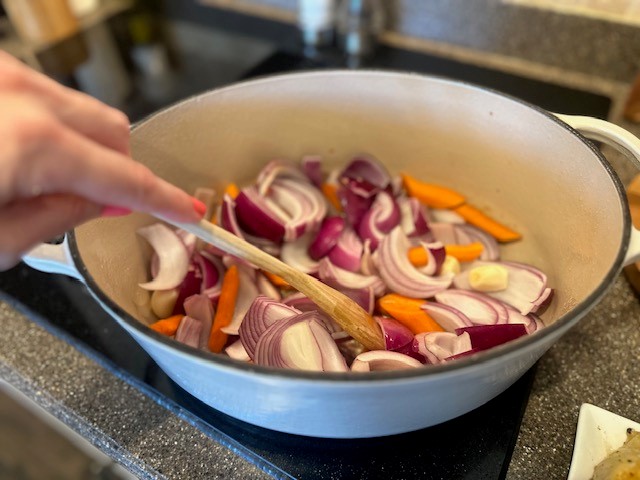
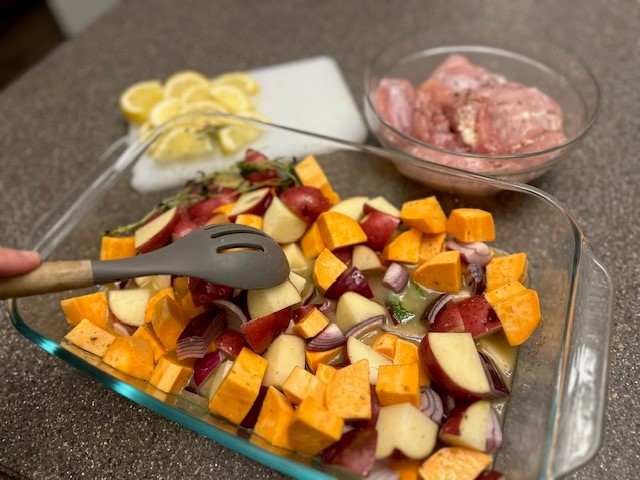
Step 6: Over the braising liquid, add vegetables and stir well to coat. Season again lightly with salt and pepper.
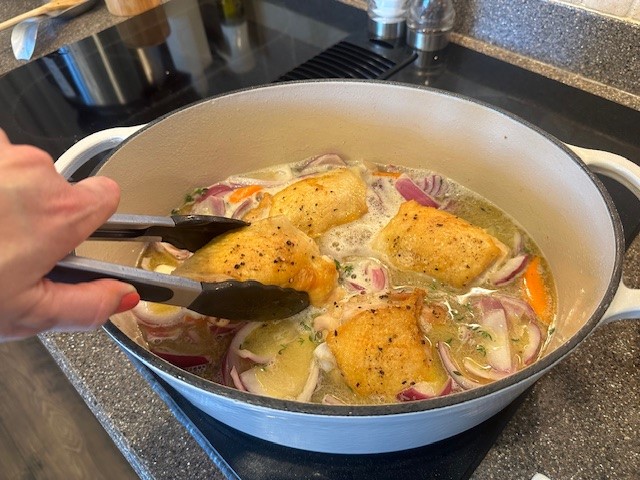
Step 7: Lastly, nestle your chicken into the dish, along with sliced lemons and additional sprigs of fresh herbs.
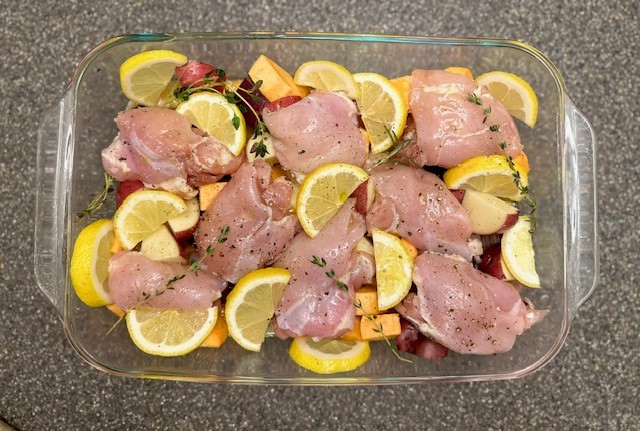
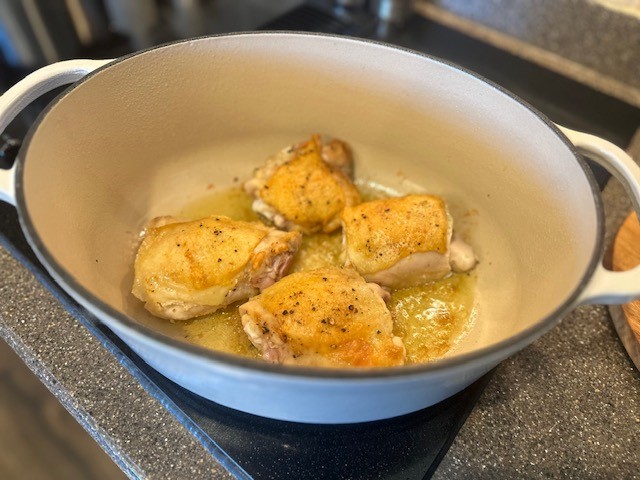
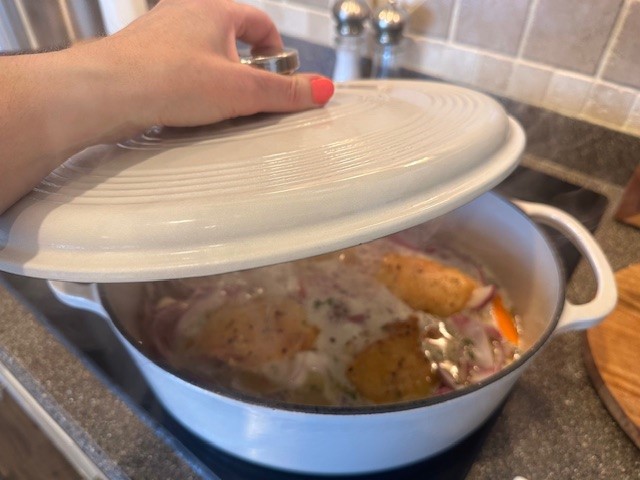
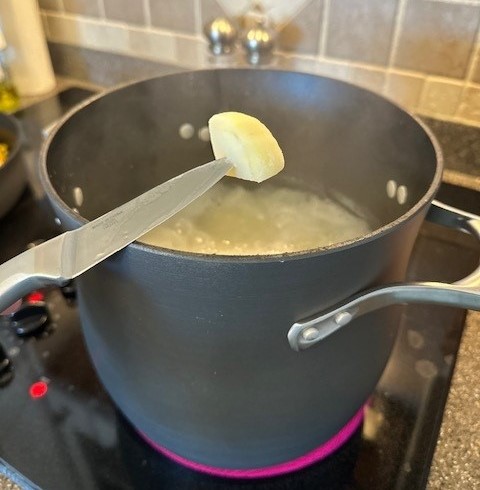
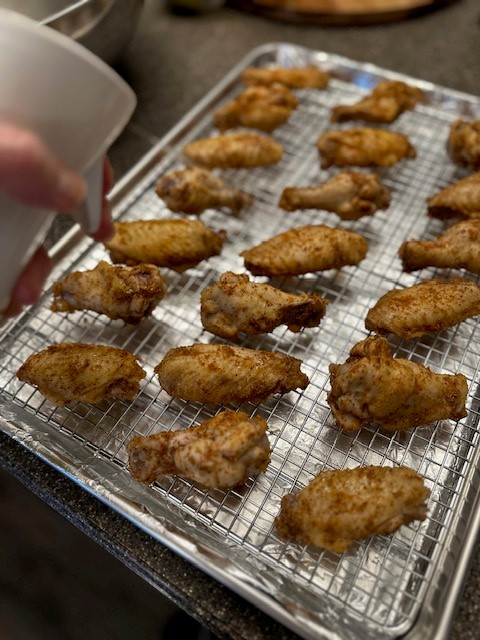
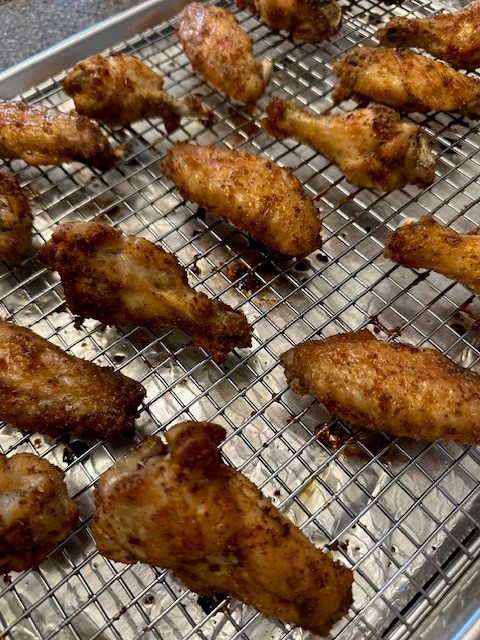
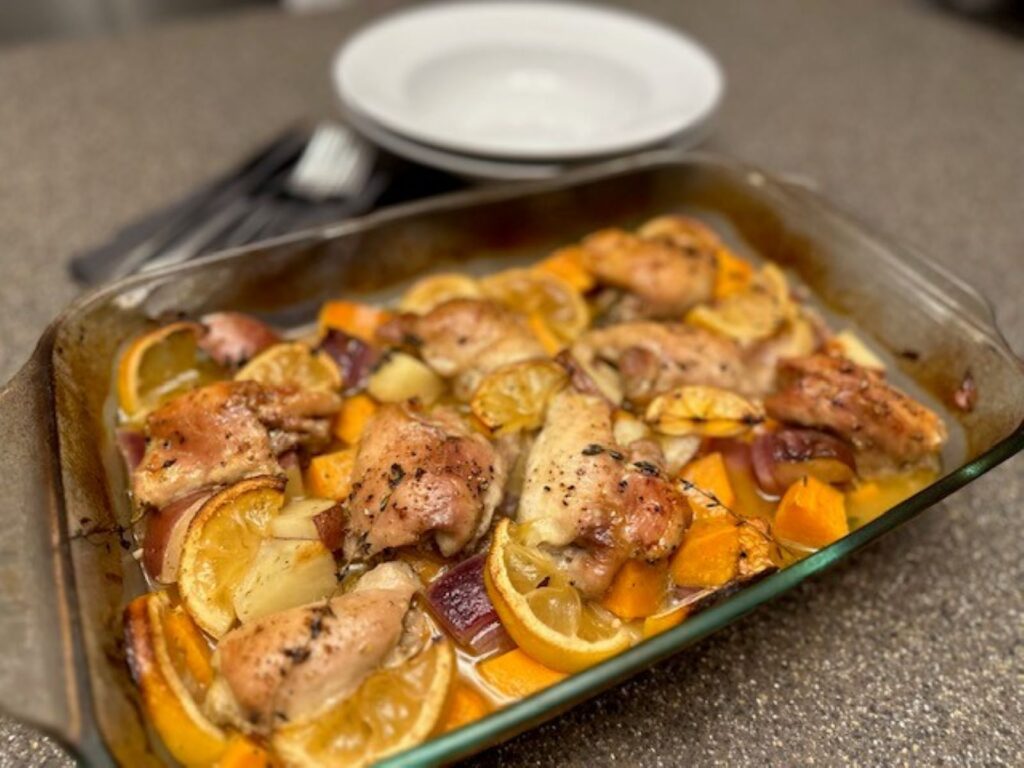
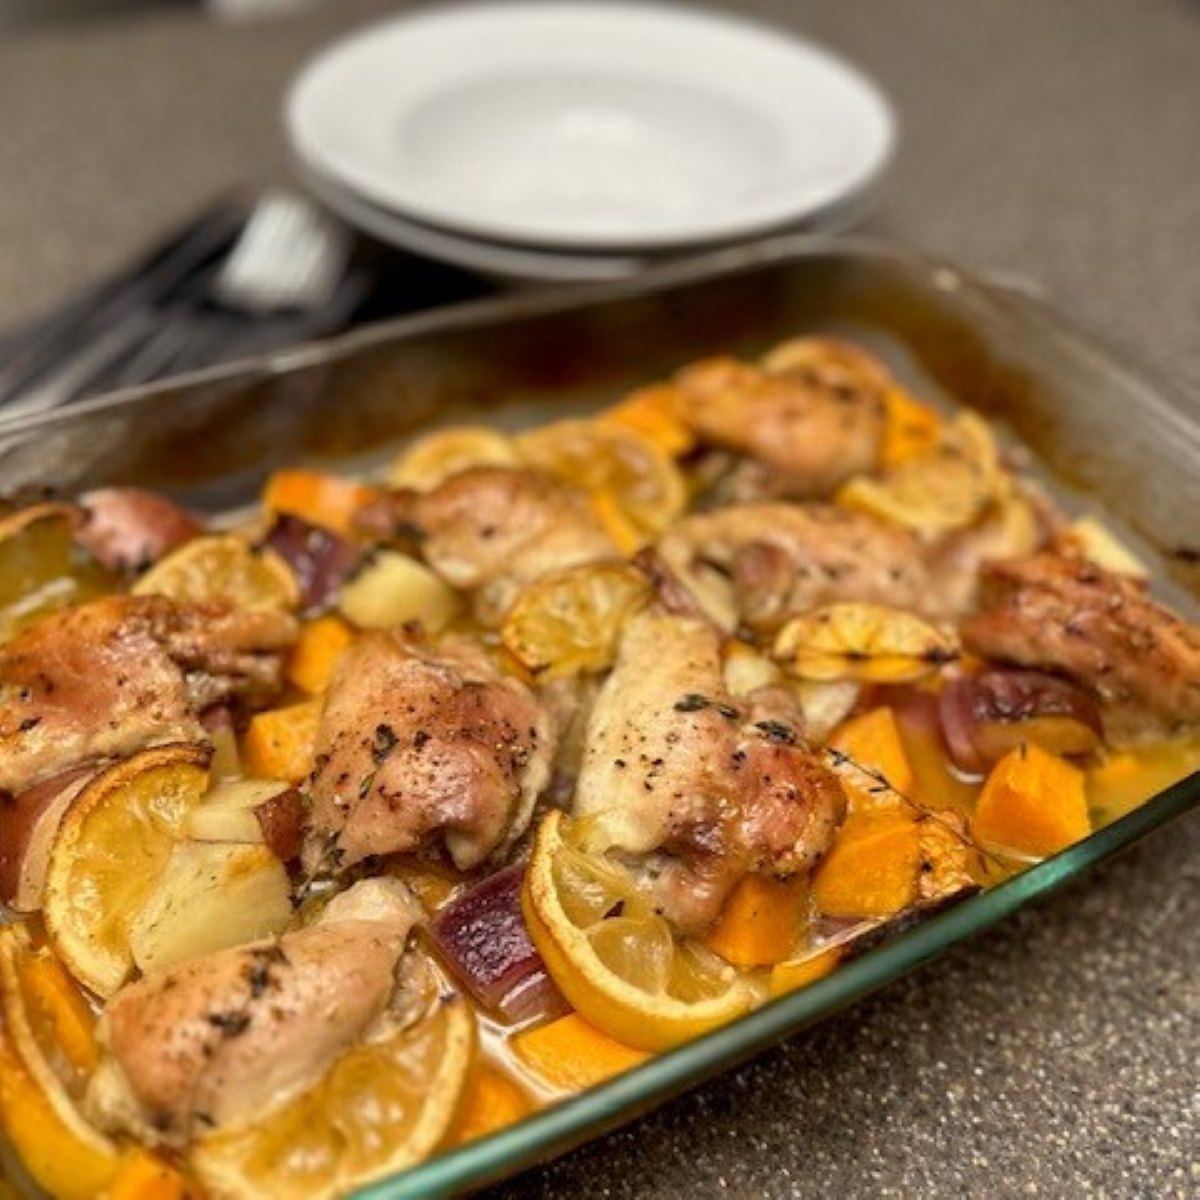
Step 8: Place the baking dish into the preheated oven, uncovered, for about an hour, until chicken is golden brown, and the potatoes are fork tender. Serve chicken and potatoes with the lemony braising liquid and enjoy!
Lemon Chicken with Potatoes & Fresh Herbs
Equipment
- 13x9 Baking Glass Baking Dish
- Vegetable Peeler
- Chef Knife
- Cutting Board
- Medium Mixing Bowl
- FruitReamer (Citrus Juicer) optional
- Wire Whisk
Ingredients
- 8 pieces Boneless, Skinless Chicken Thighs
- 2 Sweet Potatoes
- 4 Small Red Potatoes
- ½ Large Red Onion, Peeled
- 2 Large Lemons
- 2 Tbsp. Finely Minced Garlic
- 1 Pint Chicken Stock or broth
- Olive Oil
- 1 Tbsp. Kosher Salt plus extra
- 2 tsp. Fresh Ground Black Pepper plus extra
- 2 tsp. Dried Oregano plus extra
- Fresh Thyme, Rosemary and Parsley
Instructions
- Gather all of your ingredients, equipment you'll need for this recipe, and preheat your oven to 425℉.
- After scrubbing your potatoes, peel the sweet potatoes but keep the skin on the red potatoes. Cut both into bite-sized pieces. Chop the onion into similarly-sized chunks.
- Zest and juice one large lemon and cutting the other lemon in half lengthwise, slice into half-wheels.
- In a mixing bowl, drizzle the chicken with olive oil, and then season with salt, pepper, minced garlic and oregano, massaging the skin well.
- Into the 13x9 baking dish, add the chicken stock (or broth), freshly squeezed lemon juice, and season with additional salt, pepper and oregano (to taste). Add a few sprigs of fresh thyme, rosemary and parsley.
- Over the braising liquid, add vegetables and stir well to coat. Season again lightly with salt and pepper.
- Lastly, nestle your chicken into the dish, along with sliced lemons and additional sprigs of fresh herbs.
- Place the baking dish into the preheated oven, uncovered, for about an hour, until chicken is golden brown, and the potatoes are fork tender. Serve chicken and potatoes with the lemony braising liquid and enjoy!