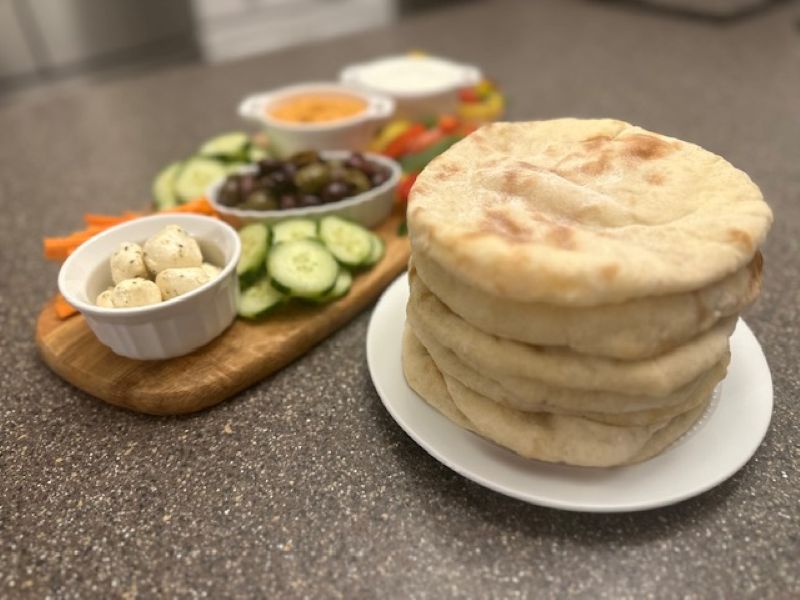
Pillowy soft yet chewy, fresh baked pita warm from the oven is a delicious flatbread. Cut into small wedges and serve with tzatziki or hummus, slice in half and stuff the pocket with your favorite meats, cheeses or veggies to make a great sandwich, or keep it whole and top with sauce and cheese, then broil in the oven to make a personalized pizza.
There are a few tricks to making perfect pita. The first is not to incorporate excess flour. You'll need a little bench flour to keep it from sticking, but more than a light dusting will ultimately draw out the moisture in the dough, leaving the finished pita tough. The second thing is to make sure not to overproof the dough. Allowing your dough to rest in between rolling it out makes a big difference, and I explain this in detail below. And lastly, covering your dough in plastic wrap (and not a linen kitchen cloth) ensures that your dough retains its moisture, creating that quintessential steam within the pocket of the dough, allowing it to balloon as it rises in the oven.
INGREDIENTS:
- 360 g. Unbleached All-Purpose Flour, plus more for dusting plus more for dusting
- 1-½ tsp. Fine Sea Salt
- 2 tsp. Granulated Sugar
- 2 tsp. Instant Dry Yeast
- 241 g. Warm Water 90-95°F
- 2 Tbsp. Olive Oil
instructions:
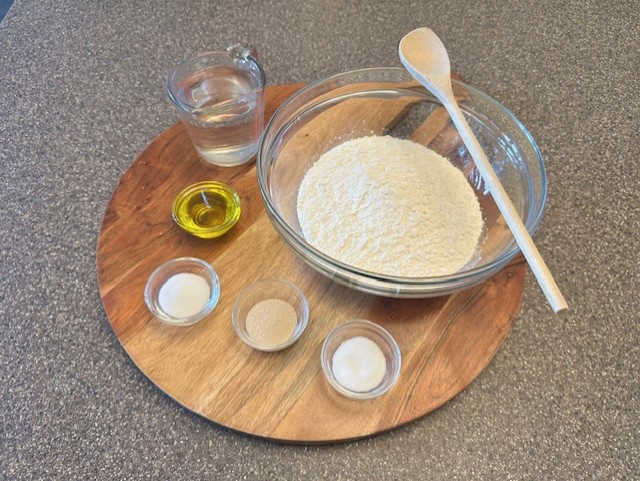
Step 1) Gather all of your ingredients.
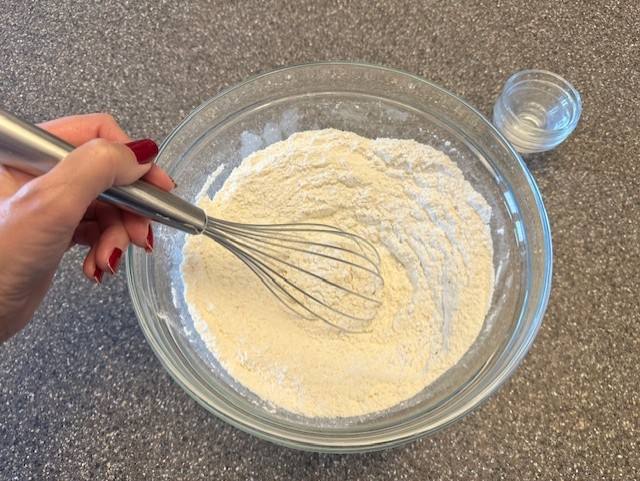
Step 2) In a medium mixing bowl, whisk together the flour, salt, sugar and yeast.
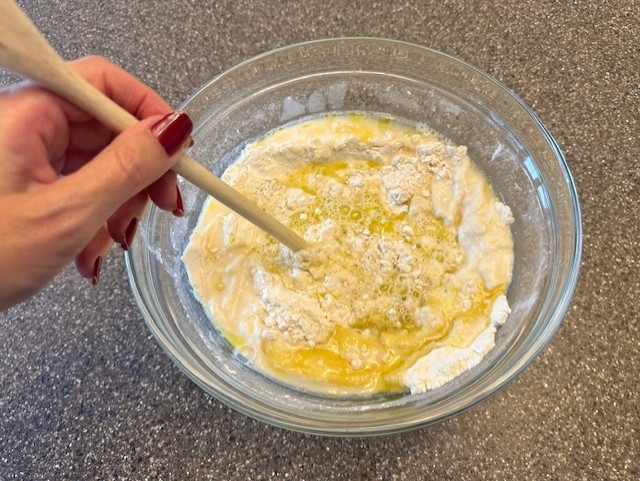
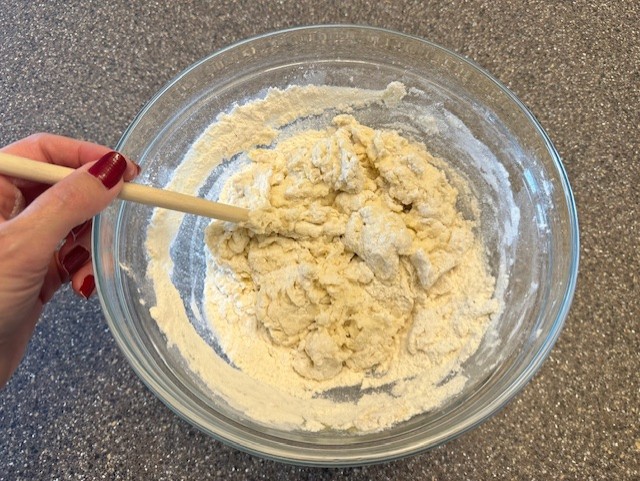
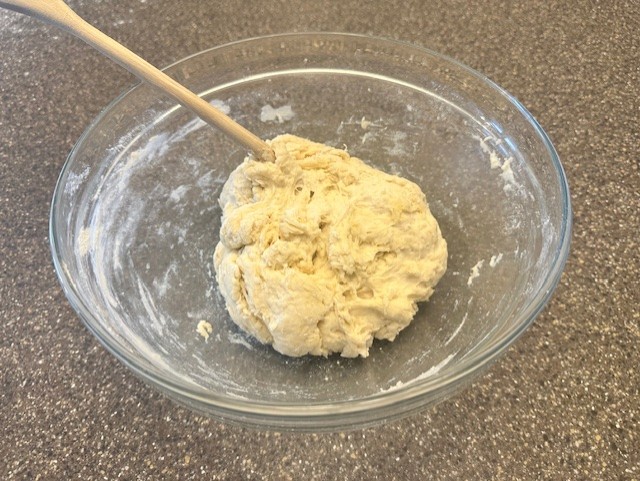
Step 3) Add the warm water and olive oil to the dry ingredients, stirring everything together using the end of a wooden spoon, just until the mixture comes together into a shaggy, sticky dough.
Step 4) Onto a clean, lightly flour-dusted work surface, pour out the dough and begin kneading by hand, a total of 5 minutes, incorporating very light sprinkles of flour just to keep the dough from sticking to either the surface or your hands.
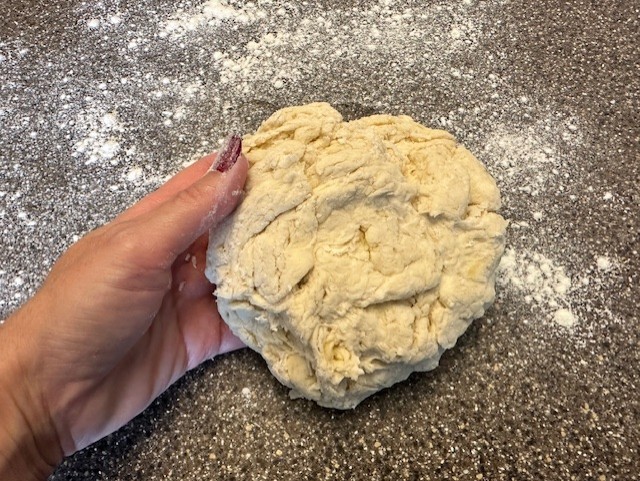
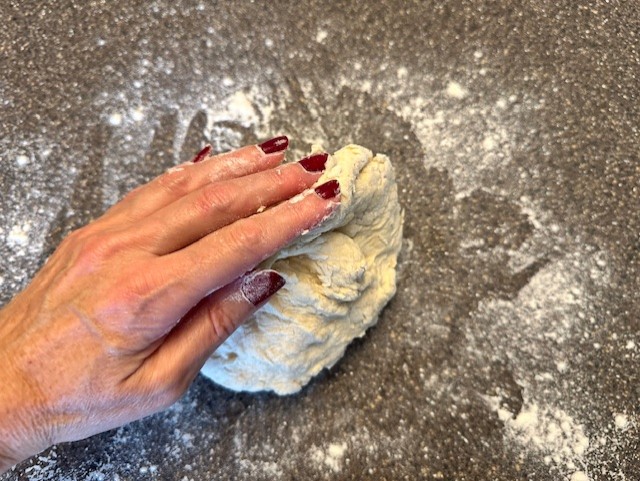
Use the palm of your hand, stretching the dough away from yourself, then fold it back over. Rotate and repeat a few times, then cup the dough along the worksurface, pressing the dough inwards on the bottom and rotating the ball, stretching and smoothing out the surface. The dough does not need to be perfectly smooth but should look cohesive.
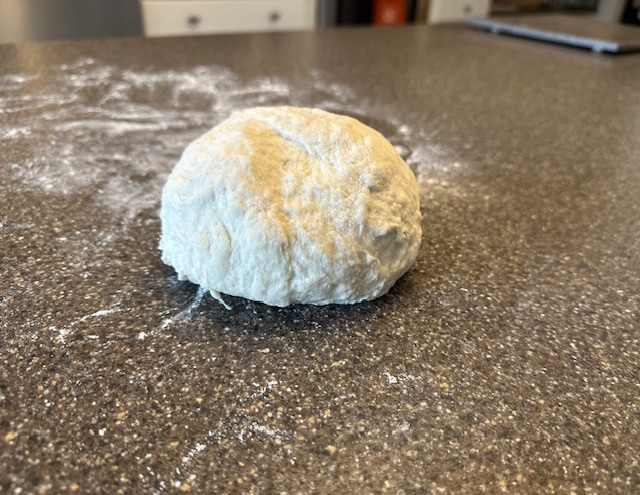
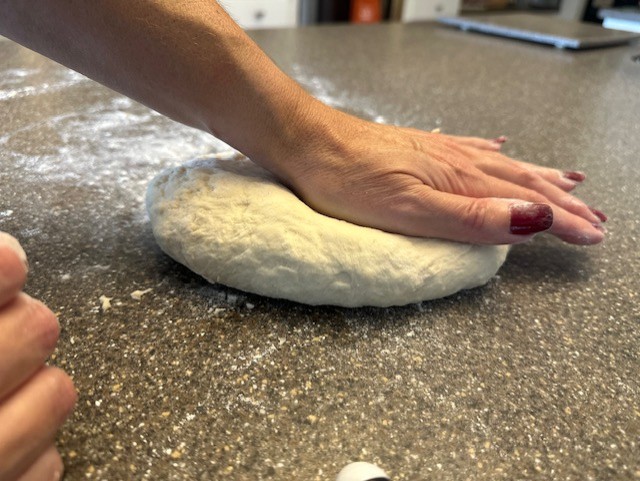
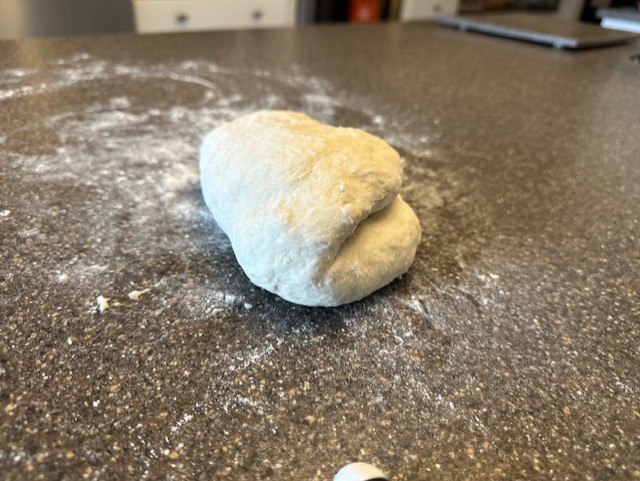
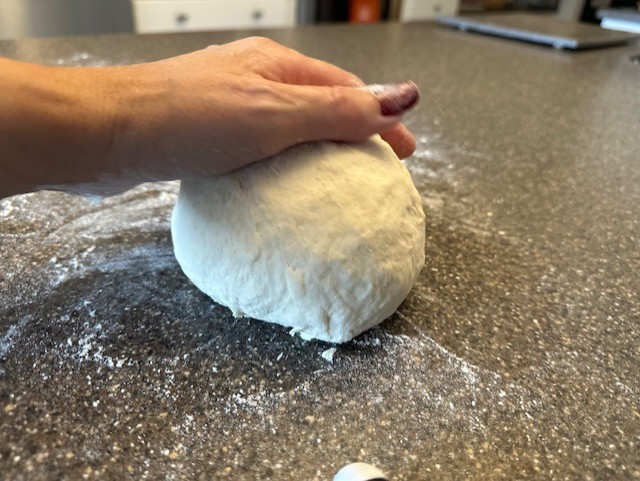
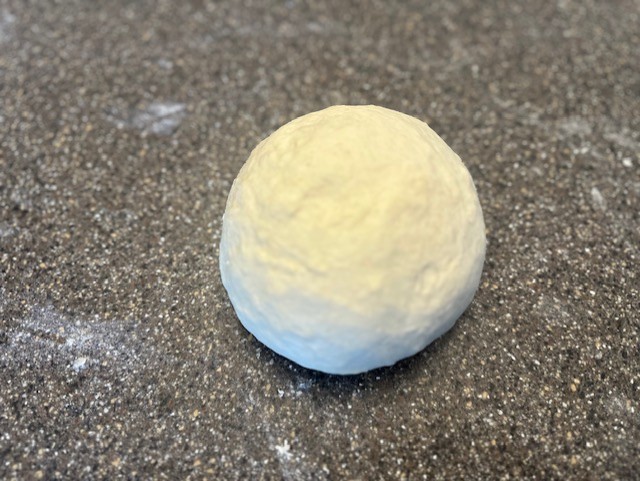
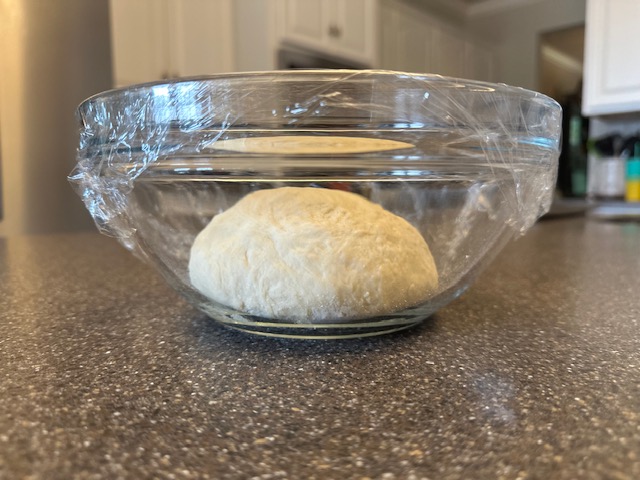
Step 5) Move the dough to a clean glass bowl, either covered with a lid or a piece of plastic wrap. Set aside in a warm area of your kitchen and set a timer for 1 hour.
Step 6) Move an oven rack so that it is positioned above the center. Place either a baking steel or baking stone on that rack, and preheat the oven to 500°F. You’ll want your baking surface hot before using.
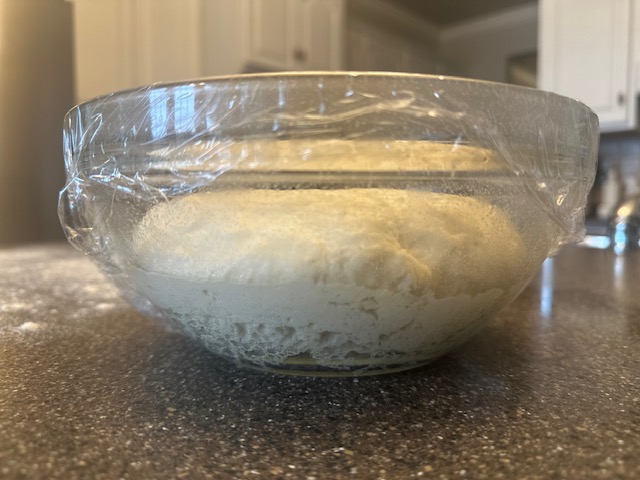
Step 7) After the hour-long proof, when the dough has visibly doubled in size, move the dough onto a lightly floured, clean worksurface.
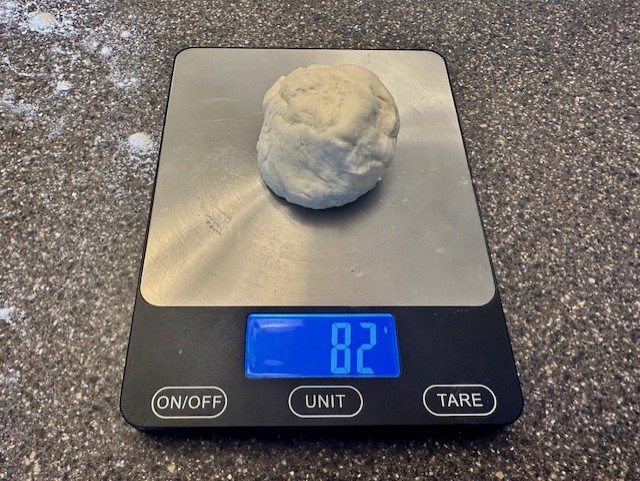
Chef’s Tip: To ensure that the portions are even, I prefer weighing the entire ball of dough on the kitchen scale and then dividing that amount by 8. (Ex. If the dough weighs approximately 655 grams, each portion of dough should be around 82 grams.)
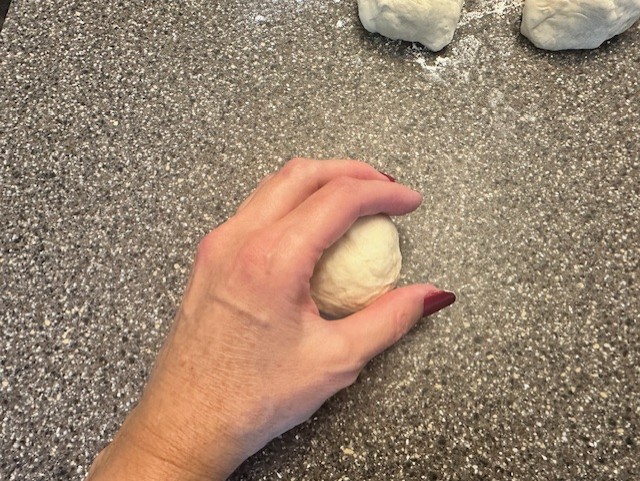
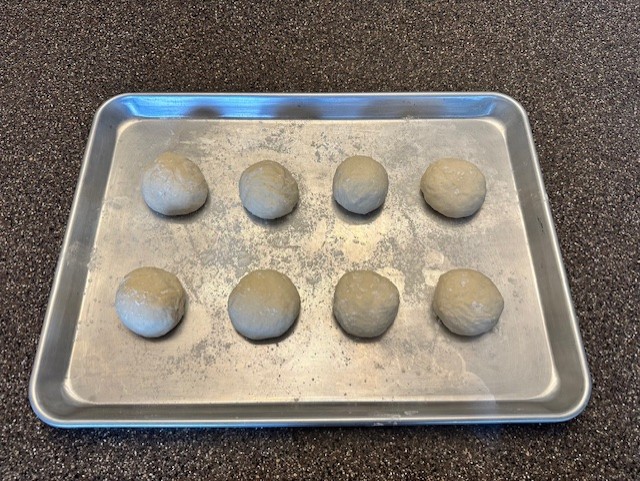
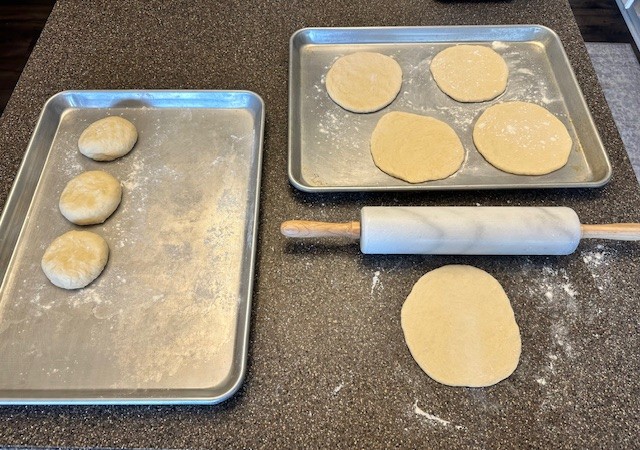
Step 8) Roll each portion of dough into a small, smooth, round of dough, and place on a sheet pan sprinkled lightly with flour, placed a few inches apart. The dough won’t rise, but it allows the gluten in the flour to relax a bit before rolling. Cover loosely with plastic wrap but ensure that air cannot get in, which will dry out the dough.
Allow the dough to rest for 10-15 minutes at room temperature.
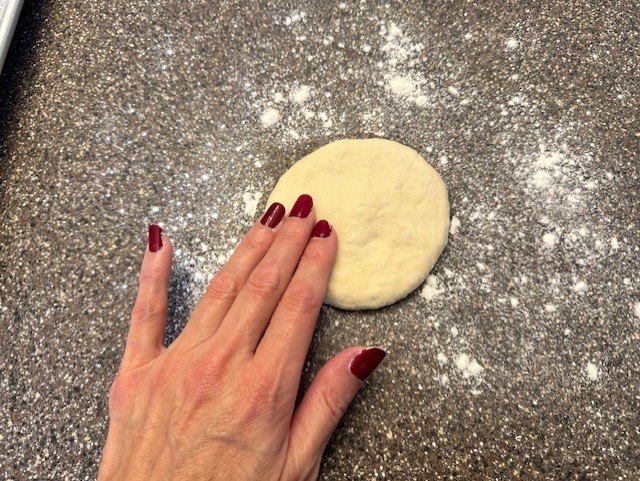
Step 9) Dust your work surface again with just a little flour, and starting with one ball of dough at a time, begin pressing out the dough into a flat circle (like if you were making a pizza). Starting at the center and working out towards the edges, use a rolling pin to stretch the dough just until it begins to bounce back, usually no more than 3-4 inches at this point. Move the flattened round of dough back to the sheet pan, covered tightly, and allow it to rest again while you continue rolling out the other portions of dough, repeating the steps. Take note of the order in which you started.
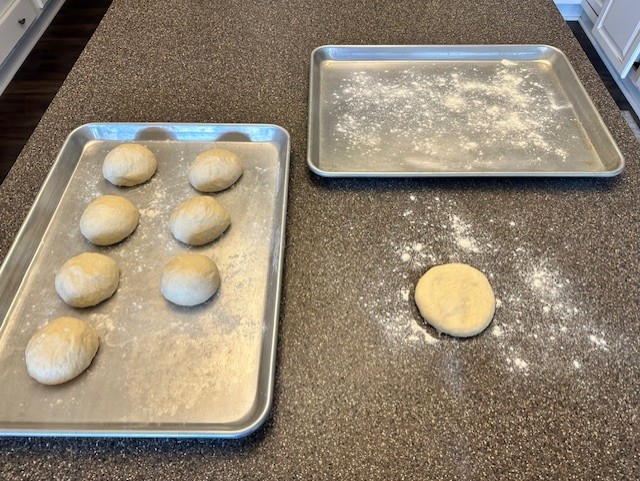
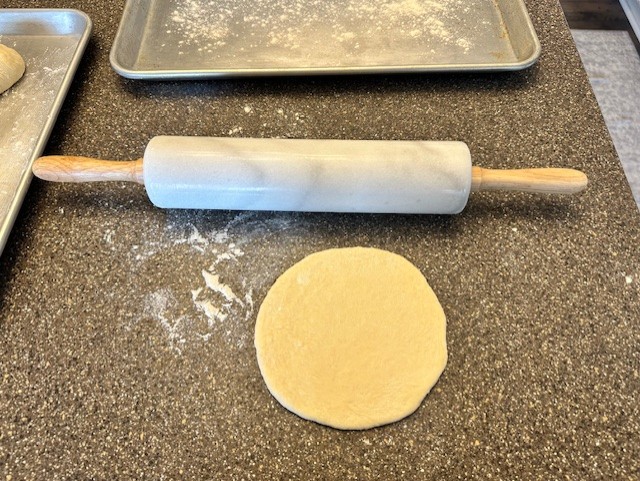
Step 10) Once you’ve rolled out all 8 portions of dough, start back at the first piece and roll out again. This time, it should roll out easier, not bouncing back. If it does, give it another minute or two. Rotate the dough as you work to keep your shape as close to round as you can. You’ll want each piece to be about 6-7 inches in diameter.
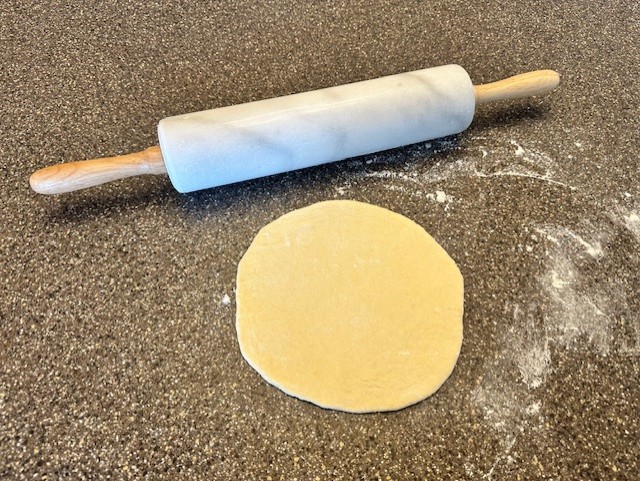
Step 11) On a pizza peel, giant spatula, or a flat baking sheet (inverted if you only have baking sheets with sides) lightly dusted with flour, place a round of the pita dough and slide it directly onto the preheated baking steel (or stone) and set a timer for about 3-½ minutes. The pita won’t take on too much color, but some slight browning on top is okay.
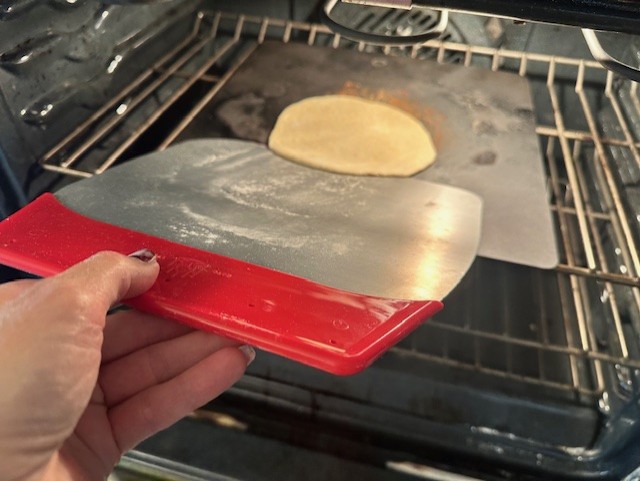
If your oven has a light, be sure to keep an eye on the magic as your pita bakes up and balloons, creating that perfect steam pocket.
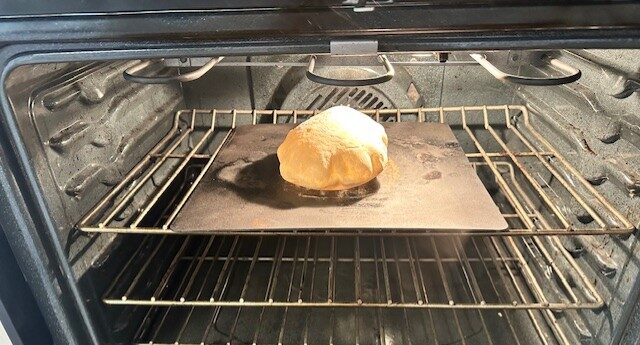
Step 12) Carefully remove the dough from the oven and place it into a covered bowl or a tea towel to keep warm as the pita deflates. Repeat, with the remaining dough, adjusting the time down a few seconds, or up to 4 minutes, depending on your preferred doneness. In my experience 3 minutes and 25 seconds seems to be the sweet spot.
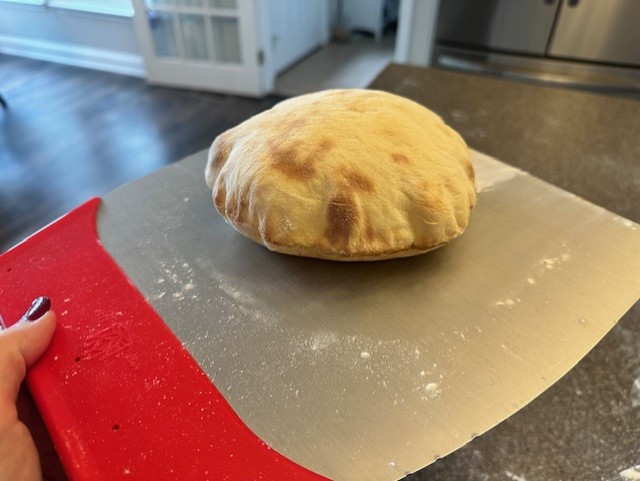
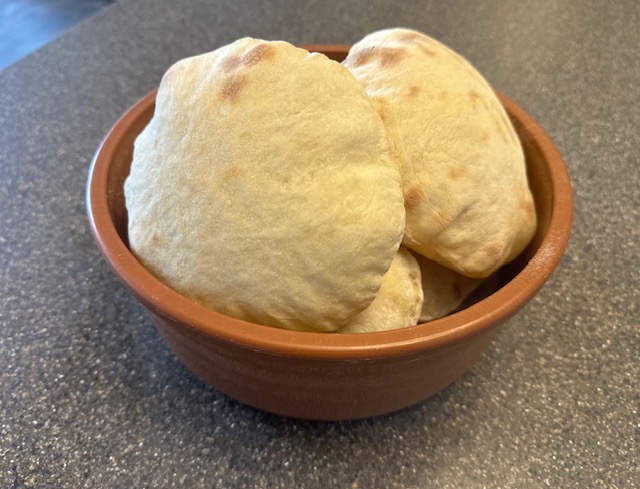
Serve your freshly baked pita warm from the oven, or after they have cooled, stored in an airtight container for up to 2 days.
Fresh Baked Pita Bread
Equipment
- Medium Mixing Bowl
- Wooden Spoon
- Liquid Measuring Cup
- Wire Whisk
- Digital Thermometer
- 2 Baking Sheets
- Rolling Pin
- Plastic Wrap
- Clean Linen Kitchen Towel
- Pizza Peel, Giant Spatula, or a Flat Baking sheet (Inverted if there are sides)
- Baking Steel or Stone
Ingredients
- 360 g. Unbleached All-Purpose Flour, plus more for dusting plus more for dusting
- 1-½ tsp. Fine Sea Salt
- 2 tsp. Granulated Sugar
- 2 tsp. Instant Dry Yeast
- 241 g. Warm Water 90-95°F
- 2 Tbsp. Olive Oil
Instructions
- Gather all of your ingredients.
- In a medium mixing bowl, whisk together the flour, salt, sugar and yeast.
- Add the warm water and olive oil to the dry ingredients, stirring everything together using a wooden spoon, just until the mixture comes together into a shaggy, sticky dough.
- Onto a clean, lightly flour-dusted work surface, pour out the dough and begin kneading by hand, a total of 5 minutes, incorporating very light sprinkles of flour just to keep the dough from sticking to either the surface or your hands. Use the palm of your hand, stretching the dough away from yourself, then fold it back over. Rotate and repeat a few times, then cup the dough along the worksurface, pressing the dough inwards on the bottom and rotating the ball, stretching and smoothing out the surface. The dough does not need to be perfectly smooth, but should look cohesive.
- Move the dough to a clean glass bowl, either covered with a lid or a piece of plastic wrap. Set aside in a warm area of your kitchen and set a timer for 1 hour.
- Move an oven rack so that it is positioned above the center. Place either a baking steel or baking stone on that rack, and preheat the oven to 500°F. You’ll want your baking surface hot before using.
- After the hour-long proof, move the dough onto a lightly floured, clean worksurface and divide the dough into 8 equal portions.
- Chef’s Tip: To ensure that the portions are even, I prefer weighing the entire ball of dough on the kitchen scale and then dividing that amount by 8.
- Roll each portion of dough into a small, smooth, round of dough, and place on a sheet pan sprinkled lightly with flour, placed a few inches apart. The dough won’t rise, but it allows the gluten in the flour to relax a bit before rolling. Cover loosely with plastic wrap but ensure that air cannot get in, which will dry out the dough. Allow the dough to rest for 10-15 minutes at room temperature.
- Dust your work surface again with just a little flour, and starting with one ball of dough at a time, begin pressing out the dough into a flat circle (like if you were making a pizza). Starting at the center and working out towards the edges, use a rolling pin to stretch the dough just until it begins to bounce back, usually no more than 3-4 inches at this point. Move the flattened round of dough back to the sheet pan, covered tightly, and allow it to rest again while you continue rolling out the other portions of dough, repeating the steps. Take note of the order in which you started.
- Once you’ve rolled out all 8 portions of dough, start back at the first piece and roll out again, and it should roll out easier, not bouncing back. If it does, give it another minute or two. Rotate the dough as you work to keep your shape as close to round as you can. You’ll want each piece to be about 6-7 inches in diameter.
- On a pizza peel, giant spatula, or a flat baking sheet (inverted if you only have baking sheets with sides) lightly dusted with flour, place a round of the pita dough and slide it directly onto the preheated baking steel (or stone) and set a timer for about 3-½ minutes. The pita won’t take on too much color, but some slight browning on top is okay.
- Carefully remove the dough from the oven and place it into a covered bowl or a tea towel to keep warm as the pita deflates. Repeat, with the remaining dough, adjusting the time down a few seconds, or up to 4 minutes, depending on your preferred doneness. In my experience 3 minutes and 25 seconds seems to be the sweet spot.
- Serve your freshly baked pita warm from the oven, or after they have cooled, stored in an airtight container for up to 2 days.