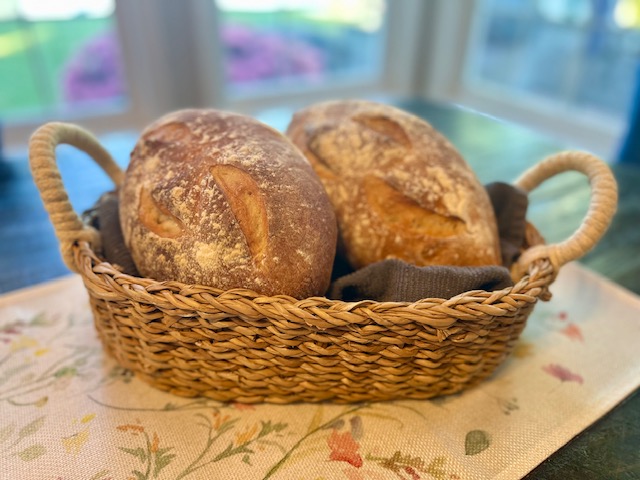
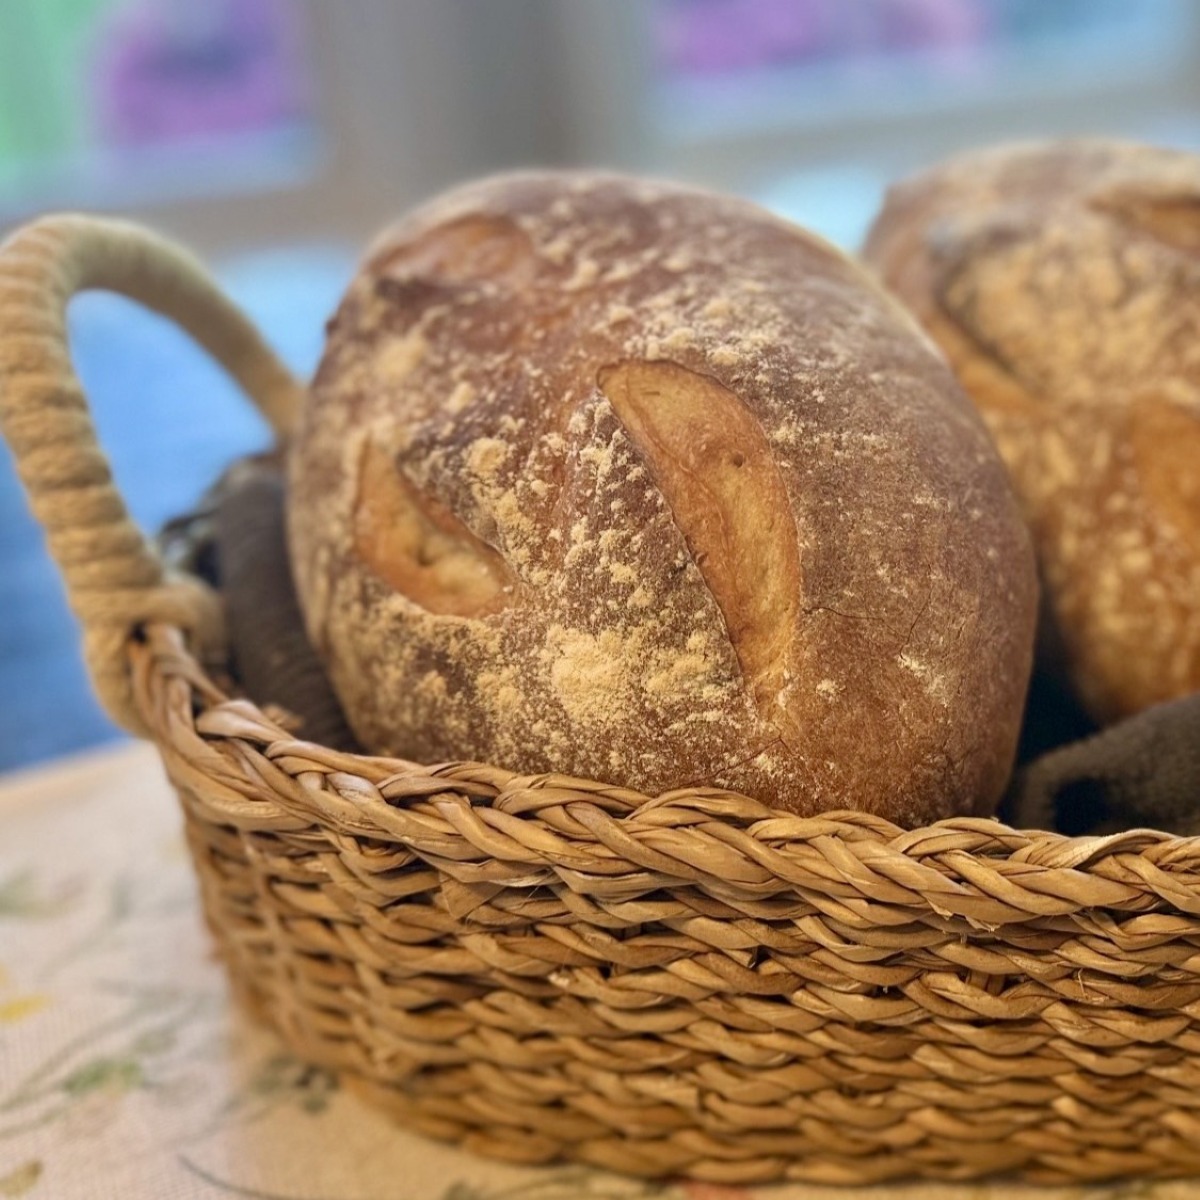
These Batards, simple, crusty loaves with a chewy interior are shaped like ovals with slightly pointed ends and will look and taste as though you've brought them home from the local baker. Sourdough starter, along with a little insurance from a small amount of yeast, will ensure the perfect rise. Unlike other sourdough breads, which often require a bulk fermentation (or a long, refrigerated proof), this bread offers just the slightest, mild tang versus the traditional sourness associated with sourdough loaves. I personally much prefer the milder flavor, allowing the natural flavors of the sourdough and yeast to yield the perfect loaf of bread.
If you don't have a sourdough starter, you can find my step-by-step recipe here. While you'll need a few weeks to build a proper, active starter, it takes just two simple ingredients (whole wheat flower to get started, all-purpose flour to maintain) along with water to make yours from scratch.
INGREDIENTS
- 600 g Bread Flour (5 C using the spoon and sweep method), plus a little extra
- 340 g Lukewarm Water (1-½ C)
- 227 g Active Sourdough Starter (1 C)
- 15 g Kosher Salt (2-½ tsp)
- 1-½ teaspoon Instant Yeast
INSTRUCTIONS
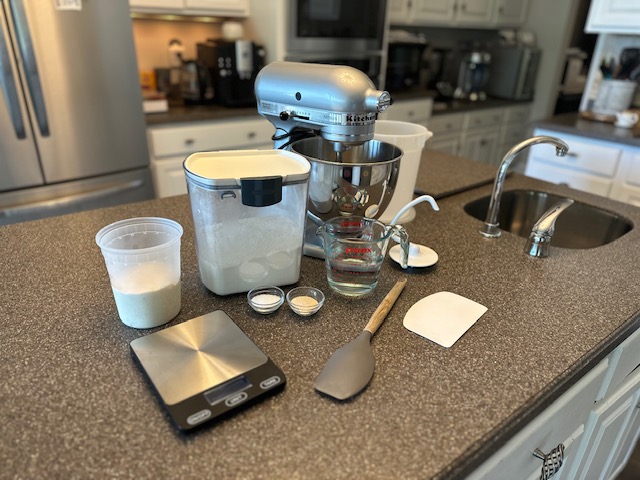
Step 1: Gather your ingredients. Into the bowl of a stand mixer, begin by weighing the bread flour. If not using a digital kitchen scale, measure the flour using the 'spoon and sweep' method for the most accurate portioning.
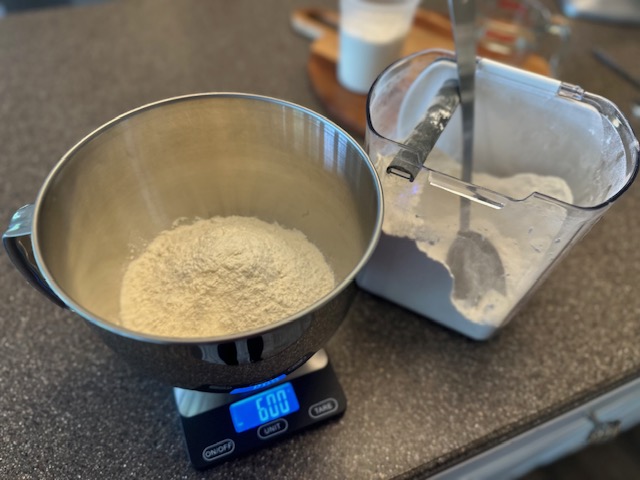
The 'spoon and sweep' method is the most accurate way to measure flour, aside from weighing it on a kitchen scale. Use your spoon to gently stir and fluff the flour in its container, then scoop the flour directly into the measuring cup, using the straight edge of the spoon to sweep away the excess flour once the cup is full.
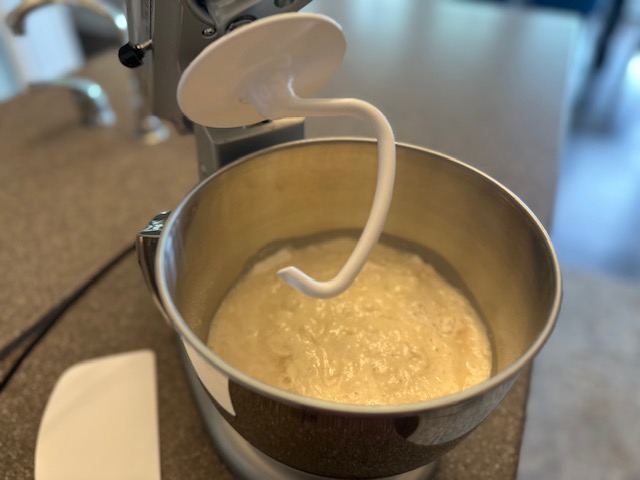
Step 2: Whisk in the salt and yeast, then add in the water, followed by the sourdough starter. With your stand mixer fitted with the dough hook, slowly begin to work the dough until it just comes together, scraping down the sides of the bowl as needed. Increase the speed once there is no longer any visible dry ingredients remaining, especially at the bottom of the mixing bowl. The dough will appear shaggy at first, but keep mixing, about 8 minutes.
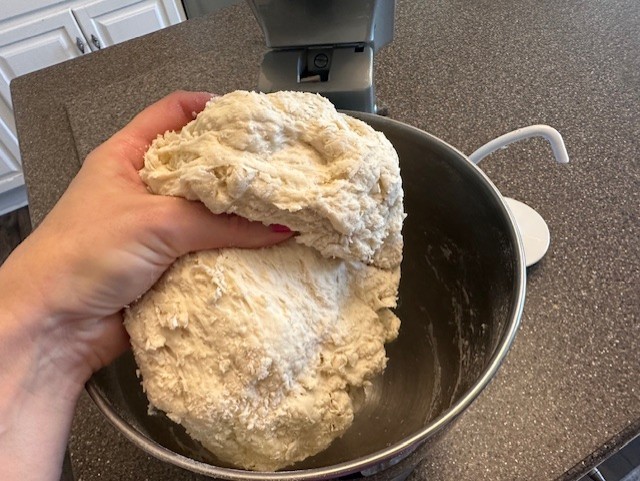
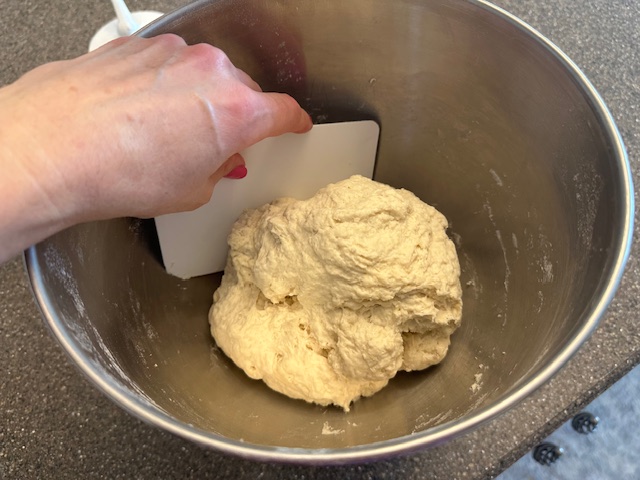
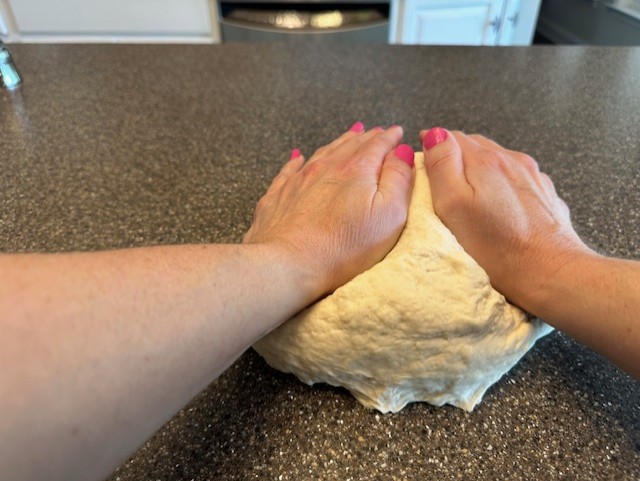
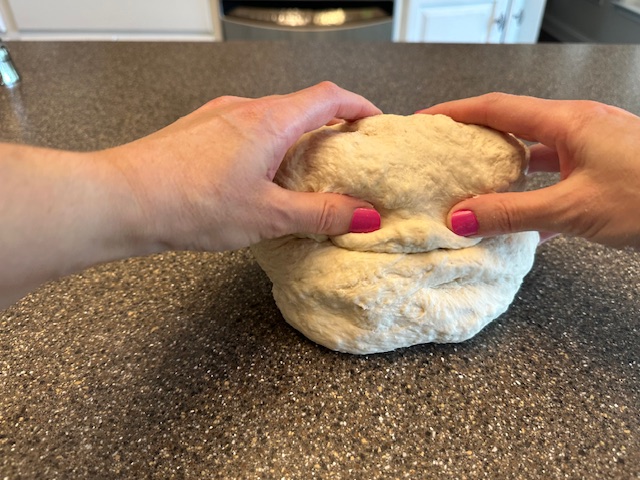
Step 3: Remove the dough onto a clean worksurface, and begin to knead by hand, pressing the dough using your palms, then folding it back towards the center. Repeat a few times until smooth, but it doesn't have to be perfect.
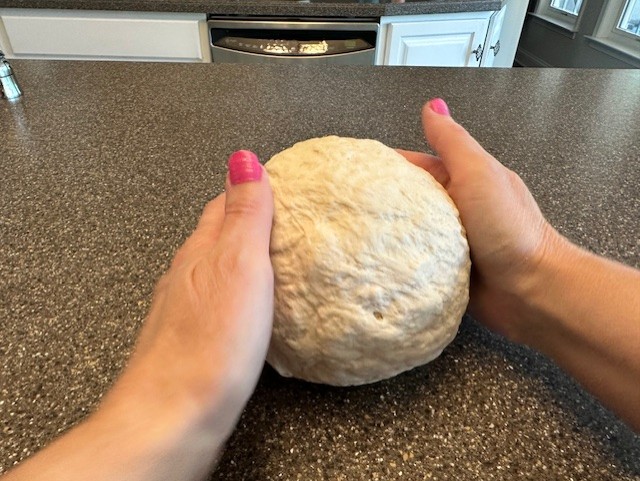
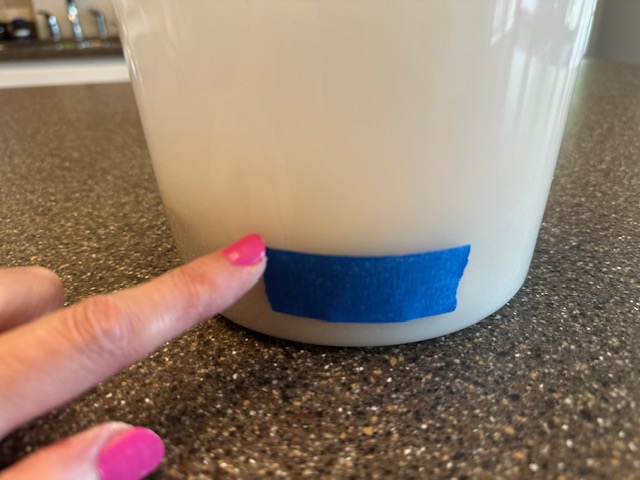
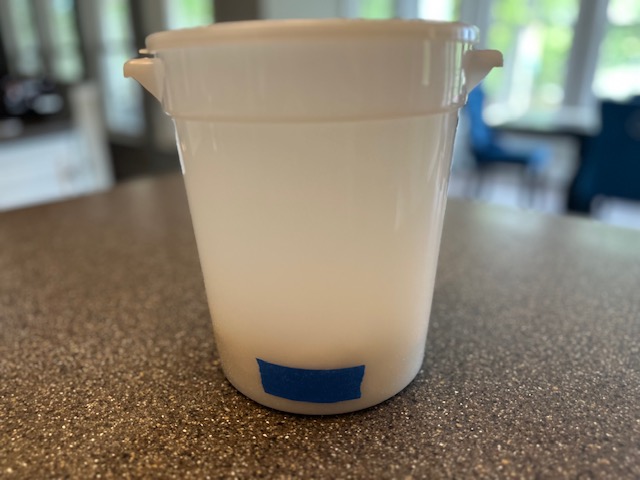
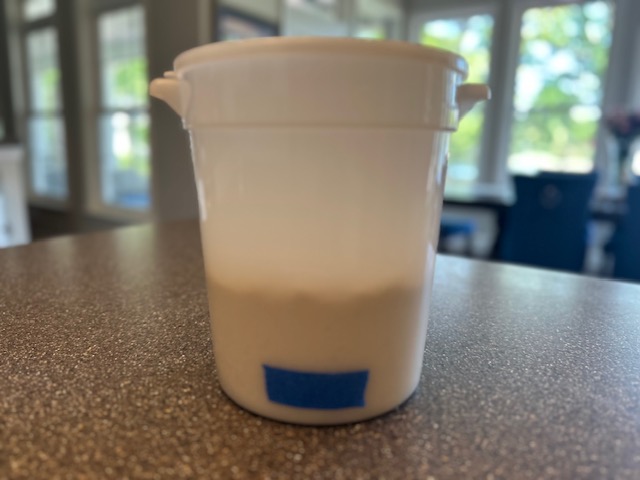
Step 4: Roll the dough into a ball and place it into a dough bucket (or a medium bowl) sprayed lightly with cooking spray, then cover. Place the dough in a warm area of your kitchen and allow to rest, about an hour or up to 90-minutes, until the dough has doubled in size.
Feel free to mark the side of the bowl at the dough's starting height to avoid over-proofing.
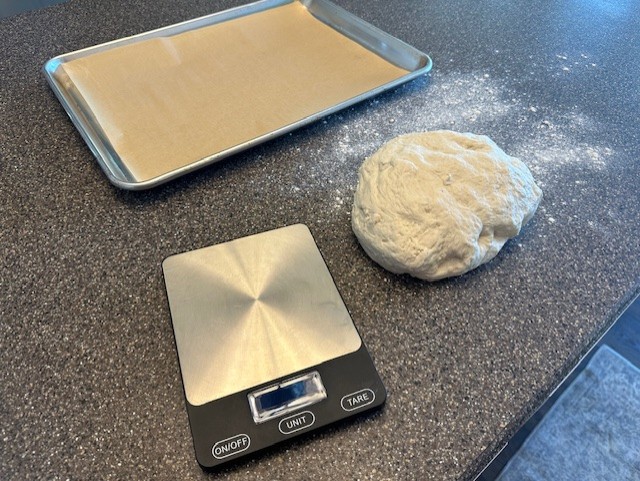
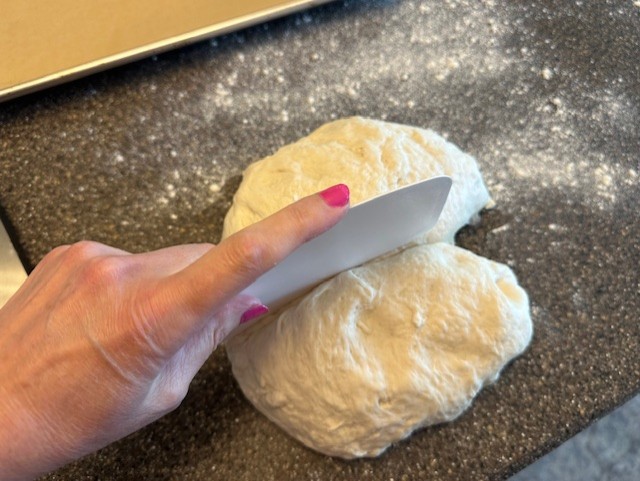
Step 5: After the proof, move the dough onto a clean, lightly floured work surface. Divide equally in half, either by measuring using the digital scale, or eyeballing it.
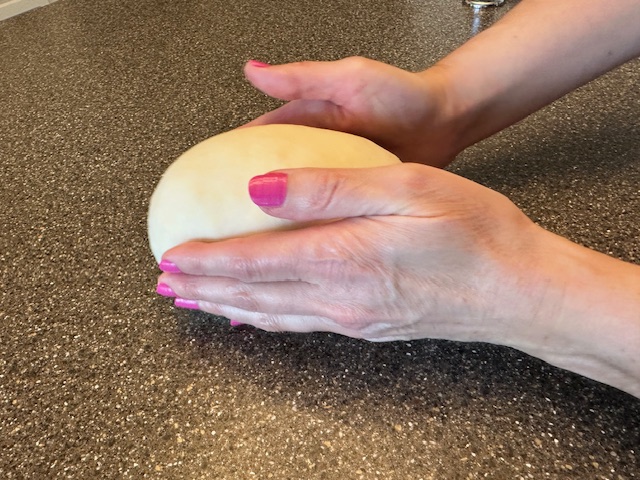
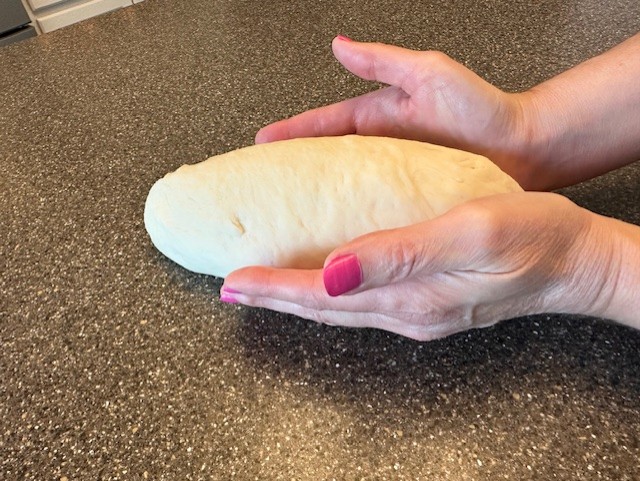
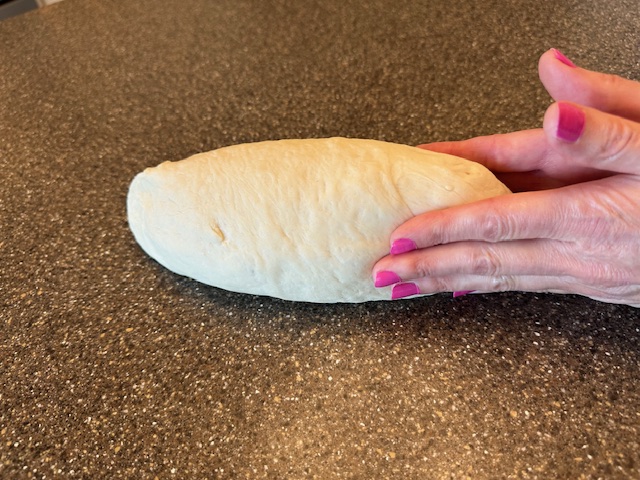
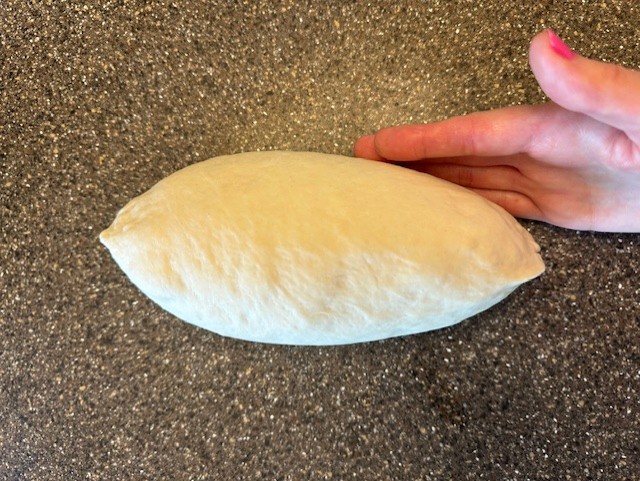
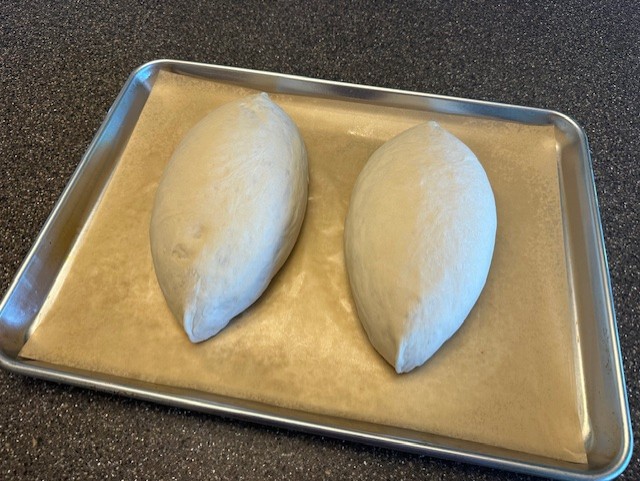
Step 6: Begin shaping each portion of dough by stretching and rolling it, using your palms along the bottom and sides of the dough to form an oval, tucking the seam on the underneath side. Pinch the ends to create the signature pointed oblong Batard shape. Lay the shaped loaves on a parchment-lined sheet pan, far enough apart to allow a little room for rising and expanding. Cover and allow a second rise for one hour.

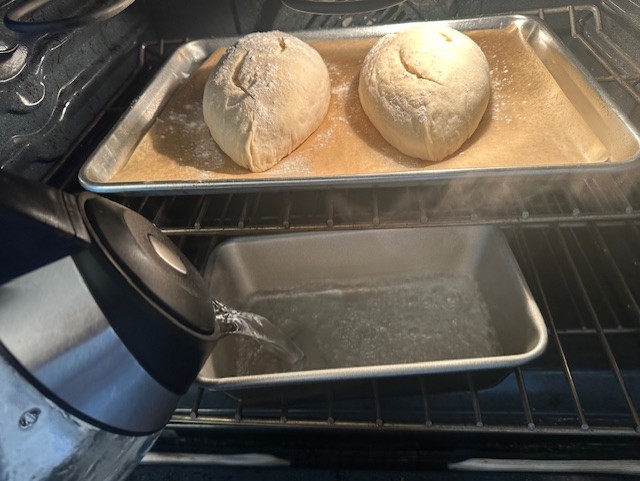
Step 7: Once the loaves are ready to bake, preheat the oven to 425℉. Place a small, empty metal loaf pan or baking dish on the lower rack.
Either in a teakettle or a pot, begin heating a few cups of water and bring to a boil. The water will be used to create steam in the oven, which not only helps the bread rise during baking, but also helps to create that distinctive crisp crust.
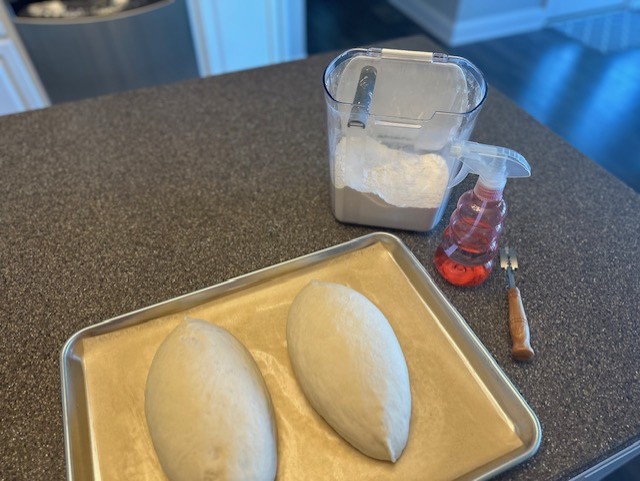
Step 8: Lightly spray the loaves with warm water, then dust with a little extra bread flour. If you don't have a spray bottle, you can easily use a pastry brush or even clean hands to gently rub the tops lightly with water.
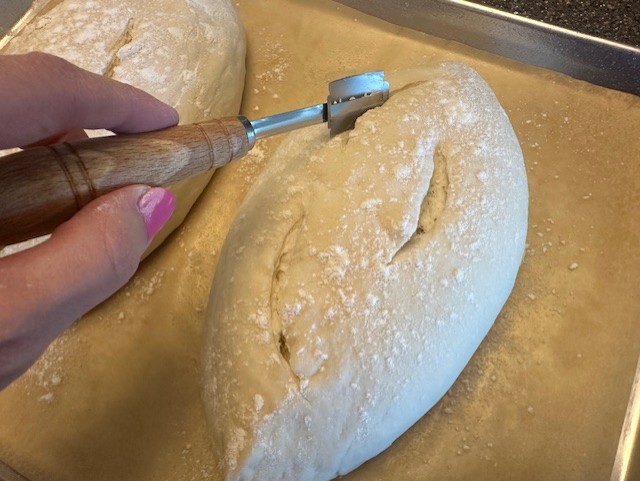
Step 9: Using a bread lame or a sharp paring knife, cut two to three fairly deep slashes into each loaf. Make cuts quickly and don't tug on the surface of the dough to avoid deflating.
Step 10: Place the prepared loaves into the middle rack of the oven, then carefully, pour the boiling water into the pan on the lower rack, quickly shutting the door after to lock in the steam.
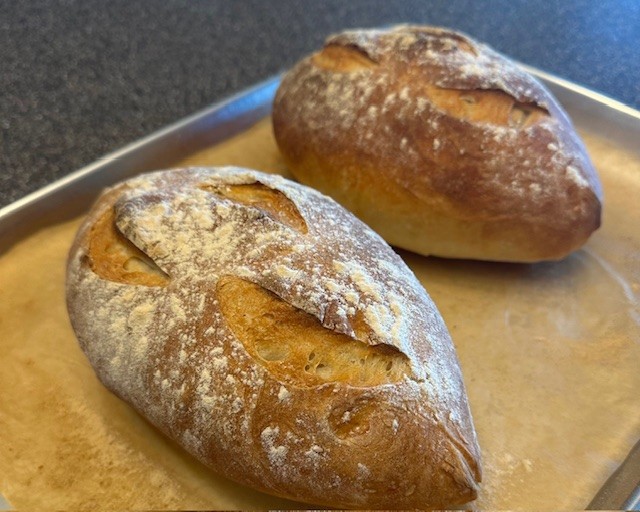
Step 11: Bake the loaves for thirty minutes until the crust is a deep, golden brown. The internal temperature of the bread should be at least 190℉ to ensure it is fully baked. Place on a metal cooling rack.
Sourdough Batards
Equipment
- Kitchen-Aid Mixer fitted with a dough hook, or measuring cups and spoons
- Teaspoon Measuring Spoon
- Rubber Spatula
- Parchment-Lined Sheet Pan
- Medium-Sized Dough Bucket or bowl, with plastic wrap to cover
- Cooking Spray, such as Pam
- Plastic Wrap or Clean Linen Kitchen Towel
- Spray Bottle with Water optional
- Bread Lame or a Sharp Paring Knife
- Small metal loaf or baking pan to be filled with water during baking
- Small Pot or Tea Kettle for Boiling Water
- Digital Thermometer optional
- Wire Cooling Racks
Ingredients
- 600 g Bread Flour (5 C using the spoon and sweep method), plus a little extra
- 340 g Lukewarm Water (1-½ C)
- 227 g Active Sourdough Starter (1 C)
- 15 g Kosher Salt (2-½ tsp)
- 1-½ teaspoon Instant Yeast
Instructions
- Gather your ingredients. Into the bowl of a stand mixer, begin by weighing the bread flour. If not using a digital kitchen scale, measure the flour using the 'spoon and sweep' method for the most accurate portioning.
- Whisk in the salt and yeast, then add in the water, followed by the sourdough starter.
- With your stand mixer fitted with the dough hook, slowly begin to work the dough until it just comes together, scraping down the sides of the bowl as needed. Increase the speed once there is no longer any visible dry ingredients remaining, especially at the bottom of the mixing bowl. The dough will appear shaggy at first, but keep mixing, about 8 minutes.
- Remove the dough onto a clean worksurface, and begin to knead by hand, pressing the dough using your palms, then folding it back towards the center. Repeat a few times until smooth, but it doesn't have to be perfect. Roll the dough into a ball and place it into a dough bucket (or a medium bowl) sprayed lightly with cooking spray, then cover. Place the dough in a warm area of your kitchen and allow to rest, about an hour or up to 90-minutes, until the dough has doubled in size.
- After the proof, move the dough onto a clean, lightly floured work surface. Divide equally in half, either by measuring using the digital scale, or eyeballing it.
- Begin shaping each portion of dough by stretching and rolling it, using your palms along the bottom and sides of the dough to form an oval, tucking the seam on the underneath side. Pinch the ends to create the signature pointed oblong Batard shape.
- Lay the two portions onto a parchment-lined sheet pan, far enough apart to allow room for the loaves to rise and expand slightly. Cover and allow a second rise for one hour.
- Once the loaves are ready to bake, preheat the oven to 425℉. Place a small, empty metal loaf pan or baking dish on the lower rack.Either in a teakettle or a pot, begin heating a few cups of water and bring to a boil. The water will be used to create steam in the oven, which not only helps the bread rise during baking, but also helps to create that distinctive crisp crust.
- Lightly spray the loaves with warm water, then dust the tops with a little extra bread flour. If you don't have a spray bottle, you can easily use a pastry brush or even clean hands to gently rub the tops with water.
- Using a bread lame or a sharp paring knife, cut some fairly deep slashes into each loaf. Make cuts quickly and don't tug on the surface of the dough to avoid deflating.
- Place the prepared loaves into the middle rack of the oven, then carefully, pour the boiling water into the pan on the lower rack, quickly shutting the door after.
- Bake the loaves for thirty minutes until the crust is a deep, golden brown. The internal temperature of the bread should be at least 190℉ to ensure it is fully baked.