Sourdough Starter from Scratch
Build your own sourdough starter with 3 simple ingredients in just 5 minutes a day!
Print
Pin
Equipment
- Medium Mixing Bowl
- Liquid Measuring Cup
- Small Rubber Spatula
- Narrow, Pint-sized Glass or Food-Safe Plastic Container with Lid
Ingredients
- 110-115 g Whole Wheat Flour
- 110-115 g Cool to Room Temperature Water (preferably filtered), 75-82℉
- 110-115 g All Purpose Flour You'll need a total of 5-7 lbs. to build a healthy starter
Instructions
Day One: Part One (Preferably Morning)
- To begin, gather your whole wheat flour and water, along with a digital kitchen scale, a medium-sized mixing bowl and a small rubber spatula. Note: You will not need any all-purpose flour at this point.
- Place the mixing bowl onto the digital scale and be sure to press the tare button to remove the weight of the bowl itself, leaving you with a 0-starting weight in grams. Weigh out the whole wheat flour to anywhere between 110-115 grams.
- Press the tare button again, removing the weight of both the bowl and the flour, and pour in the water, about a ½ cup, adding in an equal amount, in grams, to match the weight of the flour. If you weighed 112 grams of flour, you should add in 112 grams of water.
- Using the spatula, fold together the flour and water until the mixture comes together to form a thick paste. Be sure not to leave any loose traces of unmixed flour. Move the mixture into a clean container and cover, allowing it to rest at room temperature for approximately 12 hours.
When it comes to making a sourdough starter, there is an insignificant difference in the amount between 110-115 grams, about a teaspoon of water or 2 teaspoons of flour. The key here is that you measure out the ingredients equal to one another within this range as a good base and maintain that ratio.
Day One: Part Two (Preferably Evening)
- You'll now begin the process known as feeding your sourdough starter. For this first 'feeding' on day one, you'll need all of the same equipment used earlier in the day. For the ingredients, however, you'll now switch to using all-purpose flour instead of the whole wheat flour. Grab your equipment, all-purpose flour, water, and your sourdough starter base.
- Following the same process as Step 1, weigh out your all-purpose flour, staying within the range of 110-115 grams, tare out the scale, and add in the water in equal measurement. Tare out the scale again. You'll now add in an equal weight of your sourdough starter base, which, at this stage, will still be quite thick and may not need much stirring before adding it to the flour and water mixture. If you measured out 112 grams of flour and water, you'll add in 112 grams of the starter. For now, dump any remaining sourdough starter directly into the trash. Once your sourdough starter is thoroughly mixed, clean your designated sourdough container, add the mixture back in, cover and set aside until the next day.
- Repeat your maintenance schedule for a minimum of 10 days but likely up to 14 days, feeding your sourdough starter twice per day, approximately 12 hours apart, such as 8am and 8pm or 7am and 5pm- it doesn't have to be exact, just spaced far enough apart that the starter has plenty of time to work its magic in between feedings.
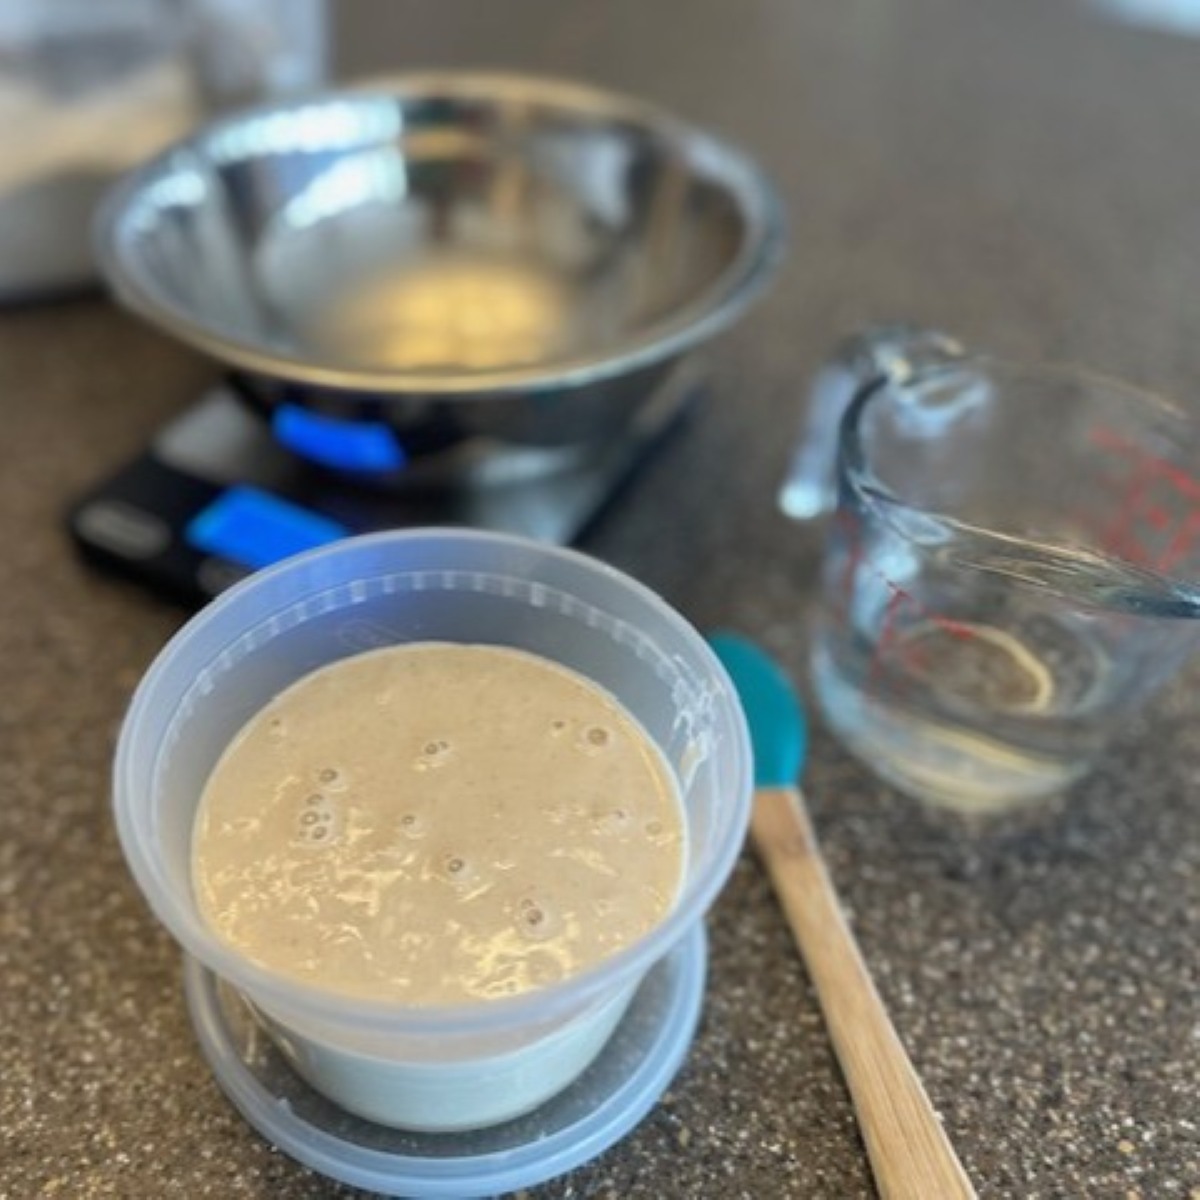
- By day three, you should begin to see bubbles begin forming on the surface. This is a great sign, as it means the starter is fermenting naturally and the yeast is activating. Don't expect to see any crazy amount of rise at this stage, it may be insignificant or just slightly rising and falling.
- Keep in mind that at this stage, your starter is still new and not considered 'ripe'; It will not have the full strength of a fully developed fermentation as of yet, nor will it yield as strong a sourdough "flavor" as one that has had time to fully develop that signature tang over time. Trust me, however, it will be absolutely delicious. Personally, I'm not a fan of an overly sour loaf, but love the depth of flavor this sourdough starter brings to recipes. Keep feeding twice per day for 10-14 days. By this time, your starter should be visibly active, rising a few hours after feeding.For the best results, avoid using your starter in recipes immediately after feeding; give it a few hours instead to allow the fermentation process to work. See notes below specifically regarding use of sourdough discard.
Sourdough starters are commonly began using either a whole wheat or even a rye flour, as the natural enzymes in these flours help kickstart the fermentation process much faster than all-purpose flour. However, to maintain a sourdough starter, the AP flour is preferred for feeding.
Note: As the mixture is not yet fully active, it is not ready to be used in any sourdough discard recipes as of yet. It is also never recommended to utilize a kitchen sink garbage disposal to discard starter as the mixture can create clogs.
The Sourdough Starter Recipe: Moving forward, this 'recipe' for maintaining your sourdough starter will follow these exact same steps, measuring out your three main ingredients (flour, water and starter) in an equal 1:1:1 ratio, within that range. Be sure to give your starter a thorough mix before incorporating it into the flour and water. Starting with a lesser amount may not yield enough starter to maintain after portioning out what is needed in recipes, and starting with a larger amount, at least initially until you've built an active starter, will be wasted.
A Note About Texture and Scent: You'll also notice that the texture of the starter will begin to change, going from a thick paste to a sticky, stretchy consistency. As time goes on, the texture will continue to change and become softer and pourable, much easier to work with than during this initial setup stage. The scent of your sourdough starter should also be mildly sweet with a faint yeasty scent. It should never smell sour (if it ever does, best to toss it and start over).If your starter should develop a thin, clear layer of liquid on top, it means it's hungry and needs to be fed. This liquid is referred to as "hooch" and is naturally occurring: First, make sure the scent of the starter has not soured, then just stir the hooch into the starter to incorporate before doing a regular 1:1:1 feeding. You should immediately see a reaction, with several bubbles forming on the surface.
Sourdough discard can be stored in a separate container and kept in the refrigerator at all times- it does not need to be fed but should be stirred before using. Most sourdough discard recipes will specify whether the discard may be added cold, straight from the fridge or if it needs to be at room temperature before using.
Maintaining Your Sourdough Starter: If you plan to make sourdough recipes frequently, it may make sense to keep your starter at room temperature and maintain your twice-daily feedings. You can either keep or toss your discard as you wish, depending on how often you plan to bake.However, if you won't be baking as often, feel free to feed the starter once per week, allowing the mixture to sit at room temperature for a few hours after feeding before popping it into the refrigerator. If following a weekly schedule, allow the starter to come to room temperature before feeding. Working with room temperature starter ensures that the yeast and naturally occurring bacteria are active, not dormant, which is essential for fermentation and maintaining a healthy starter.