
No more boring, dry pork chops! While these may look a bit fancy, they're actually super simple to make, and certainly easy enough for a weeknight meal. Pounding the chops tenderizes the meat, making them easy to stuff and roll before adding them through a three-step breading station for a light, crispy crust before pan-frying.
INGREDIENTS:
- 2 Thick-Cut, Boneless Pork Chops
- 4 Slices Deli-Cut Sliced Ham
- 4 Slices Muenster Cheese
- ½ C. All Purpose Flour
- 3 Lg. Eggs
- ½ C. Panko Breadcrumbs
- 1 Tbsp. Kosher Salt
- ½ Tbsp. Black Pepper
- 2-3 Tbsp. Olive Oil
INSTRUCTIONS:
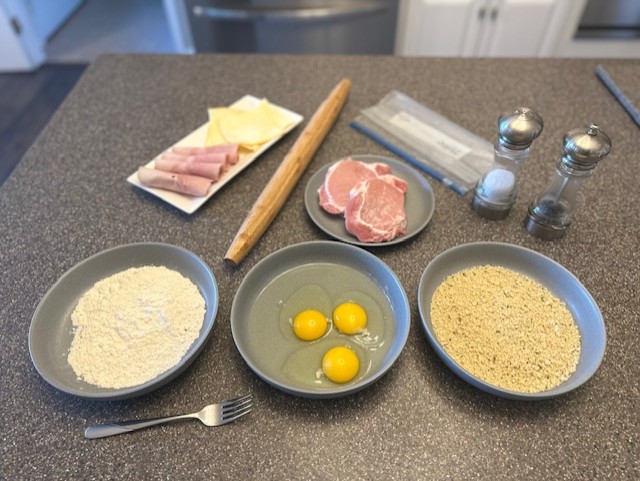
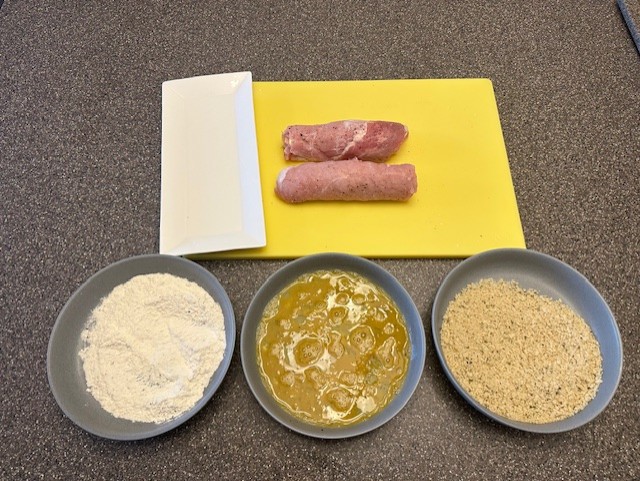
Step 1: Gather your ingredients. Set up a breading station, with three shallow dishes to hold the flour, eggs and breadcrumbs separately.
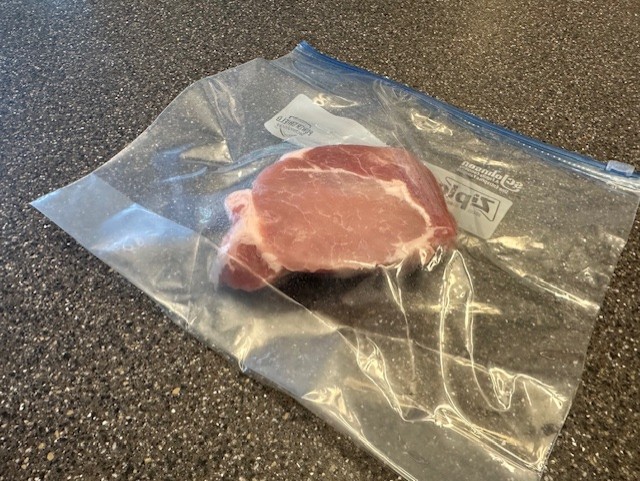
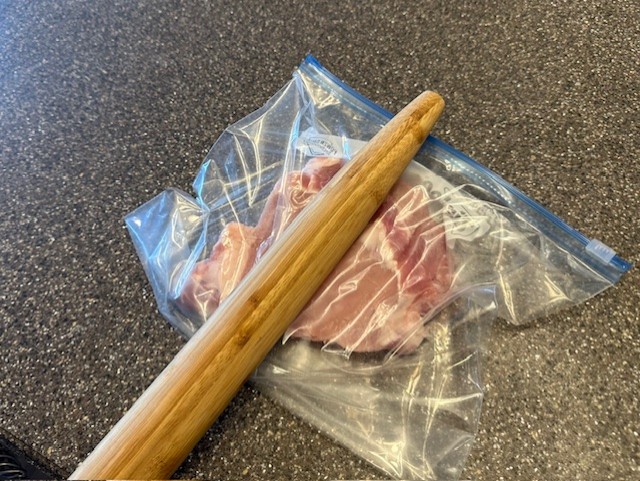
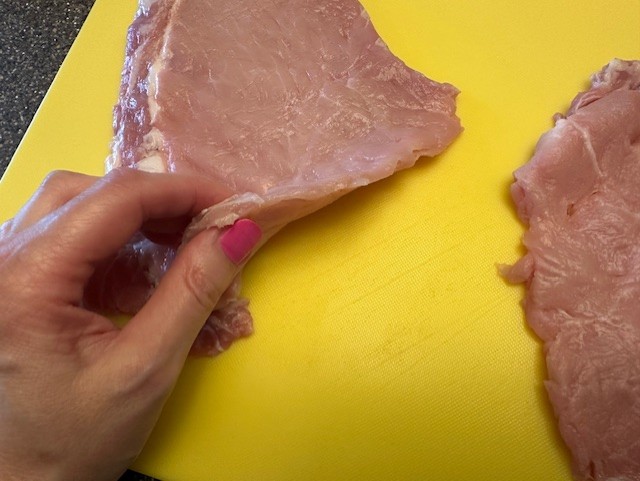
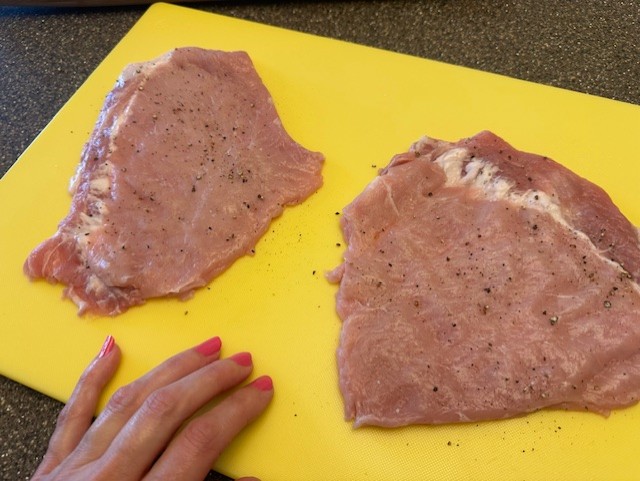
Step 2: Place the pork chops into the plastic bag (alternatively, in between two large pieces of plastic wrap). Using a meat mallet or a wooden rolling pin, gently tenderize and flatten the chops until fairly thin, but be careful to ensure there are no tears or translucent spots on the meat. Place the chops on a cutting board, then season with a little salt and pepper.
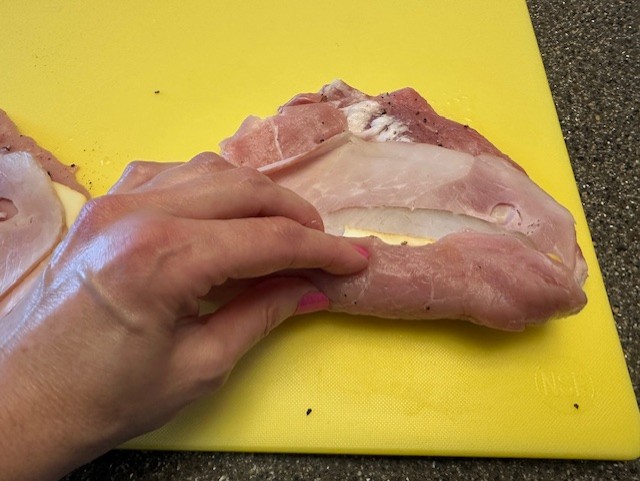
Step 3: Begin layering slices of ham and cheese over each portion of tenderized pork.
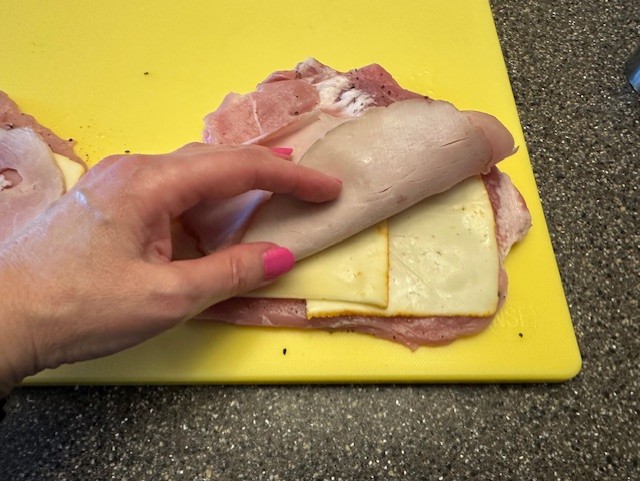
Starting at the edge closest to you, roll the meat up, tucking as you go to ensure the roll stays secure with the filling inside, and set aside.
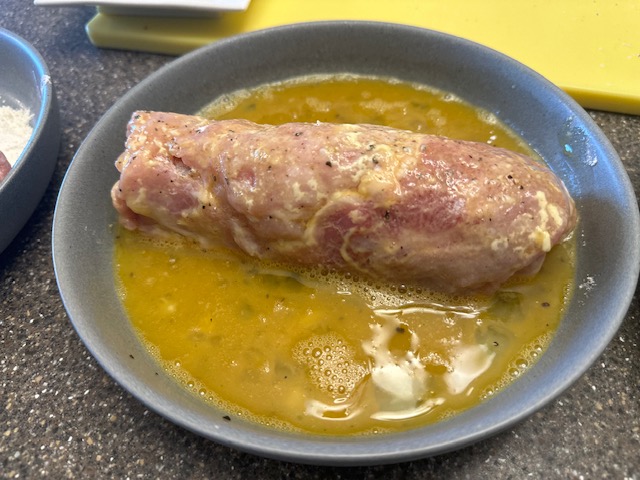
Step 4: Grab the breading station. Whisk the eggs, then season all three components with the remaining salt and pepper.
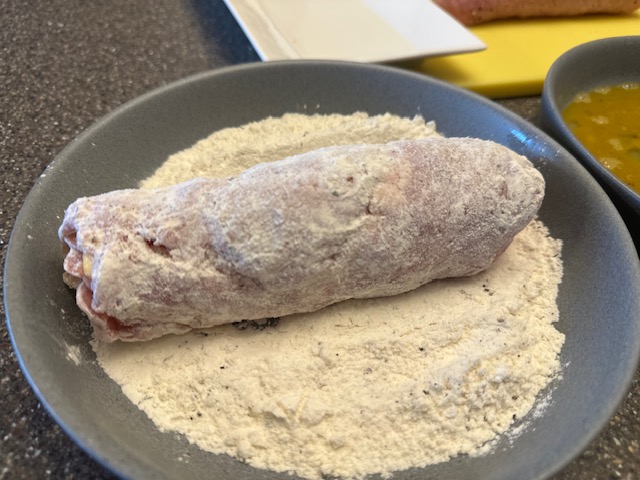
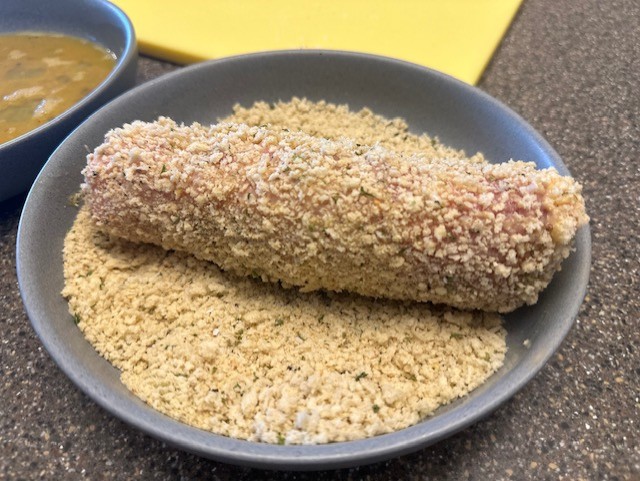
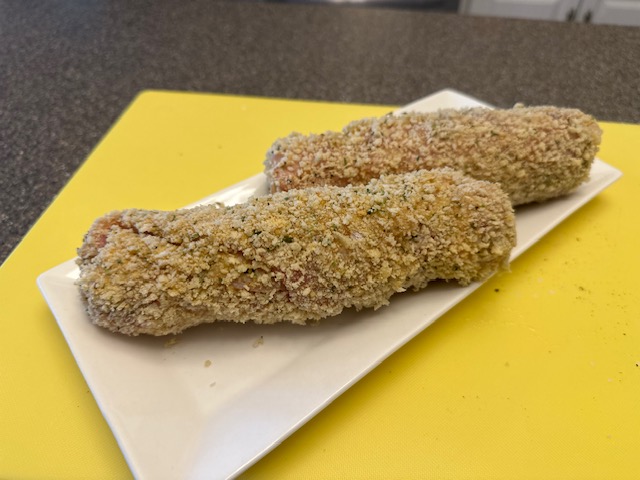
Step 5: Roll each pork roulade, first in the flour, then the egg, and finally, the breadcrumbs, ensuring that you have coated the entire portion, including the ends.
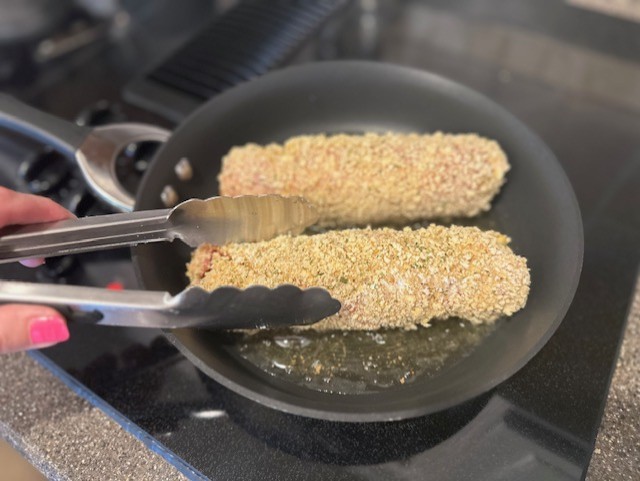
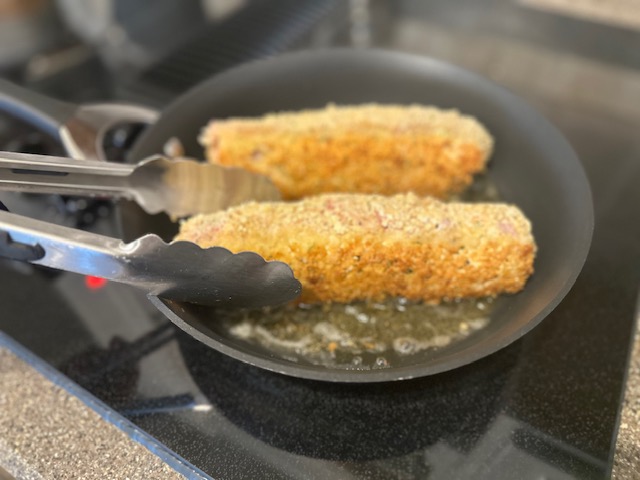
Step 6: Heat a few tablespoons of oil in a medium sauté pan over medium-high heat.
Keep in mind that olive oil has a lower smoke point before burning, so you don't want to get the pan too hot.
Step 7: Carefully, begin to sear the roulades in the hot oil, a few minutes per side, until golden brown. Don't forget to sear the ends as well, to lock in all the filling. When fully cooked, the internal temperature of the meat should be at 165℉.

Step 8: Hold warm in a preheated oven before serving. Allow to cool slightly before slicing to ensure the filling doesn't melt out.
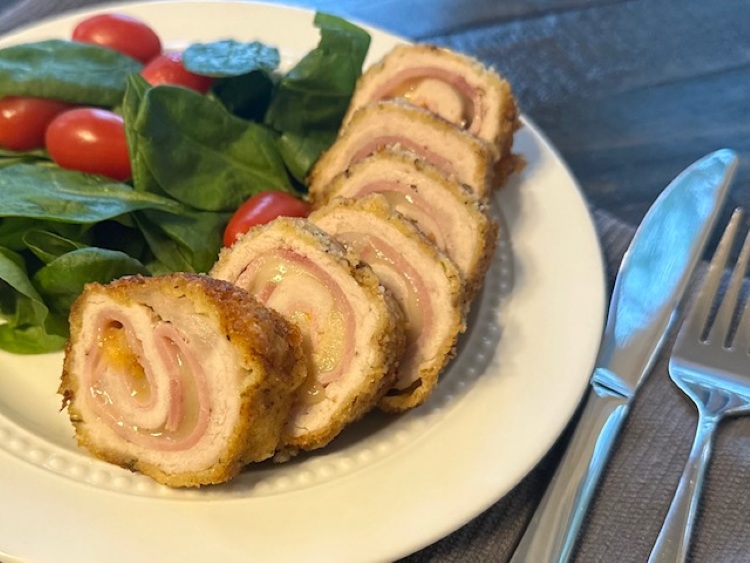
Stuffed Pork Chop Roulades
Equipment
- Sealable Plastic Bag, such as Ziplock or plastic wrap
- Meat Mallet or Rolling Pin
- 3 Shallow Bowls or Dishes to set up a breading station
- Fork
- Cutting Board
- Shallow Sauté or Frying Pan
- Sharp Chef Knife
- Parchment-Lined Sheet Pan
- Digital Thermometer optional
Ingredients
- 2 Thick-Cut, Boneless Pork Chops
- 4 Slices Deli-Cut Sliced Ham
- 4 Slices Muenster Cheese
- ½ C. All Purpose Flour
- 3 Lg. Eggs
- ½ C. Panko Breadcrumbs
- 1 Tbsp. Kosher Salt
- ½ Tbsp. Black Pepper
- 2-3 Tbsp. Olive Oil
Instructions
- Gather your ingredients.Set up a breading station, with three shallow dishes to hold the flour, eggs and breadcrumbs, separately.
- Place the pork chops into the plastic bag (alternatively, in between two large pieces of plastic wrap). Using a meat mallet or a wooden rolling pin, gently tenderize and flatten the chops until fairly thin, but be careful to ensure there are no tears or translucent spots on the meat. Season the chops with a little salt and pepper.
- Begin layering slices of ham and cheese over each portion of tenderized pork.Starting at the edge closest to you, roll the meat up, tucking as you go to ensure the roll stays secure with the filling inside, and set aside.
- Grab the breading station. Whisk the eggs, then season all three components with the remaining salt and pepper.
- Roll each pork roulade, first in the flour, then the egg, and finally, the breadcrumbs, ensuring that you have coated the entire portion, including the ends.
- Heat a few tablespoons of oil in a medium sauté pan over medium-high heat.
- Carefully, begin to sear the roulades in the hot oil, a few minutes per side, until golden brown. Don't forget to sear the ends as well. When fully cooked, the internal temperature of the meat should be at 165℉.
- Hold warm in a preheated oven before serving. Allow to cool slightly before slicing to ensure the filling doesn't melt out.