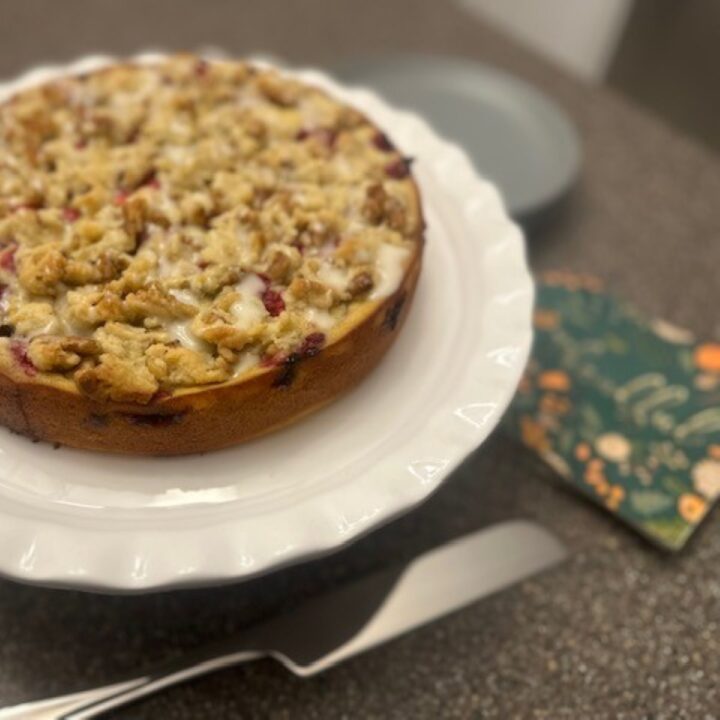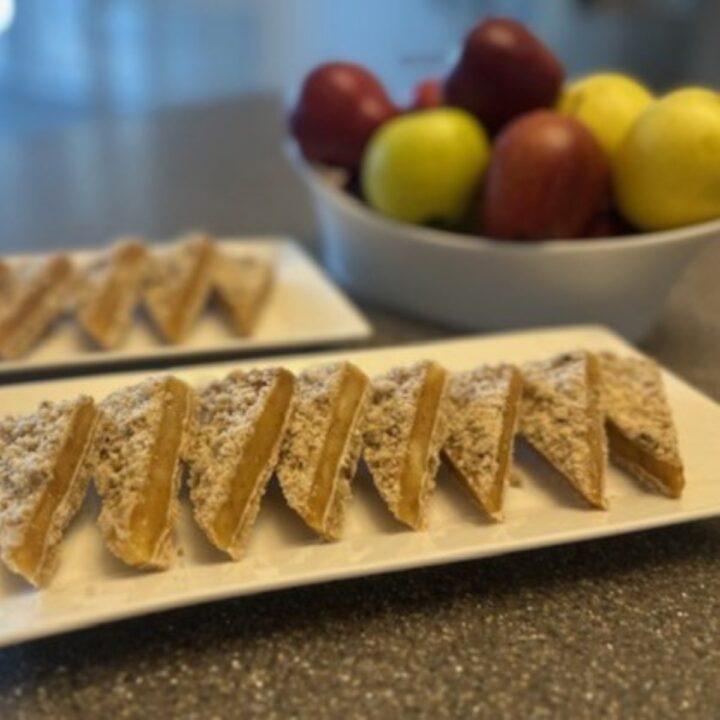

Linzer cookies are one of my favorite holiday treats to include in my Christmas cookie boxes for friends and family. They look super fancy but are actually very simple to make. You can easily change up the color and flavor by swapping out different jams, jellies or other fillings to match your theme or occasion. The cookie itself is a light and tender shortbread, and that beautiful, powdered sugar sprinkled on top is reminiscent of a dusting of freshly fallen snow. These are a great make-ahead cookie, just freeze the cookies (without filling or decoration) after they've baked and cooled completely, thaw and decorate when you're ready to serve.
INGREDIENTS
- 315 g All-Purpose Flour 2-½ C.
- 150 g Almond Flour 1-¼ C.
- 45 g Cornstarch ⅓ C.
- ½ tsp. Kosher Salt
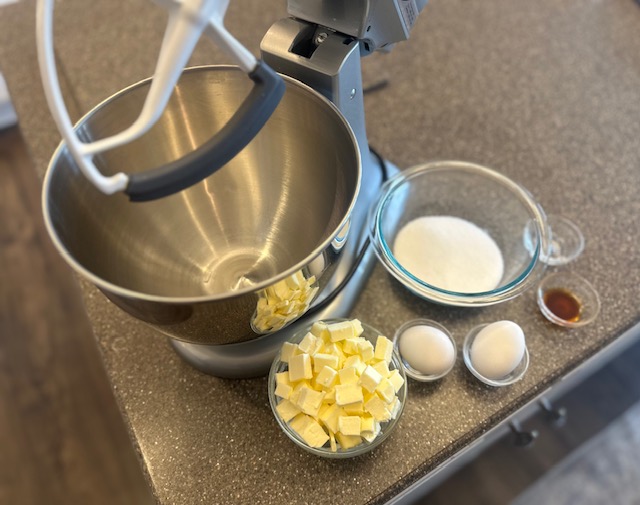
- 2 Sticks Unsalted Butter, at room temperature 226 g, or 1 C.
- 150 g Granulated Sugar ¾ C.
- 2 Lg. Eggs, at room temperature
- 2 tsp. Pure Vanilla Extract
- 1 tsp. Pure Almond Extract
- 150 g Seedless Raspberry Jam about ½ C.
- 30 g Powdered Sugar about ¼ C., for dusting
INSTRUCTIONS
Step 1) Gather all of your ingredients. Carefully measure out using a digital kitchen scale or use the spoon and sweep method.
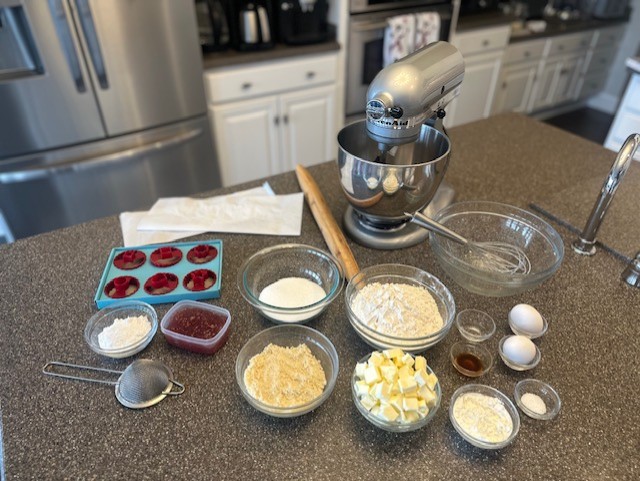
The 'spoon and sweep' method is the most accurate way to measure flour, aside from weighing it on a kitchen scale. Use your spoon to gently stir and fluff the flour in its container, then scoop the flour directly into the measuring cup, using the straight edge of the spoon to sweep away the excess flour once the cup is full.
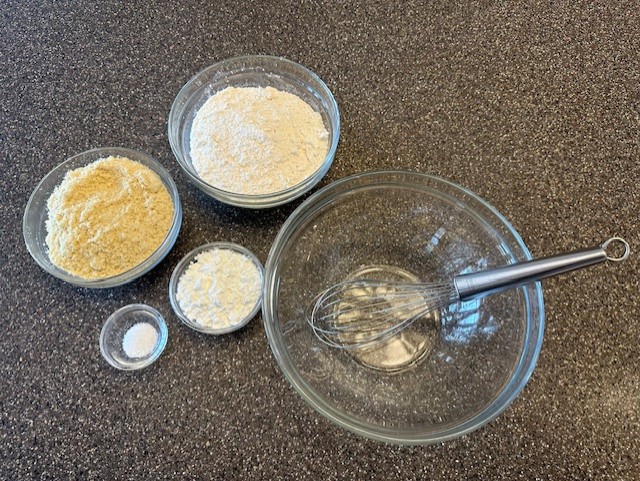
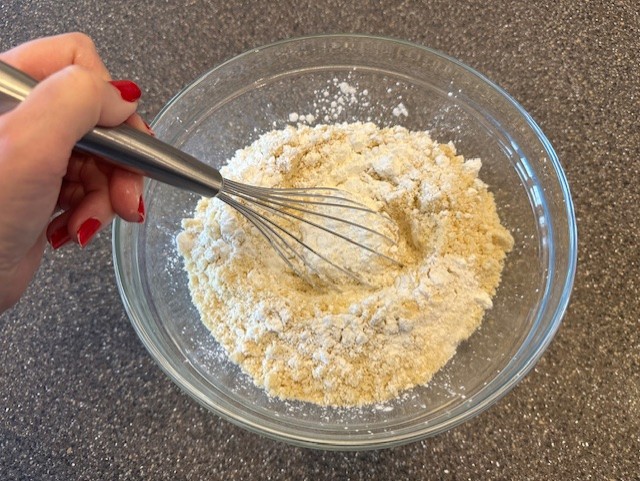
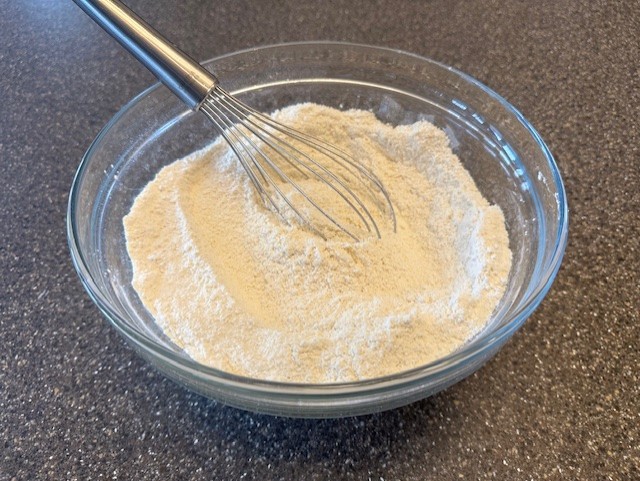
Step 2) Whisk together both flours, all-purpose and almond, along with the cornstarch and salt until fully combined. You'll notice a definite change in texture as the ingredients become cohesive.
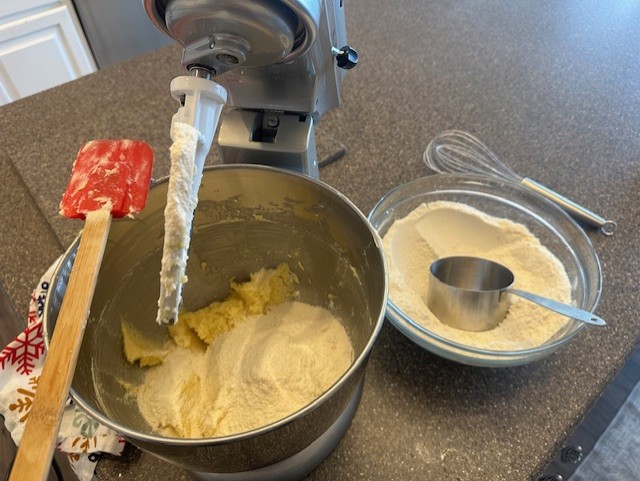
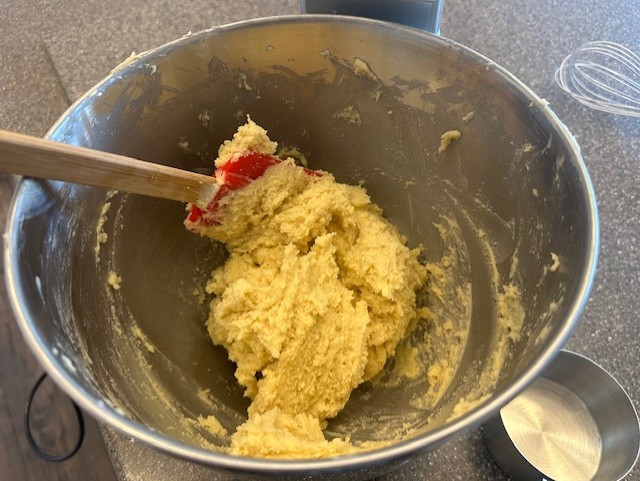
Step 3) In the bowl of stand mixer, cream together the butter and the sugar until light in color, about 2 minutes. After scraping down the sides of the bowl, add in the eggs, one at time, and mix at a low speed until the mixture is no longer glossy. Add both extracts.
Slowly begin to incorporate the flour mixture, a little at a time, and mix until a soft dough forms.
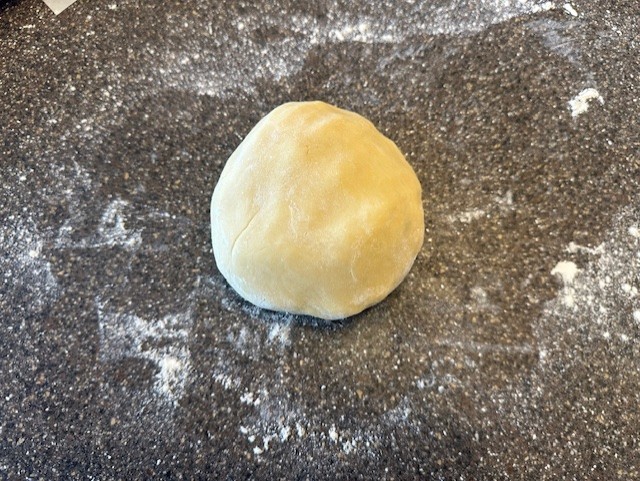
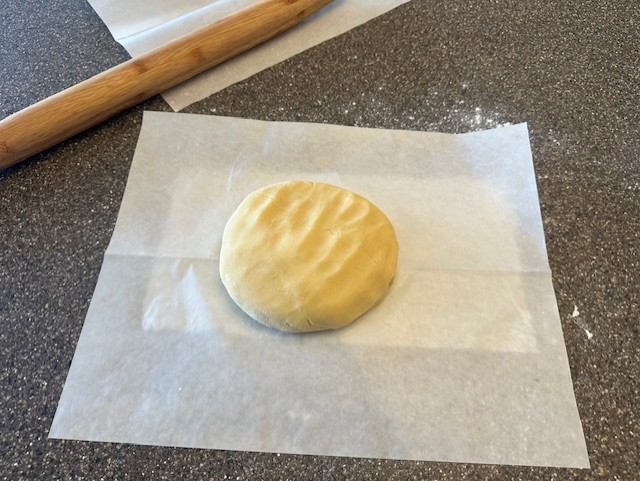
Step 4) Move the dough to a clean worksurface dusted lightly with flour and divide it into two equal portions. Knead each ball of dough into a smooth ball.
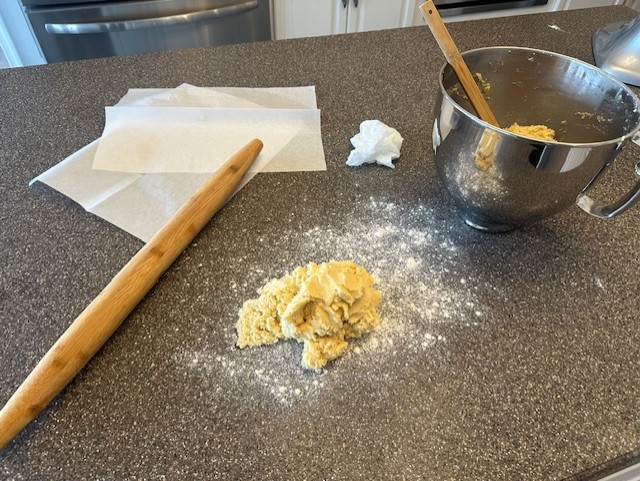
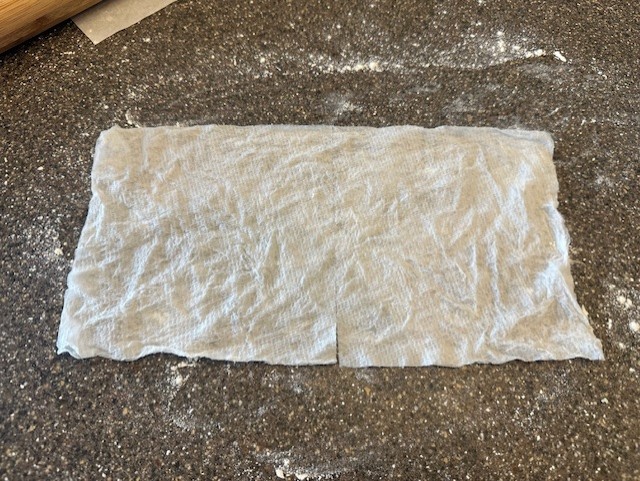
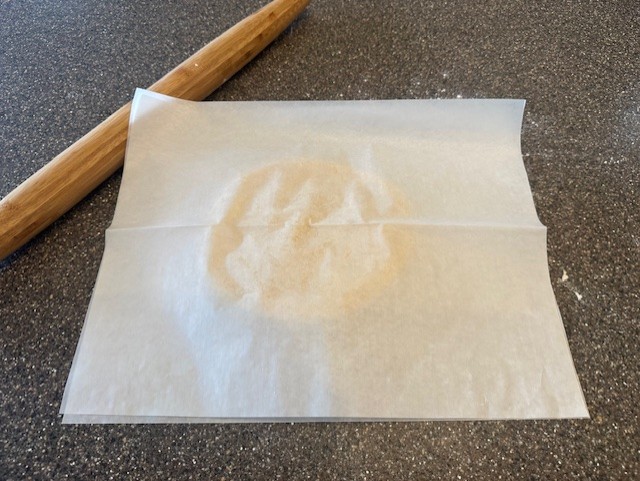
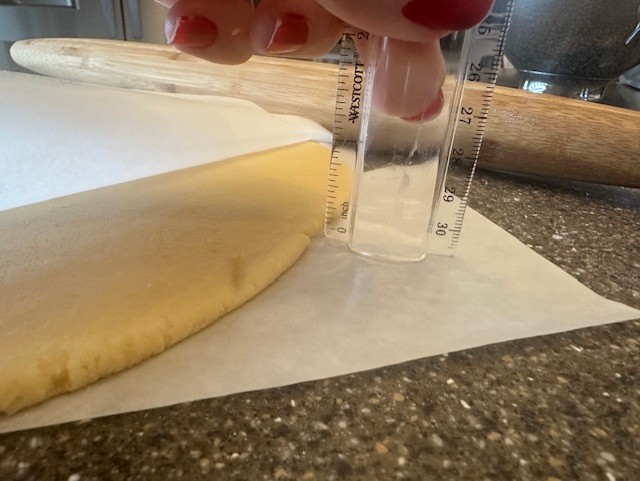
Step 5) Prepare your worksurface for easier rolling by placing a damp paper towel down, then laying a piece of parchment paper on top. Using the rolling pin, gently tap the dough to flatten slightly, lay an additional piece of parchment to the top, then roll out the dough to about an ¼" thickness. Repeat with the second ball of dough.
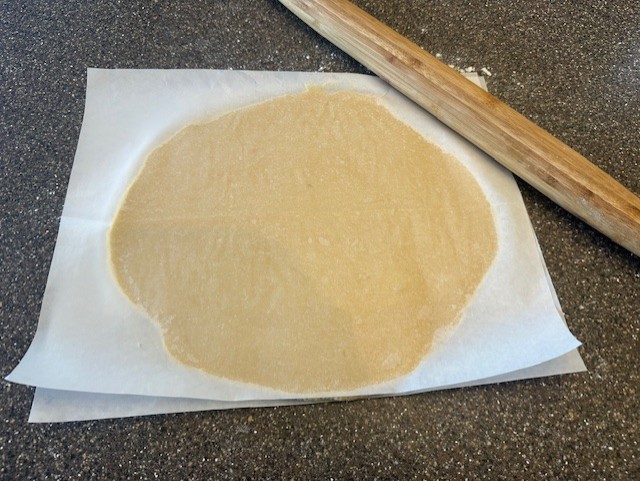
Layer each disk of dough, still in its parchment "blanket" on a sheet pan and pop into the refrigerator for at least thirty minutes, or up to one hour, to chill.
Chef's Tip: Using a damp paper towel under parchment or cutting boards is a great way to keep it from slipping while you work.
Step 6) Set the oven to 350℉, with racks positioned in the center.
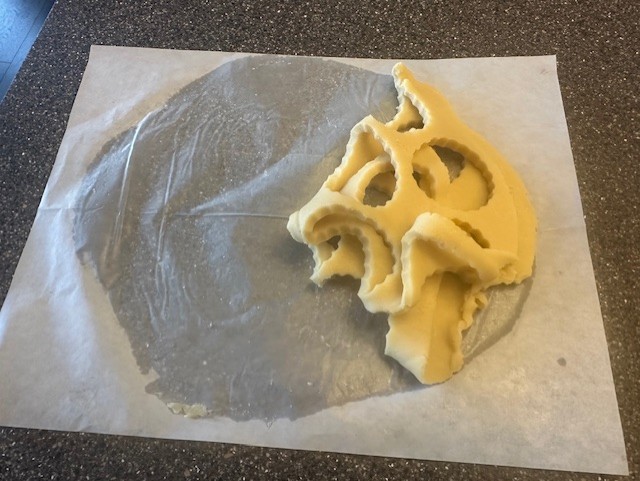
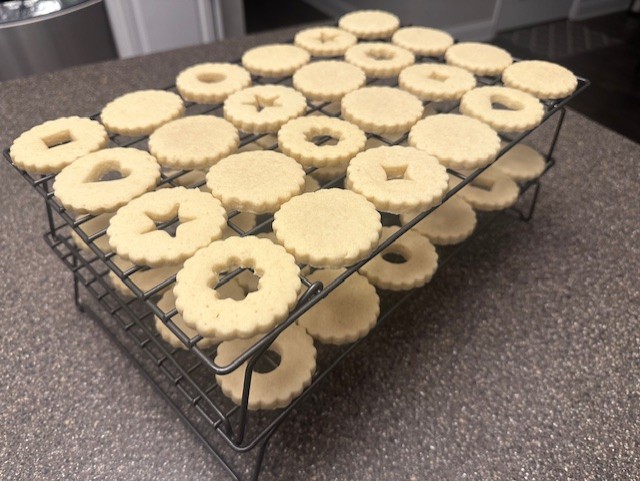
Step 7) Working with one disk of dough at a time, and using the larger, base-end of the cookie cutter, stamp out 48 cookies. Place them immediately onto a parchment lined sheet pan, spaced evenly apart, while the dough is still cold. There will be minimal 'spreading' but the cookies will puff slightly while baking.
You'll re-roll scraps and continue the same steps until you have enough.
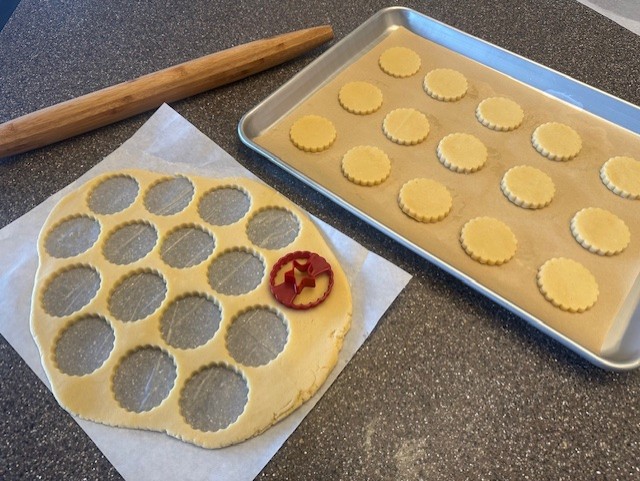
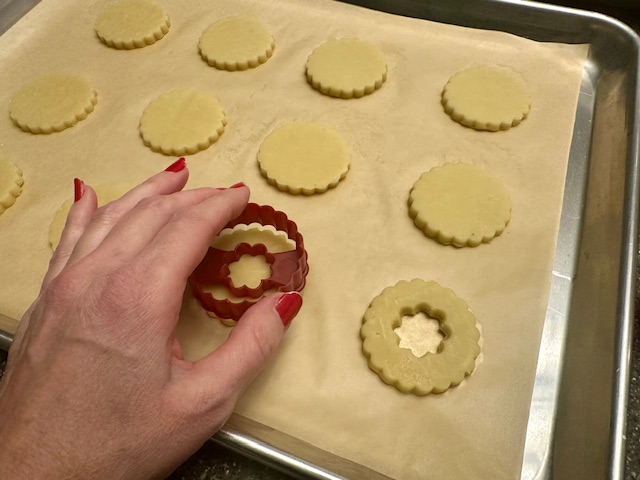
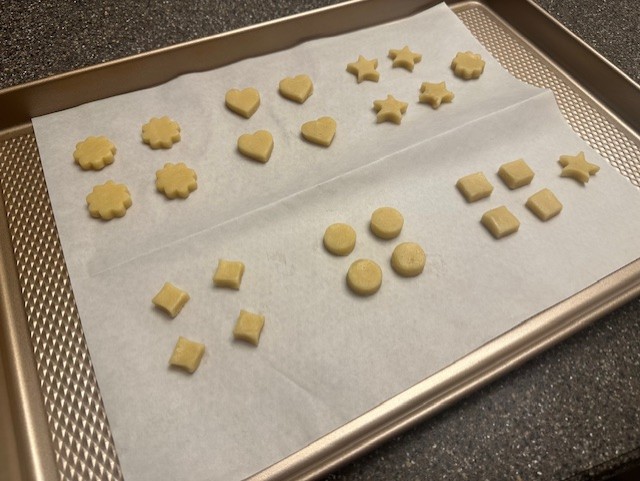
Step 8) Using the smaller, decorative end of the cutter, stamp out the center of just 24 of the cookies, leaving you with equal tops and bottoms for your cookie sandwiches. Save the punched-out centers for bite sized cookies (reduce the baking time down to just about 5 minutes).
Step 9) Bake the cookies in the preheated oven for 8-10 minutes, just until the tops are lightly 'set' when gently pressed- you don't want them browning.
Allow the freshly baked cookies to cool on the sheet pans a few minutes before moving them onto cooling racks. Keep your parchment-lined sheet pans handy.
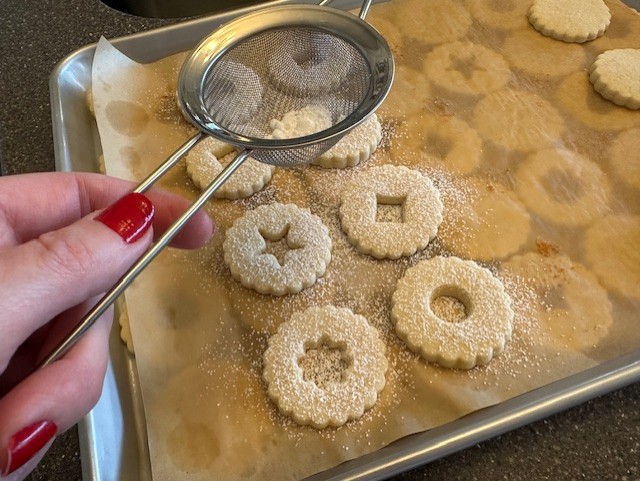
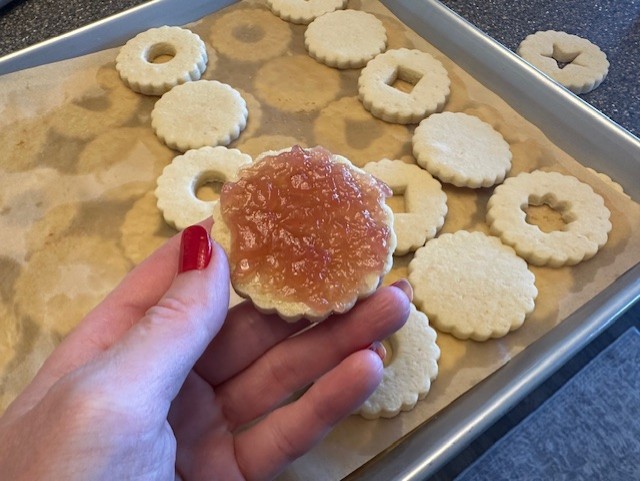
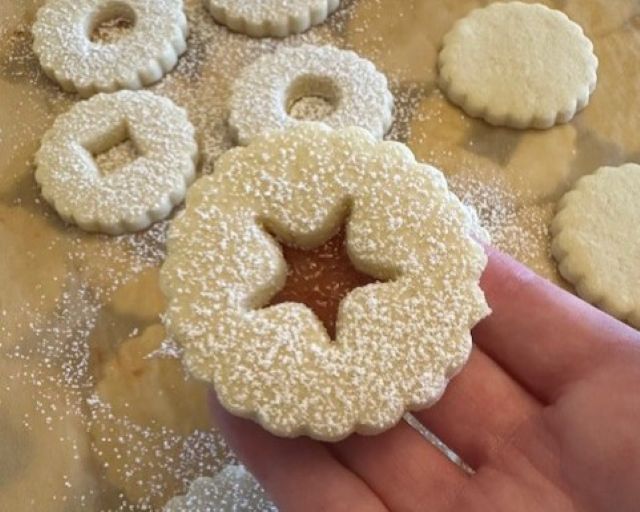
Step 10) Once the cookies have completely cooled, move the cookies back to the baking sheets. Using a small fine mesh strainer or a powdered sugar sifter, dust the tops of the cookies with the small cutout. Spread about a teaspoon of jam onto the 'base' cookies and sandwich the two together.
Store decorated cookies in an air-tight container for up to one week.
If making cookies ahead, store baked and cooled cookies (unfinished) in an airtight container or Ziploc bag in the freezer. When ready to serve, allow cookies to thaw before filling and decorating the tops.

Raspberry Linzer Cookies
Equipment
- Linzer Cookie Cutter Set
- Digital Kitchen Scale or Measuring Cups and Spoons
- Stand Mixer fitted with the paddle attachment
- Medium Mixing Bowl
- teaspoon
- Wire Whisk
- Rubber Spatula
- Rolling Pin
- Plastic Wrap
- Parchment Paper Sheets
- 2 Parchment Lined Baking Sheets
- Metal Spatula
- Powdered Sugar Sifter or Fine Mesh Metal Strainer
Ingredients
- 315 g All-Purpose Flour 2-½ C.
- 150 g Almond Flour 1-¼ C.
- 45 g Cornstarch ⅓ C.
- ½ tsp. Kosher Salt
- 2 Sticks Unsalted Butter, at room temperature 226 g, or 1 C.
- 150 g Granulated Sugar ¾ C.
- 2 Lg. Eggs, at room temperature
- 2 tsp. Pure Vanilla Extract
- 1 tsp. Pure Almond Extract
Finishing
- 150 g Seedless Raspberry Jam about ½ C.
- 30 g Powdered Sugar about ¼ C., for dusting
Instructions
- Gather all of your ingredients. Carefully measure out using a digital kitchen scale or use the spoon and sweep method.
- Whisk together both flours, all-purpose and almond, along with the cornstarch and salt until fully combined.
- In the bowl of stand mixer, cream together the butter and the sugar until light in color, about 2 minutes. After scraping down the sides of the bowl, add in the in eggs, one at time, and mix on low speed until the mixture is no longer glossy. Add in both extracts.Slowly begin to incorporate the flour mixture, a little at a time, and mix until a soft dough forms.
- Move the dough to a clean worksurface dusted lightly with flour and divide it into two equal portions. Knead each ball of dough into a smooth ball.
- Prepare your worksurface for easier rolling by placing a damp paper towel down, then laying a piece of parchment paper on top. Using the rolling pin, gently tap the dough to flatten slightly, lay an additional piece of parchment to the top, then roll out the dough to about an ¼" thickness. Repeat with the second ball of dough. Layer each disk of dough, still in its parchment "blanket" on a sheet pan and pop into the refrigerator for at least thirty minutes, or up to one hour, to chill.
- Set the oven to 350℉, with rack positioned in the center.
- Working with one disk of dough at a time, and using the larger, base-end of the cookie cutter, stamp out 48 cookies. Place them immediately onto a parchment lined sheet pan, spaced evenly apart, while the dough is still cold. There will be minimal 'spreading' but the cookies will puff slightly while baking. You'll re-roll scraps and continue the same steps until you have enough.
- Using the smaller, decorative end of the cutter, stamp out the center of just 24 of the cookies, leaving you with equal tops and bottoms for your cookie sandwiches. Save the punched-out centers for bite sized cookies!
- Bake the cookies in the preheated oven for 8-10 minutes, just until the tops are lightly 'set' when gently pressed- you don't want them browning. Allow the freshly baked cookies to cool on the sheet pans a few minutes before moving them onto cooling racks. Keep your parchment-lined sheet pans handy.
- Once the cookies have completely cooled, move the cookies back to the baking sheets. Using a small fine mesh strainer or a powdered sugar sifter, dust the tops of the cookies with the small cutout. Spread about a teaspoon of jam onto the 'base' cookies and sandwich the two together.