Home
Bites
Eats
Breads
Sides
Sweets
Basics
About
menu icon
Bites
Eats
Breads
Sides
Sweets
Basics
subscribe
search icon
Bites
Eats
Breads
Sides
Sweets
Basics
×
Home
Sides
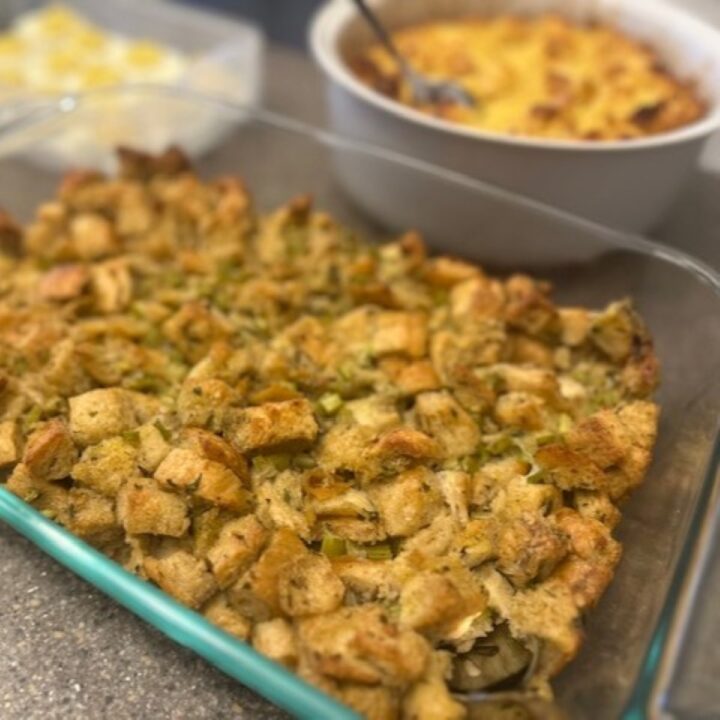
Savory Bread Stuffing
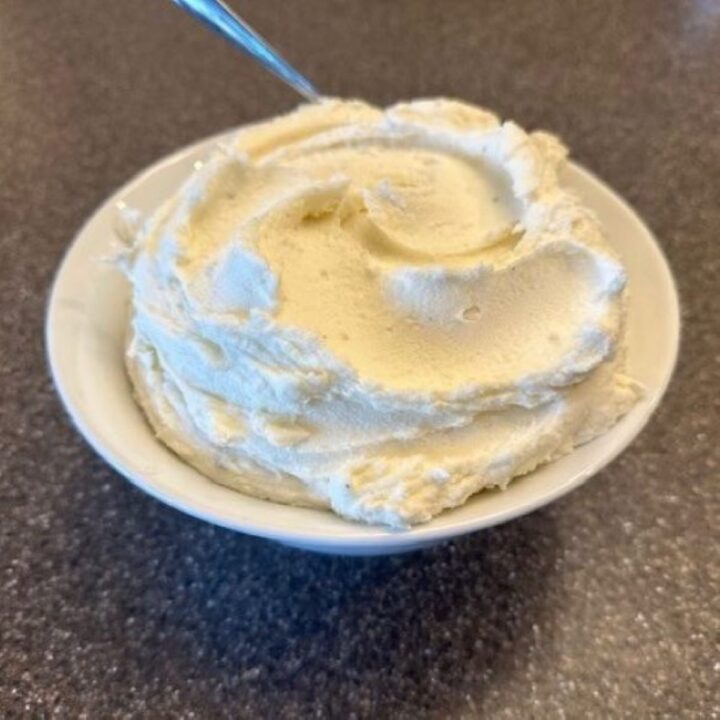
Creamy, Restaurant-Style Whipped Potatoes
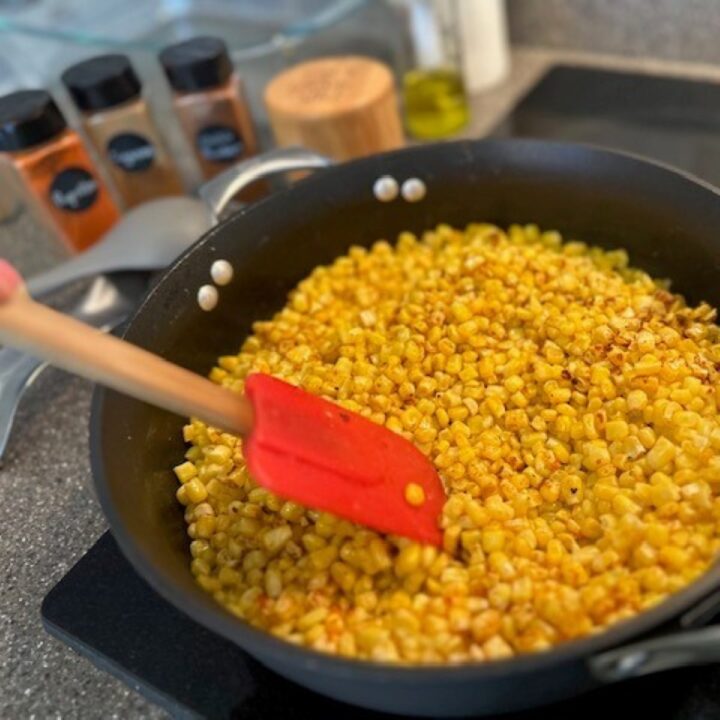
Spicy Seasoned Corn
Garden Caprese Salad
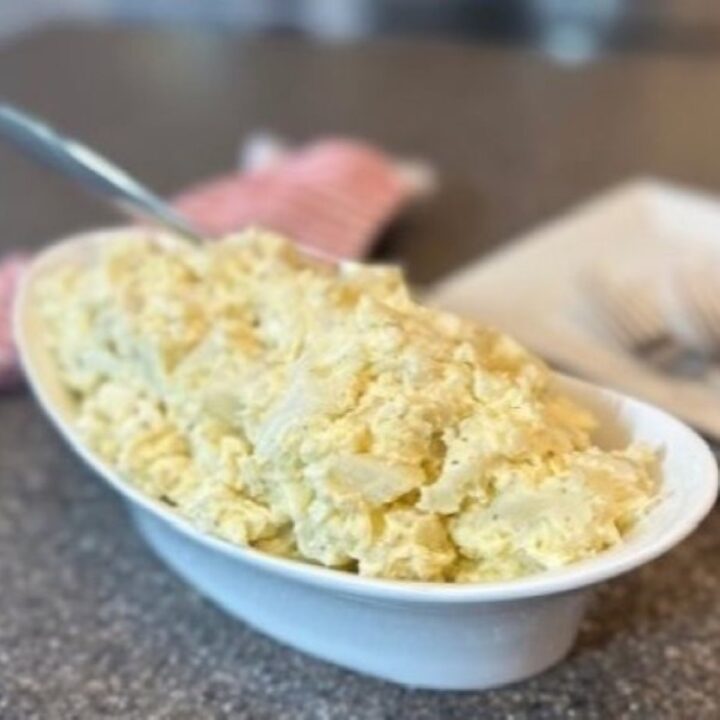
Grandmom's Potato Salad
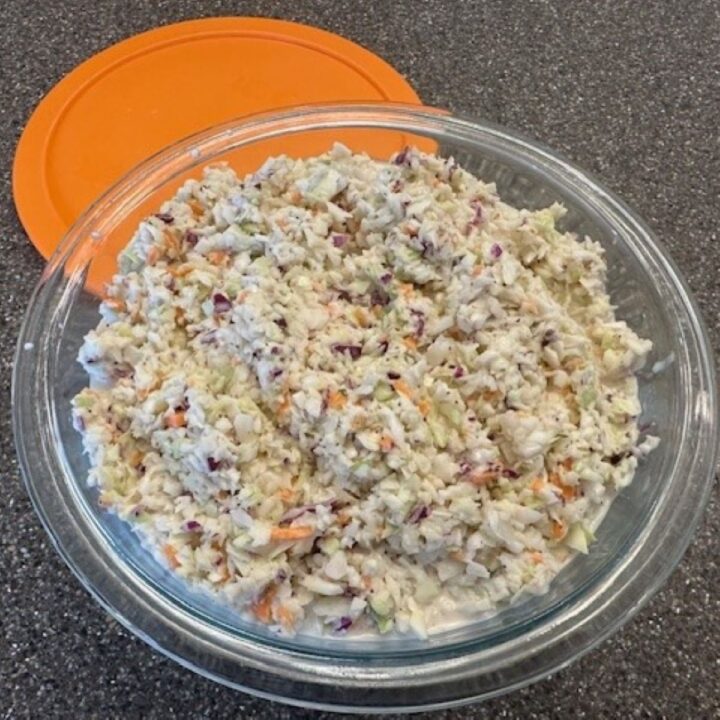
The Best Cole Slaw
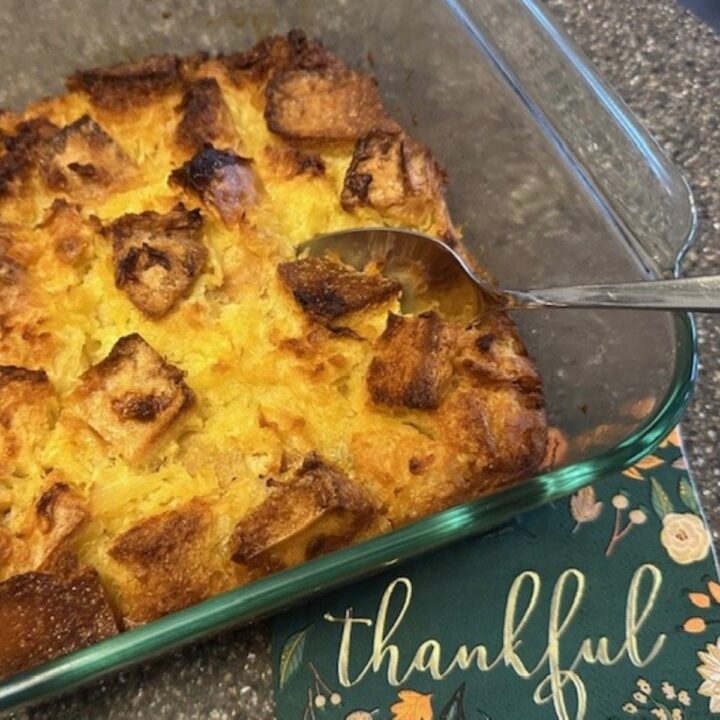
Pineapple Stuffing
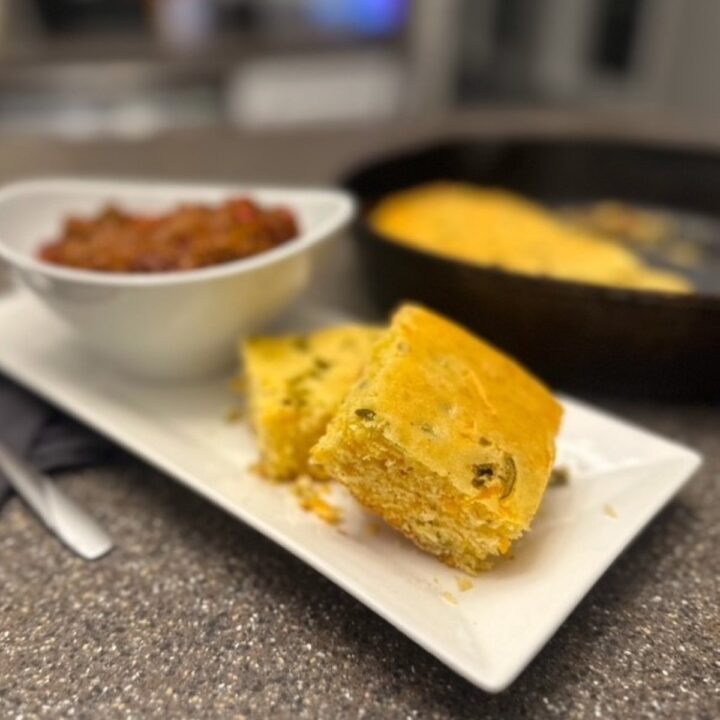
Jalapeño Cheddar Cast Iron Skillet Cornbread
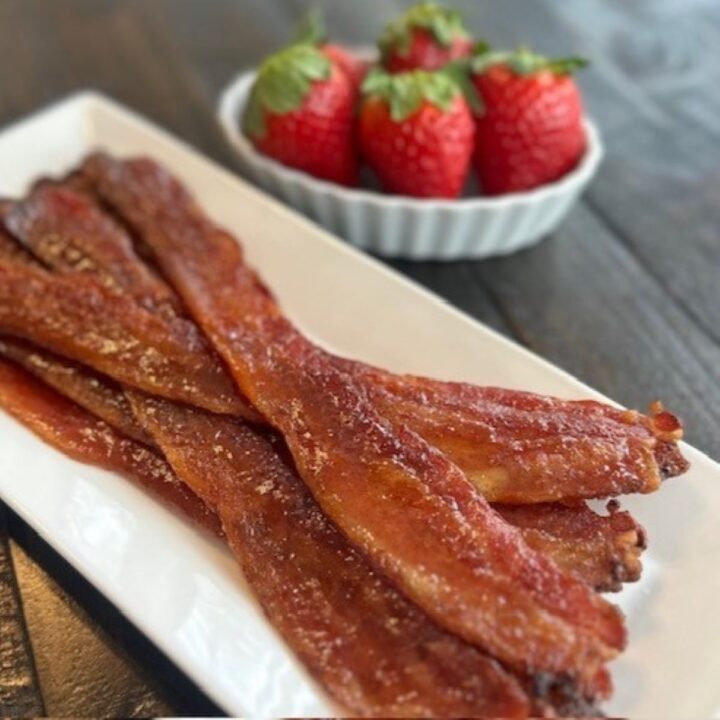
Spicy Brown Sugar Bacon
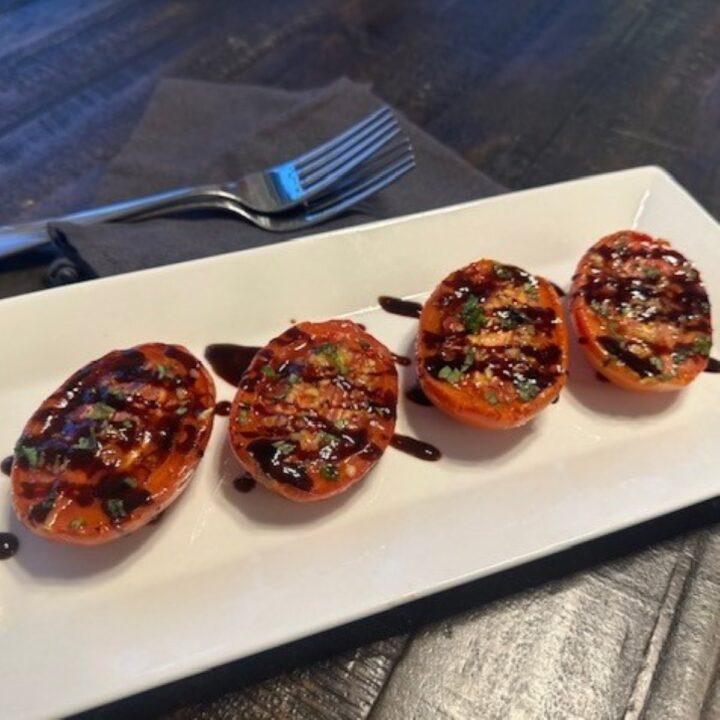
Oven Roasted Balsamic Tomatoes