Early on in my culinary education, we learned how to make Quiche Lorraine. It's an excellent foundational recipe, given that the dish is comprised of several classic techniques, such as learning how to make a pastry shell, blind baking, creating a custard, blanching, knife skills and sautéing. Ideally, once you have those basic skills honed, you learn that you no longer need to follow a "recipe" to create a delicious quiche.
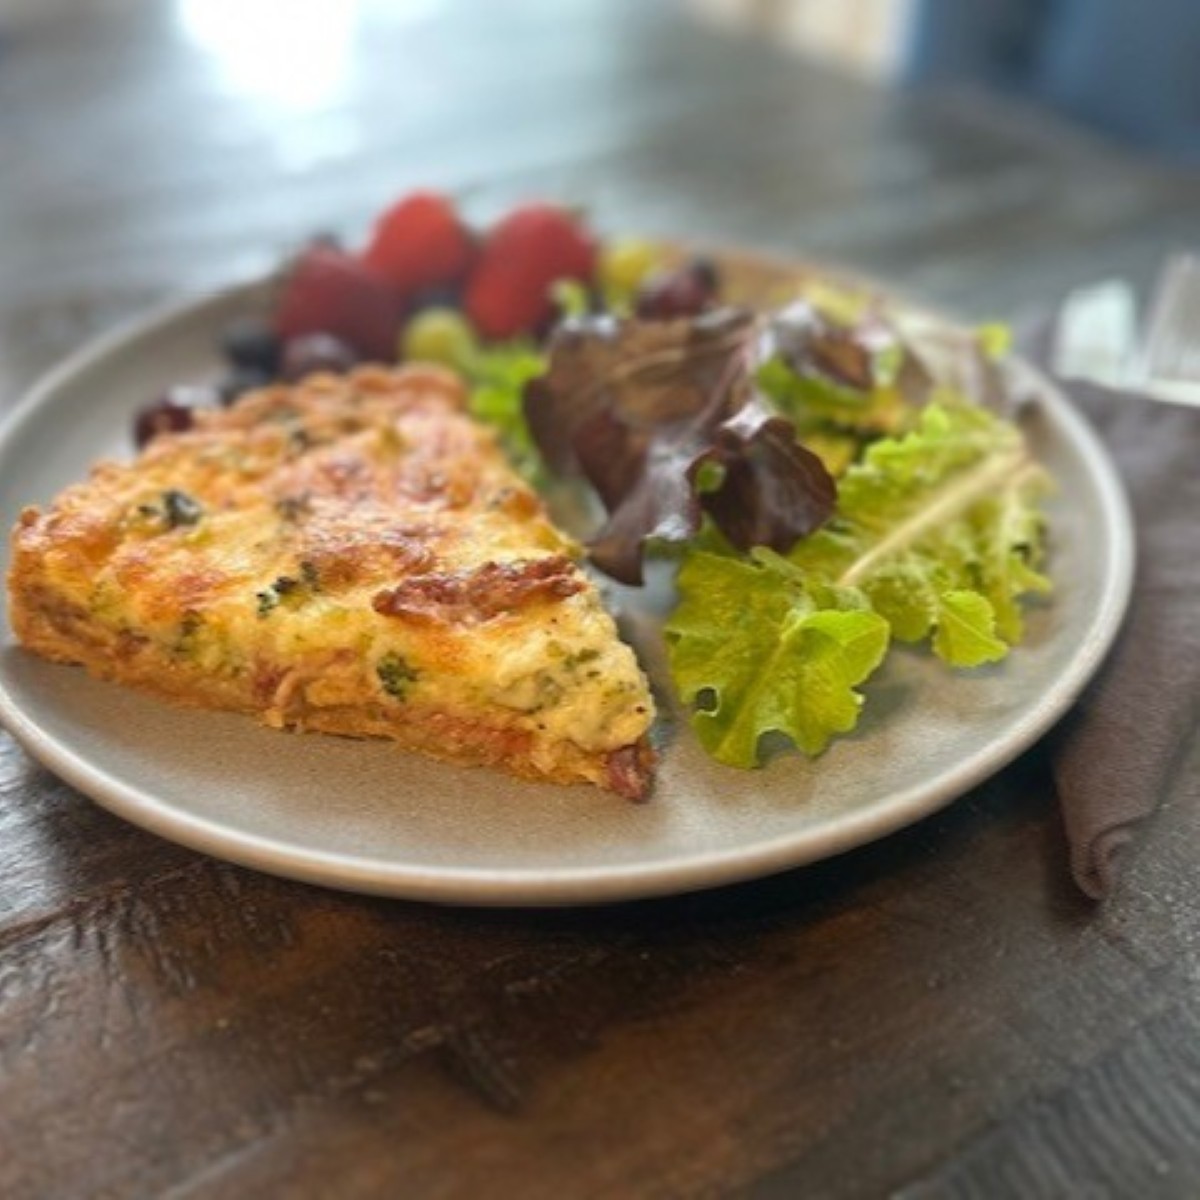
A quintessential brunch dish, this savory French tart starts with a delicate, homemade crust and is filled with a rich egg custard combined with broccoli, shallot, bacon, and assorted cheeses. It also reheats beautifully for a quick meal throughout the week.

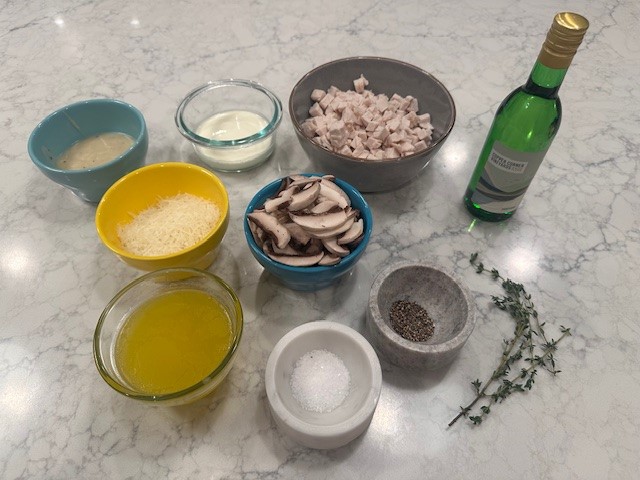
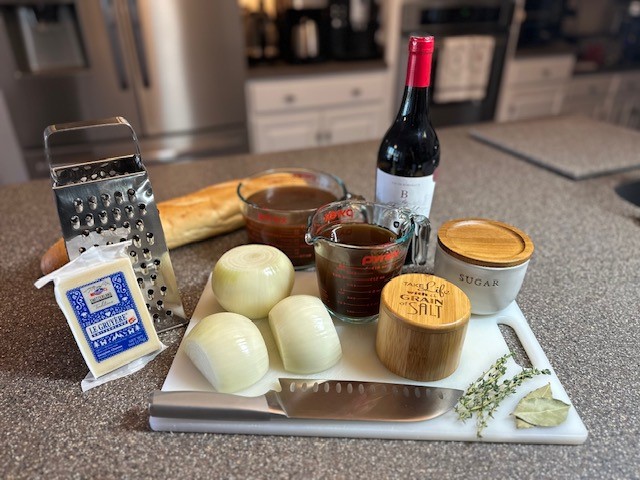
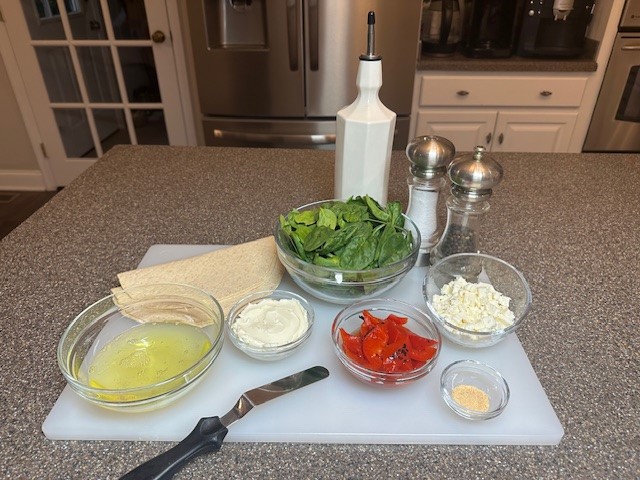
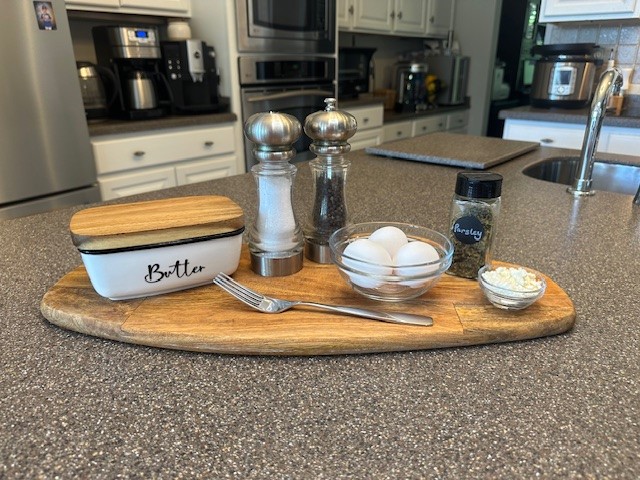
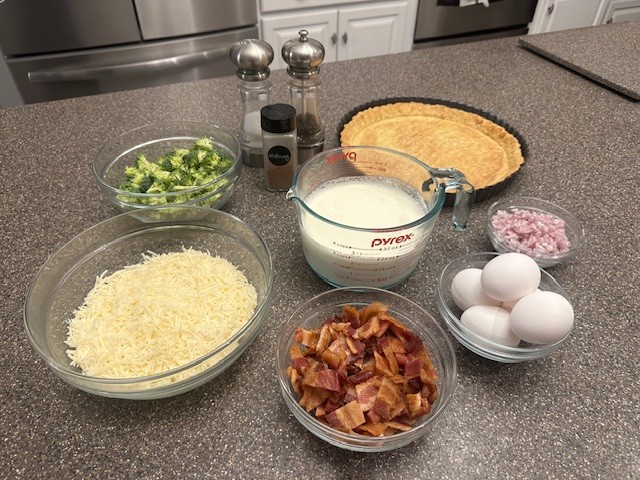
Ingredients:
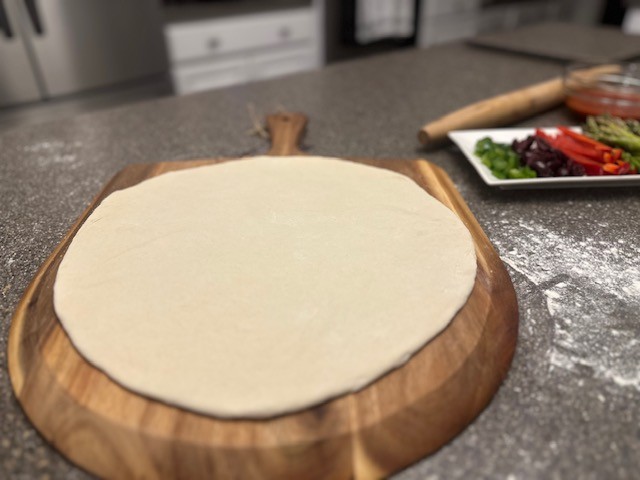
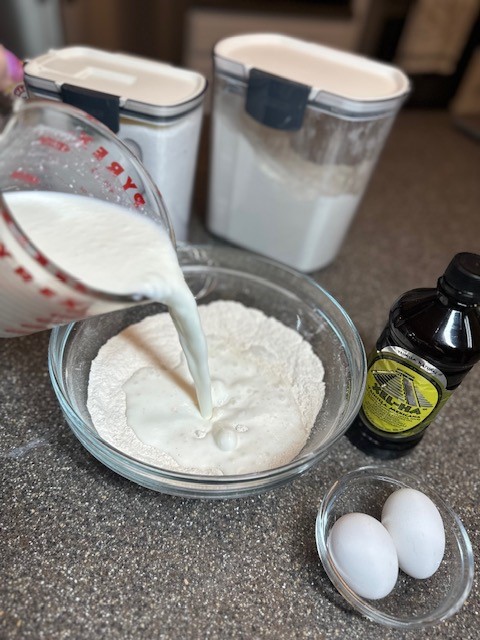
- 1 Recipe Pate Brisee (Simple Pie Dough)
- 5 Lg. Eggs
- 2 C. Heavy Cream
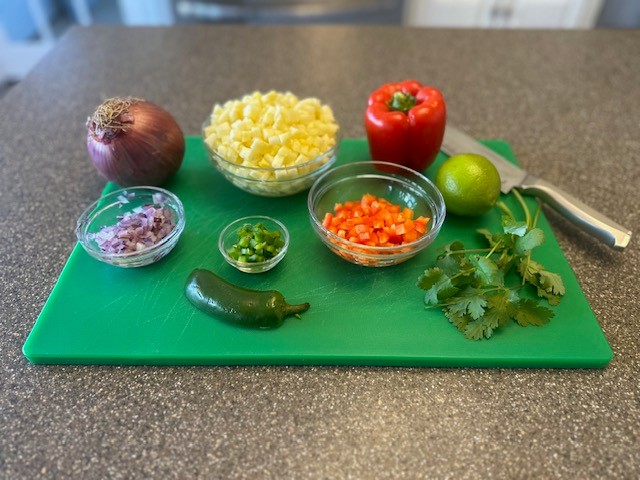
- 1 Head Fresh Broccoli about two cups blanched, chopped into small florets
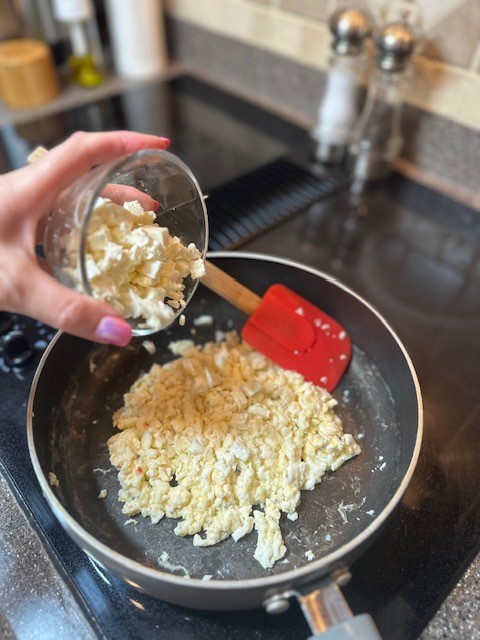
- 1-½ C. Freshly Shredded Gruyere and Swiss Cheese
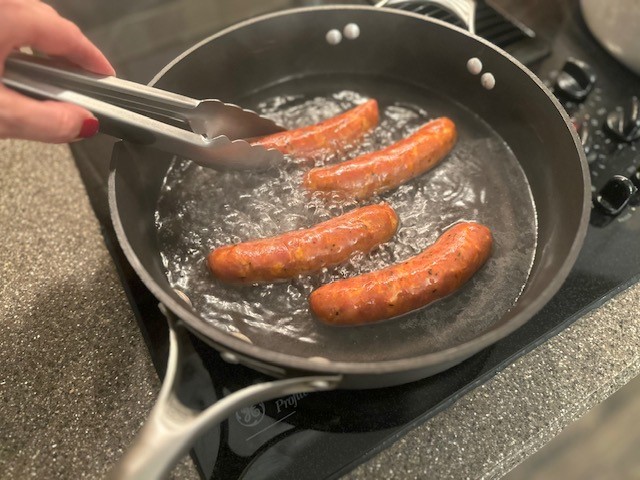
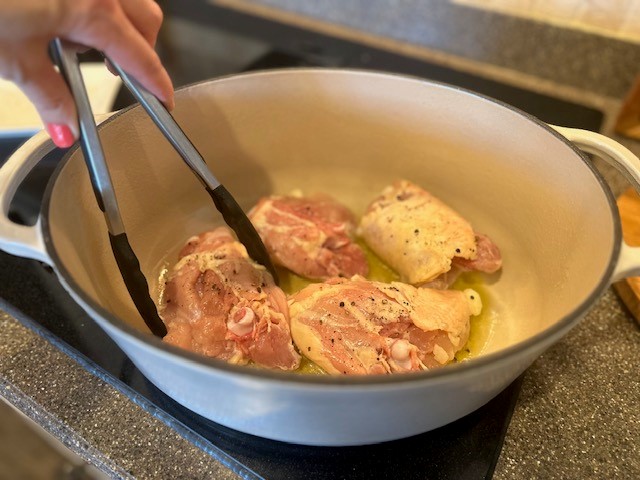
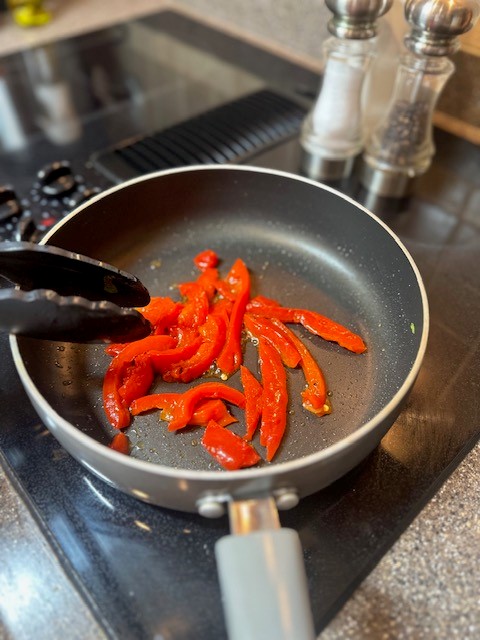
- 8 oz Thick Cut Bacon 6-8 slices, cut into lardons
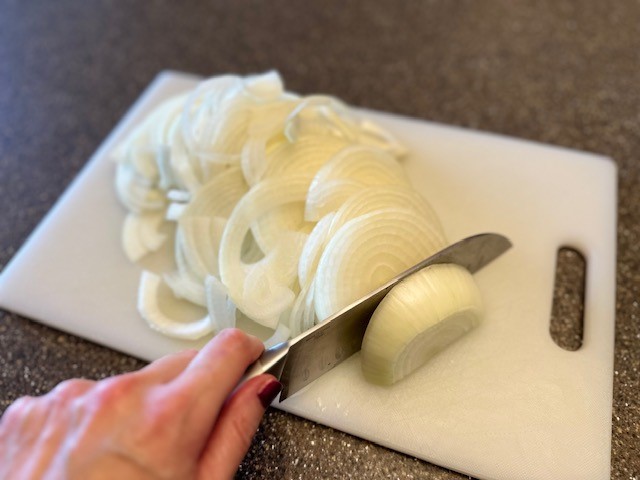
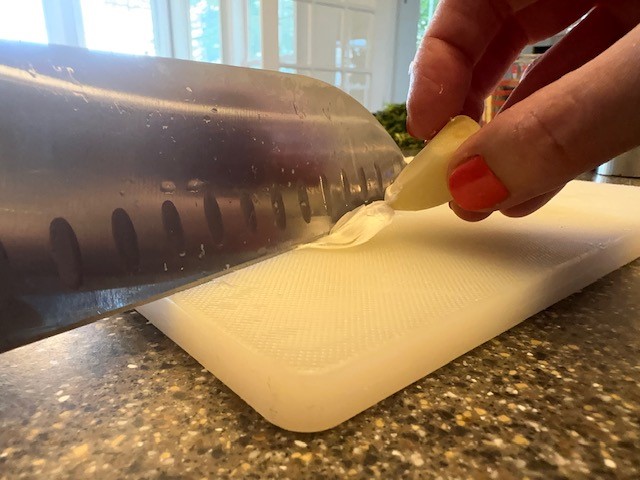
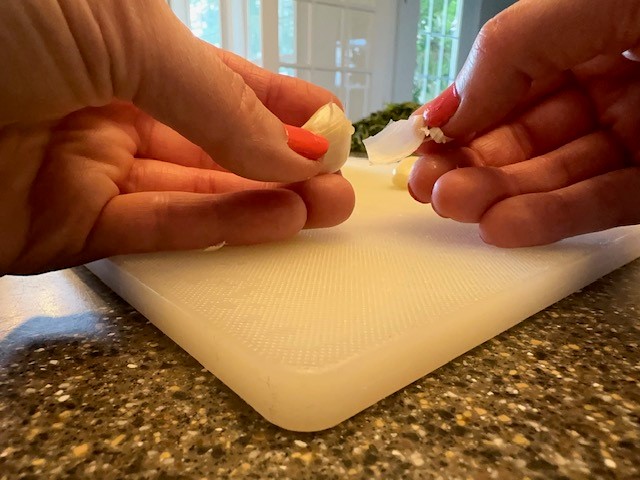
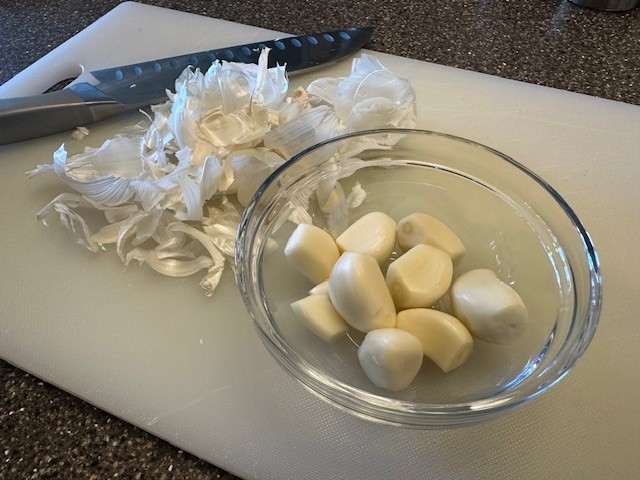
- 2 Medium Shallots, minced, about ¼ cup fresh, before sautéing
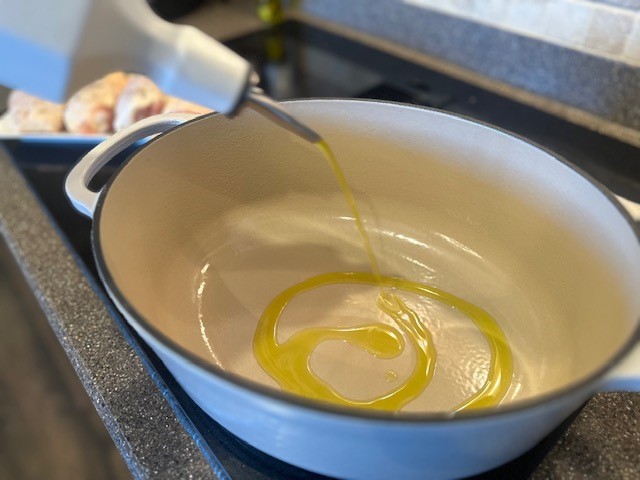
- ½ tsp. Olive Oil to sauté the shallot
- 1 tsp. Kosher Salt
- ½ tsp. Freshly Ground Black Pepper
- Pinch Freshly Grated Nutmeg, to taste
Instructions:
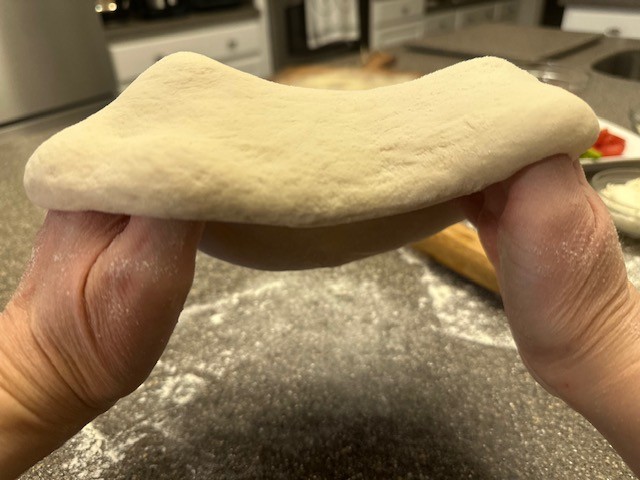
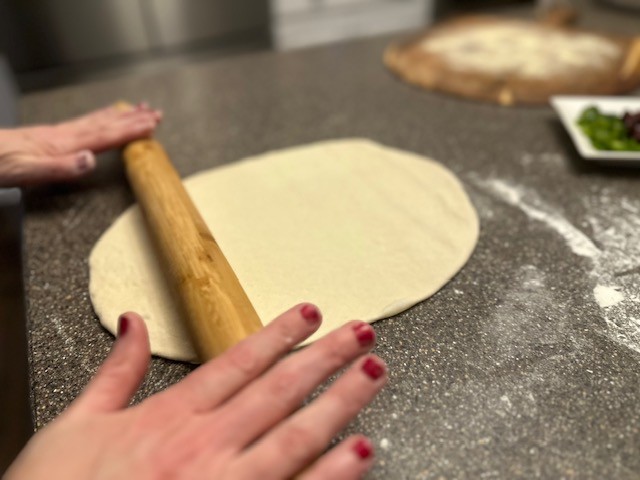
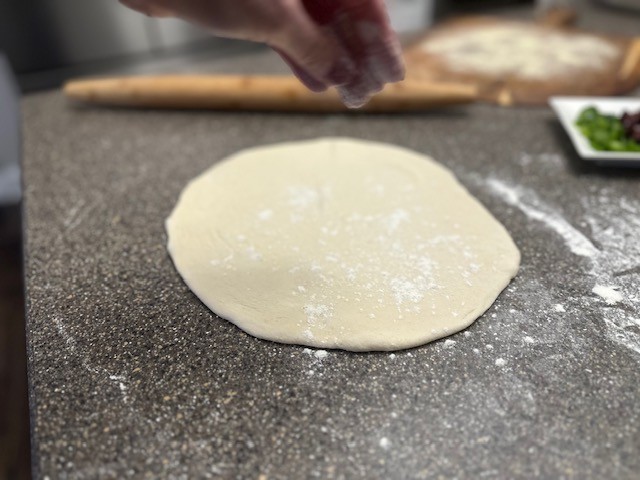
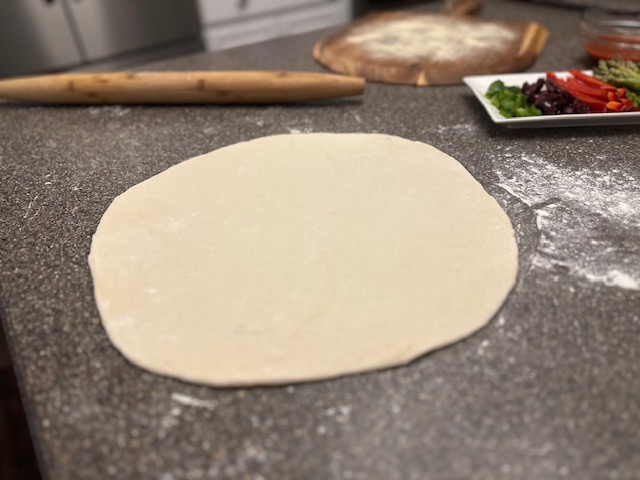
Step 1: Gather your ingredients. If you haven't already done so, you'll need to prepare a recipe for Pate Brisee and follow the instructions here. Preheat the oven to 375°F.
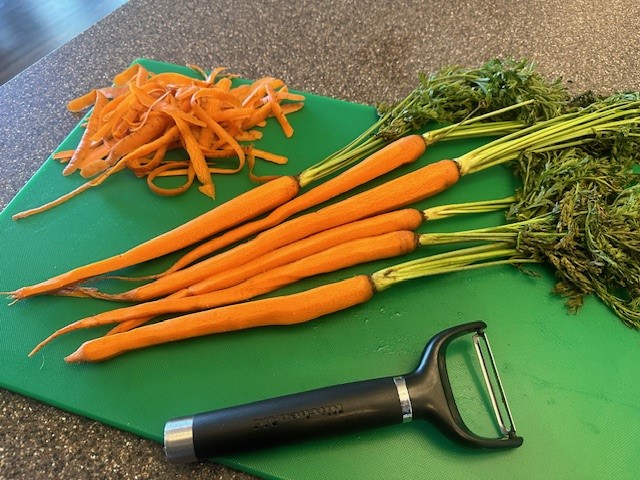
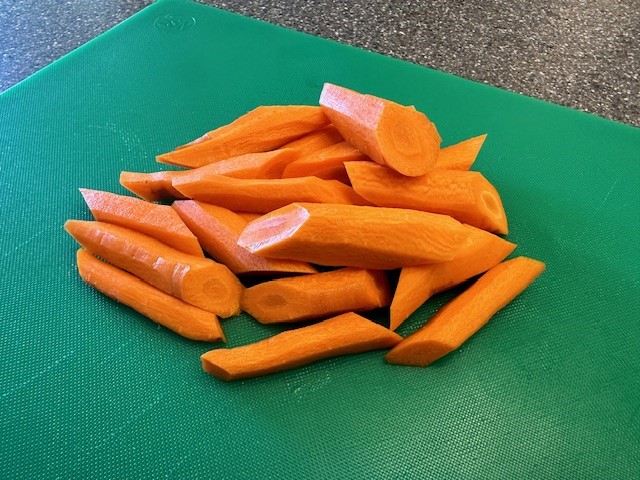
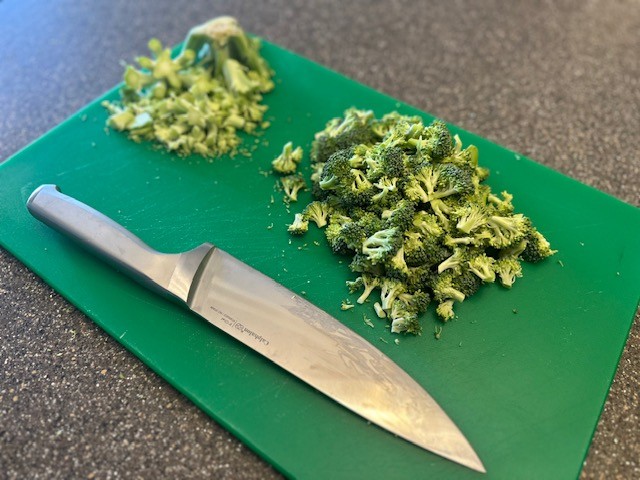
Step 2: To prepare the broccoli, use a Chef's Knife to carefully remove the florets from the stalk, and chop the florets into small pieces. Discard the trimmings.
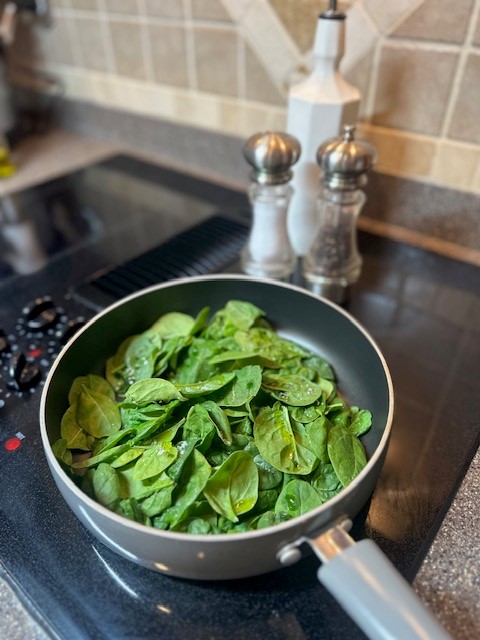
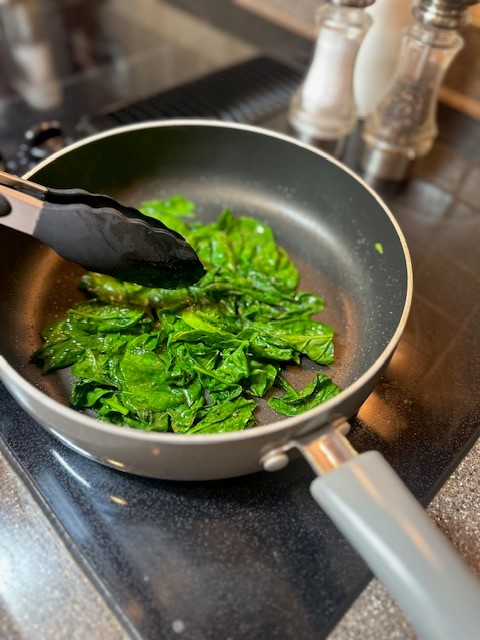
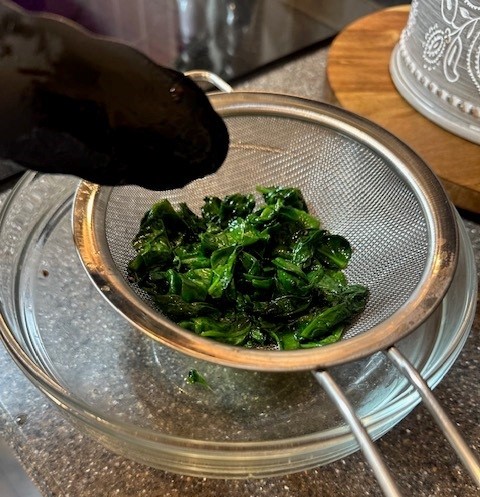
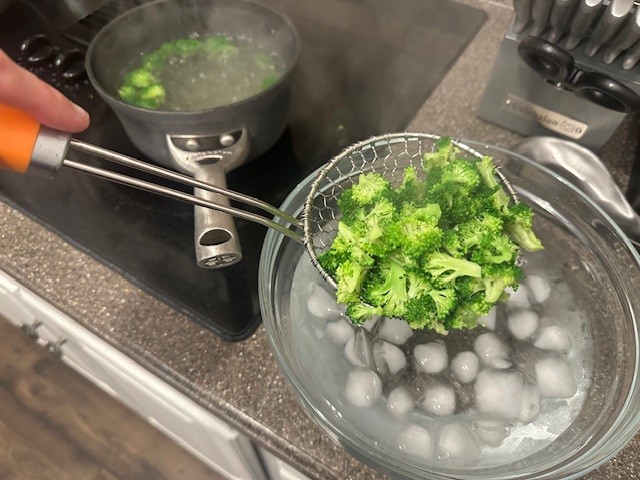
Step 3: Next, we'll need to blanch the broccoli. Add water to a small, heavy-bottomed saucepan and bring to a boil. Add in a palmful of kosher salt. While the water is coming up to temperature, fill a large bowl with ice water and set near the stove. Once boiling, add the broccoli and cook, just until the water returns to a boil, about 1-2 minutes. You don't want to overcook it!
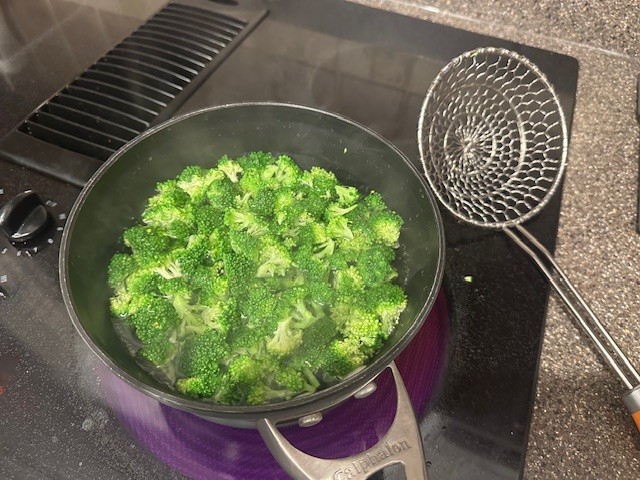
Immediately move the broccoli from the boiling water directly into the ice bath. This will stop the vegetable from continuing to cook, as well as lock in the bright green color. Leave the broccoli in the ice water for a few minutes, then strain, and set aside.
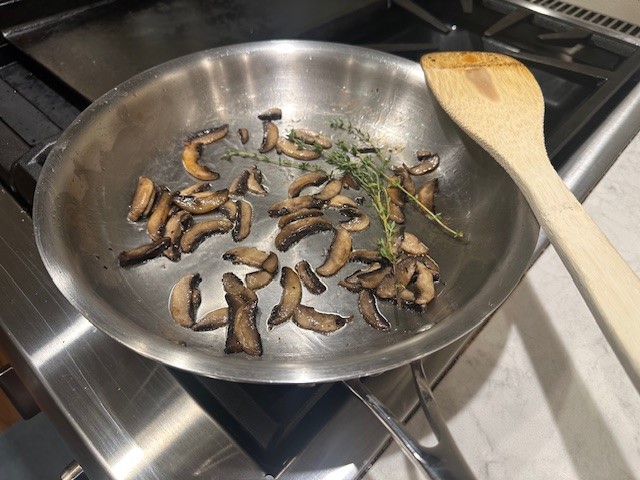
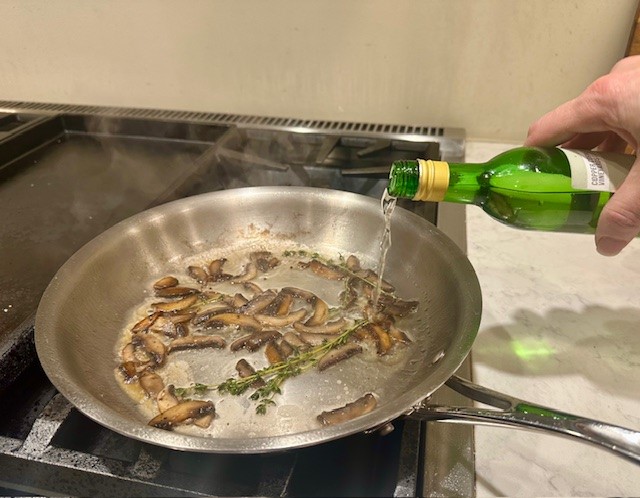
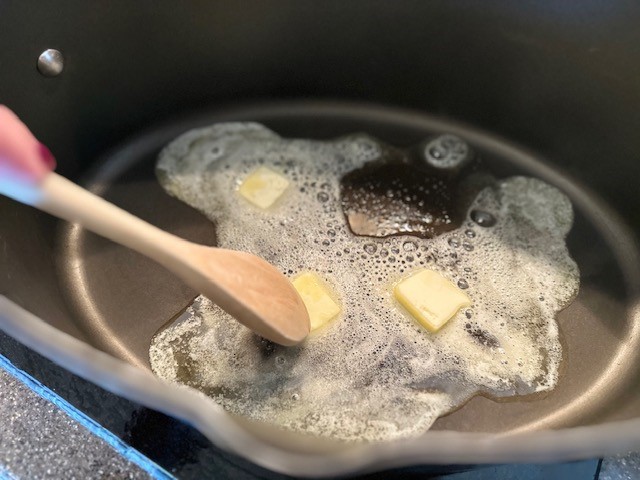
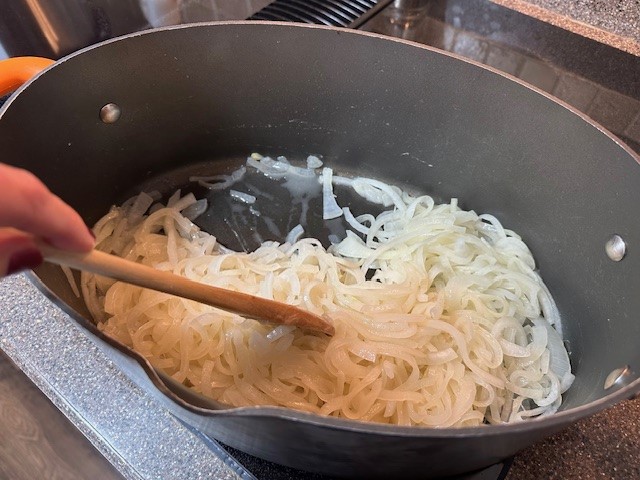
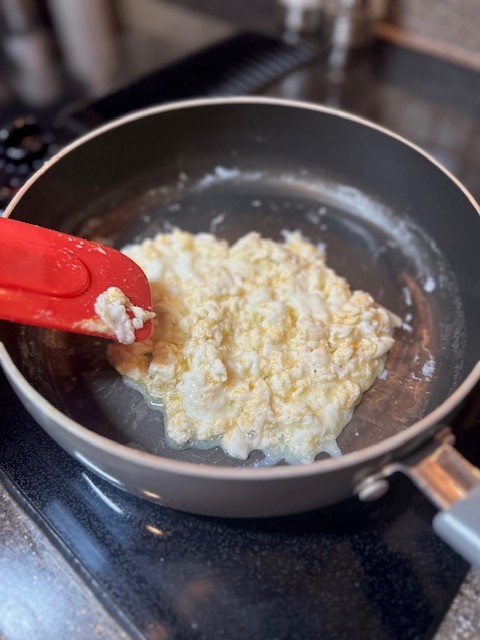
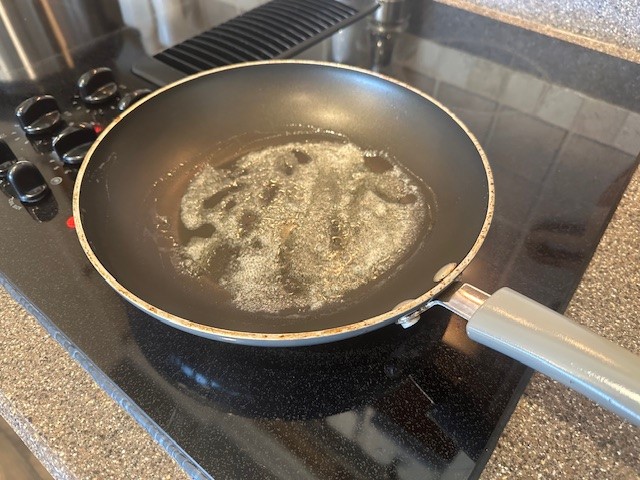
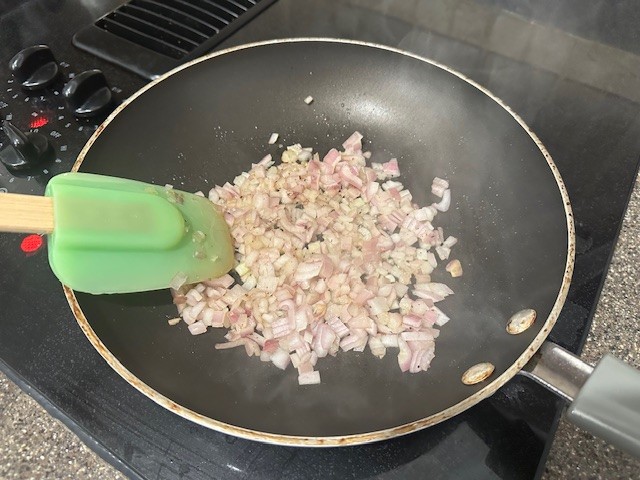
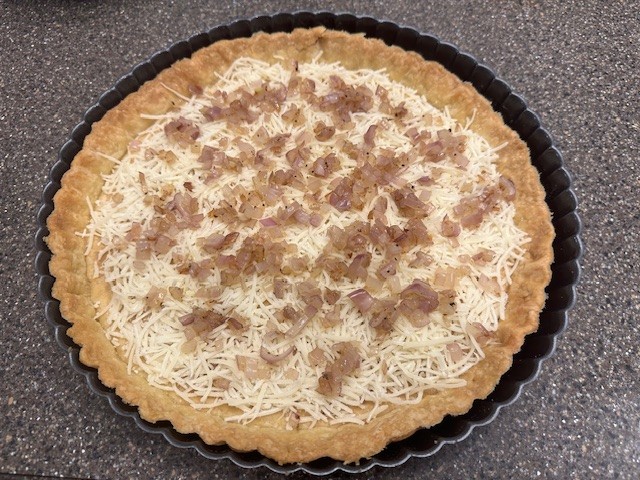
Step 4: In a small sauté pan set over medium-high heat, add in a little olive oil. Sauté the minced shallots just until translucent, 3-4 minutes. Season lightly with salt and pepper. Set aside.
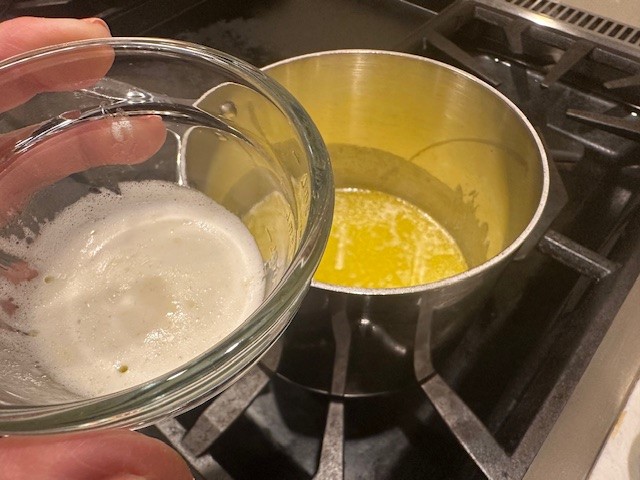
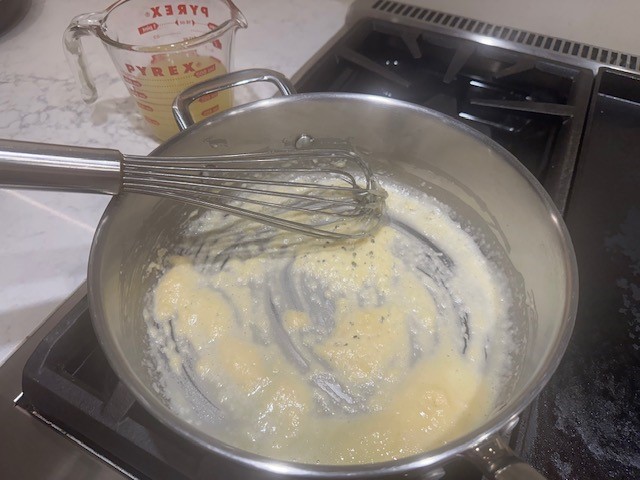
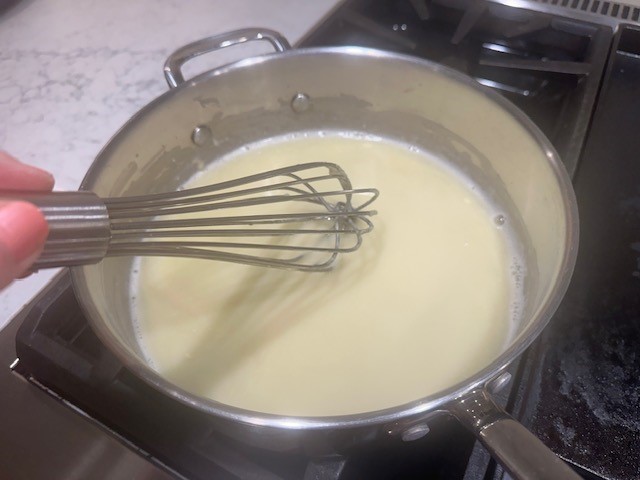
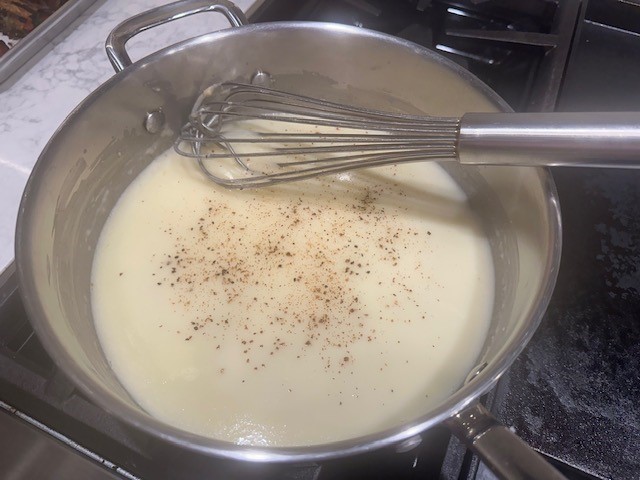
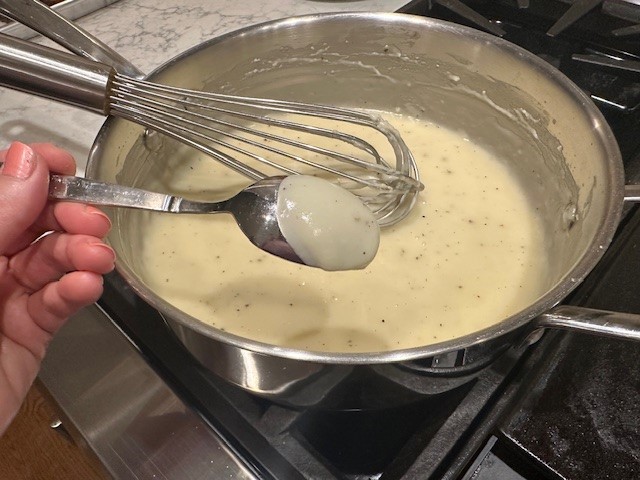
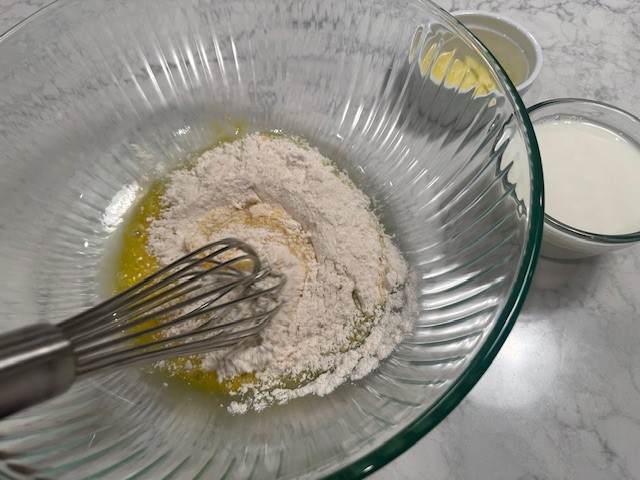
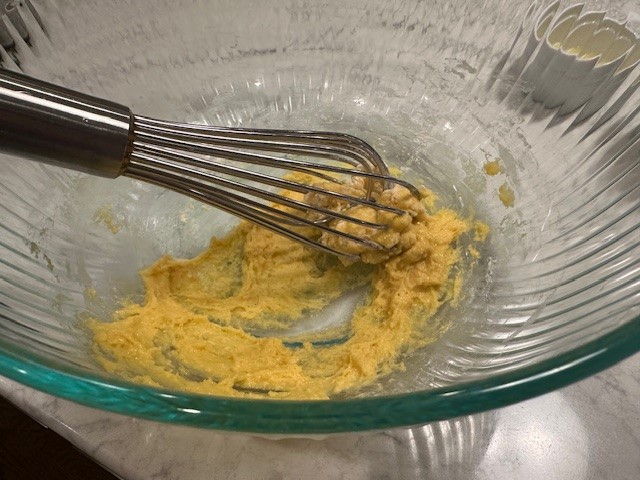
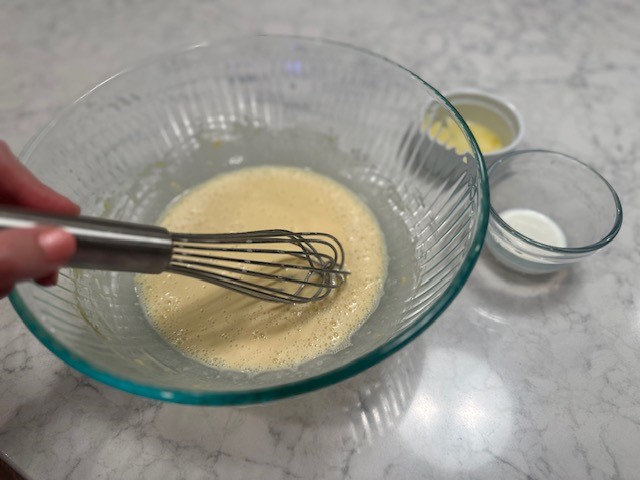
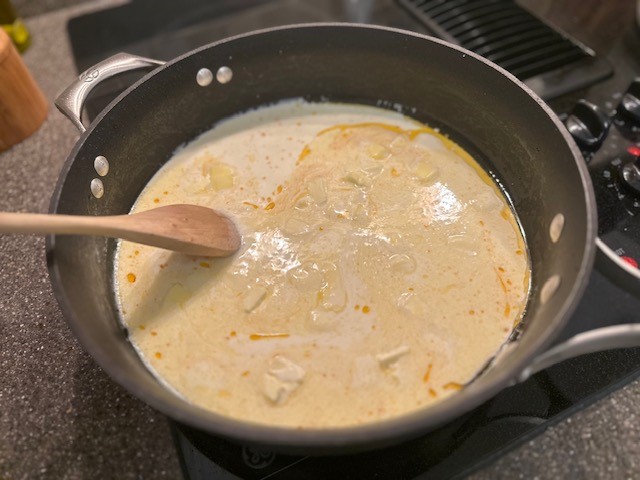
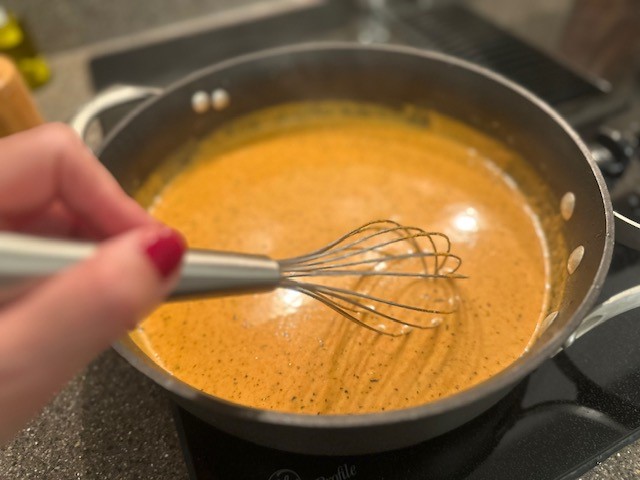
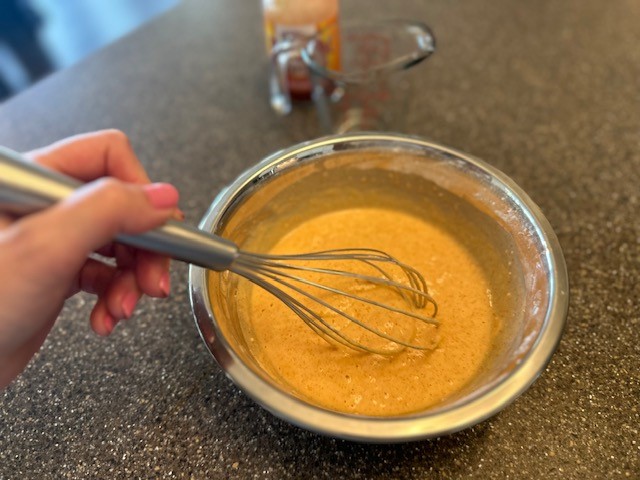
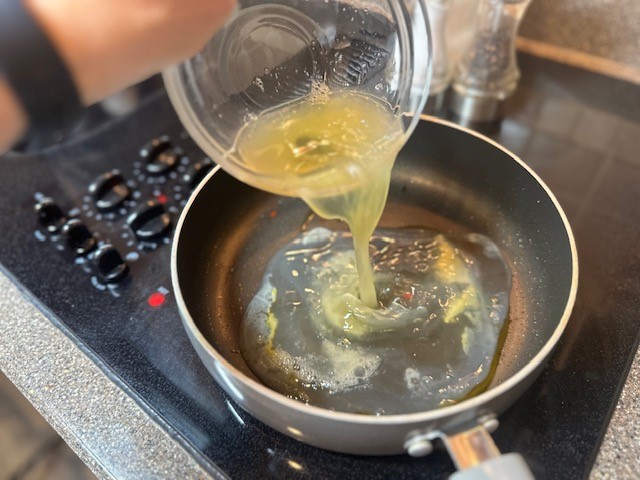
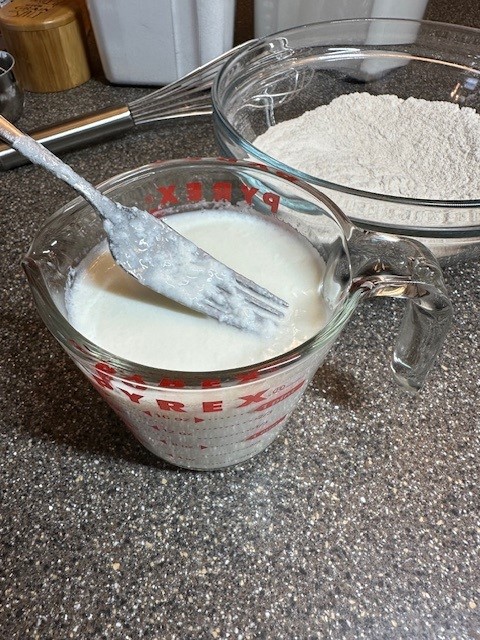
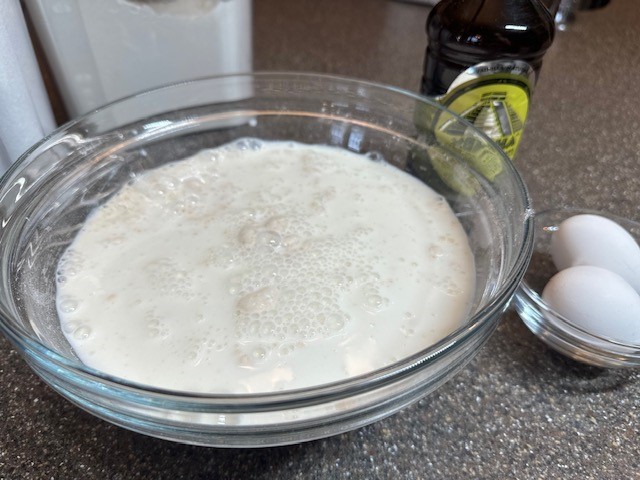
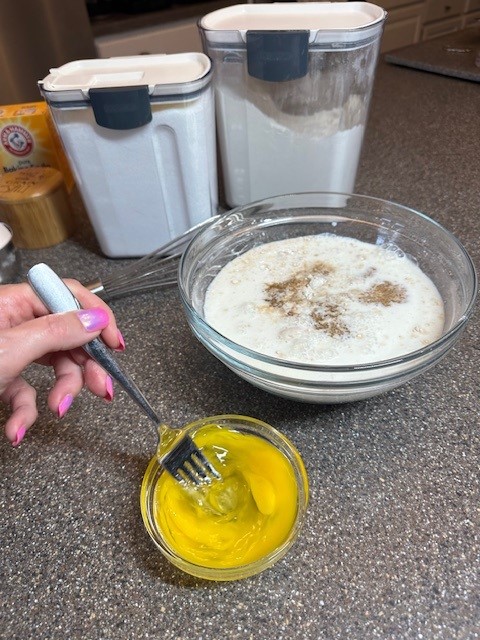
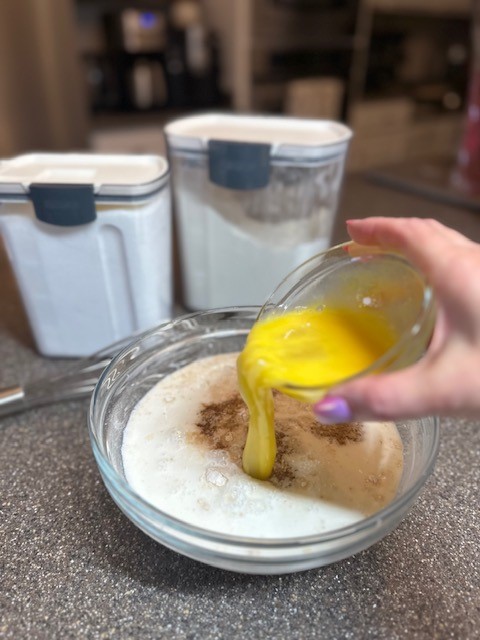
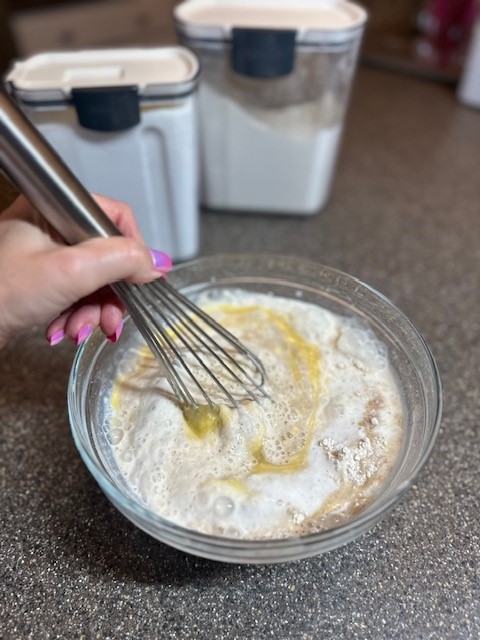
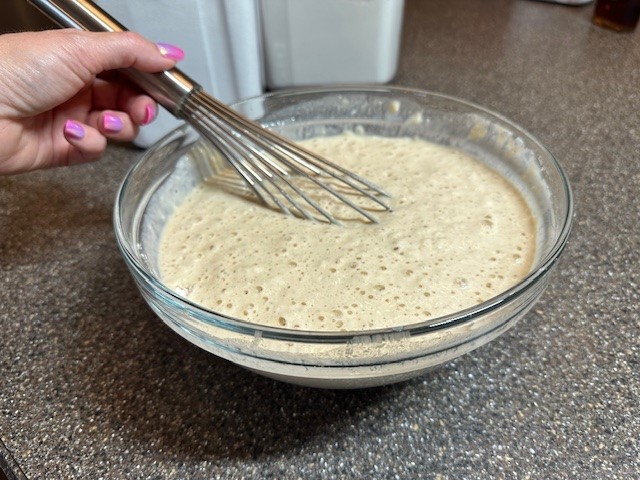
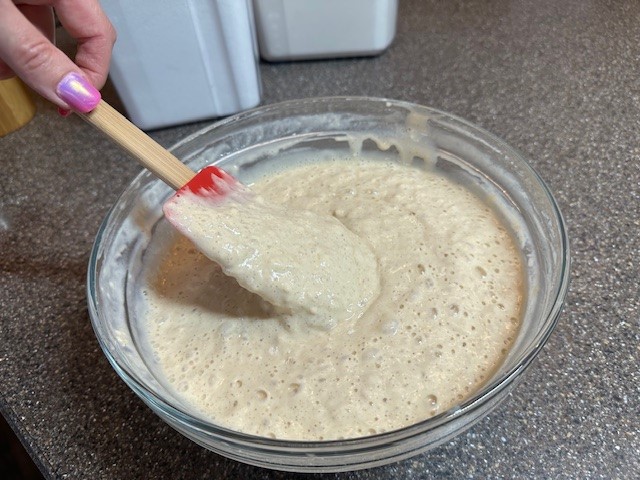
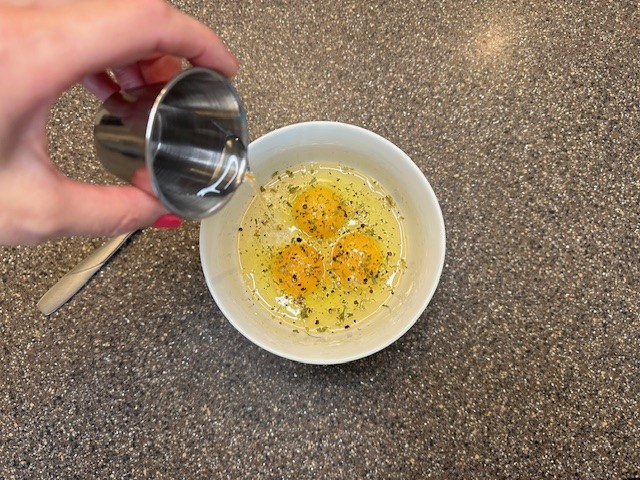
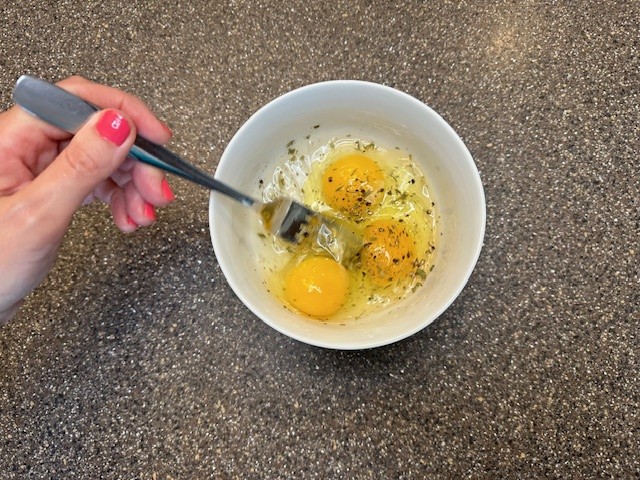
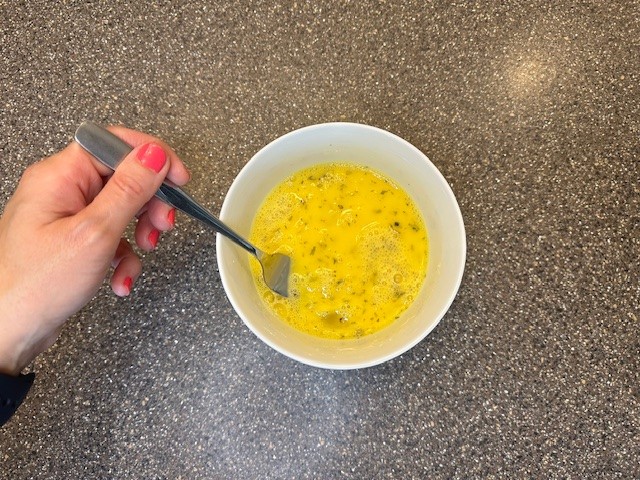
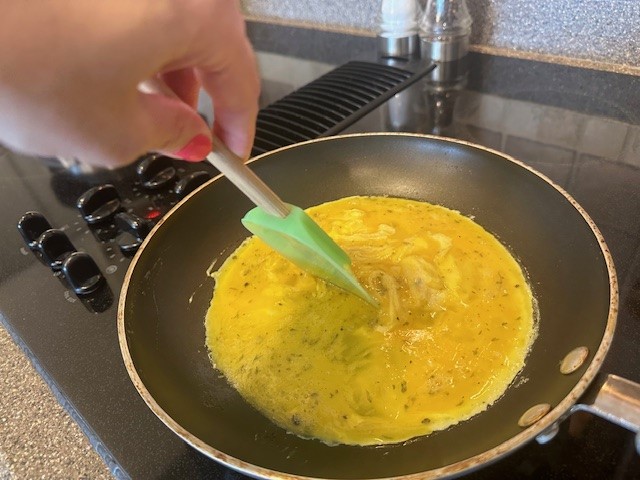
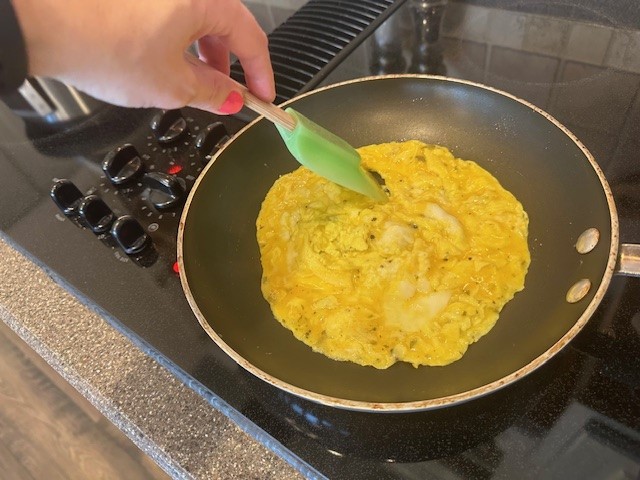
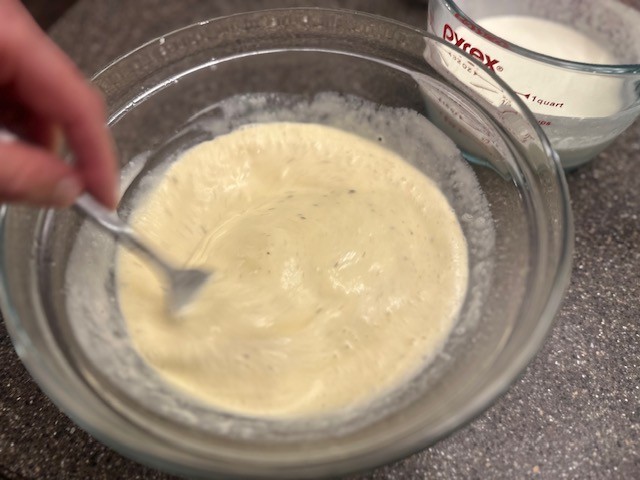
Step 5: In a mixing bowl, whisk the eggs, then season with salt, pepper and nutmeg.

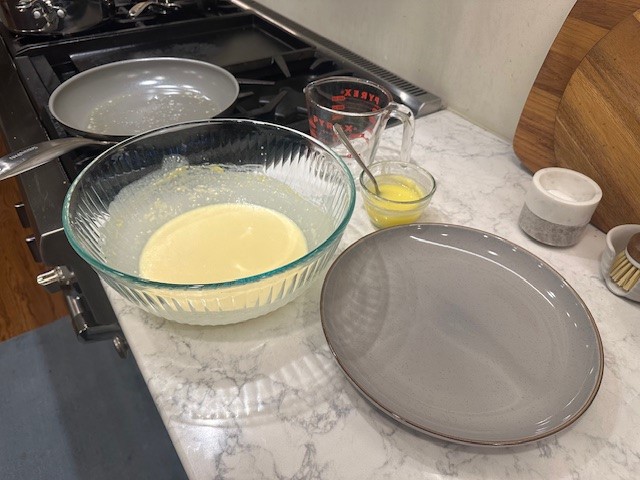
Slowly incorporate the heavy cream and set aside.
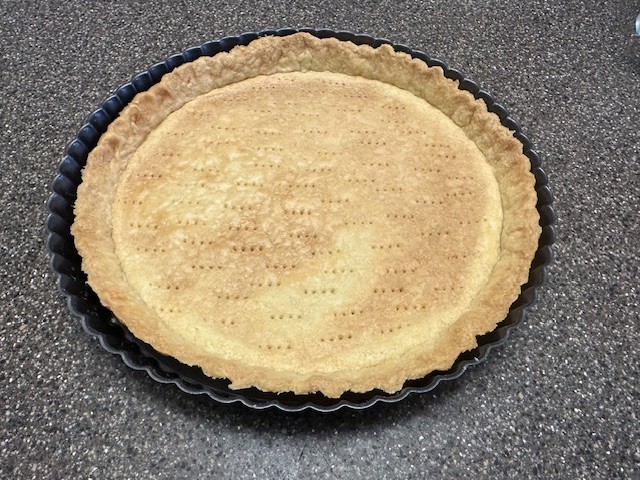
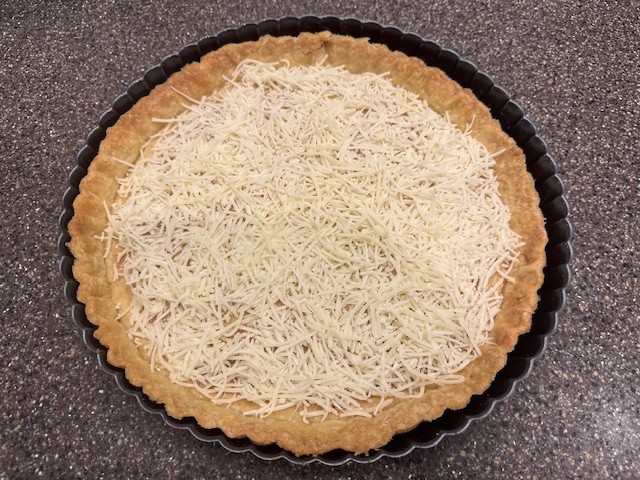
Step 6: Grab your prepared, and blind-baked pastry shell, along with all of your prepared filling ingredients.
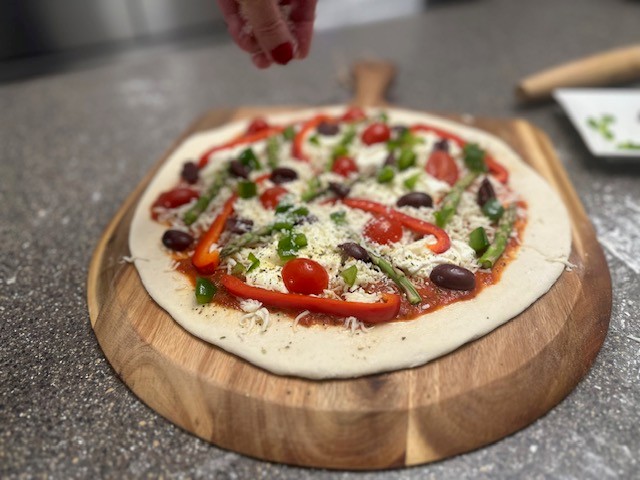
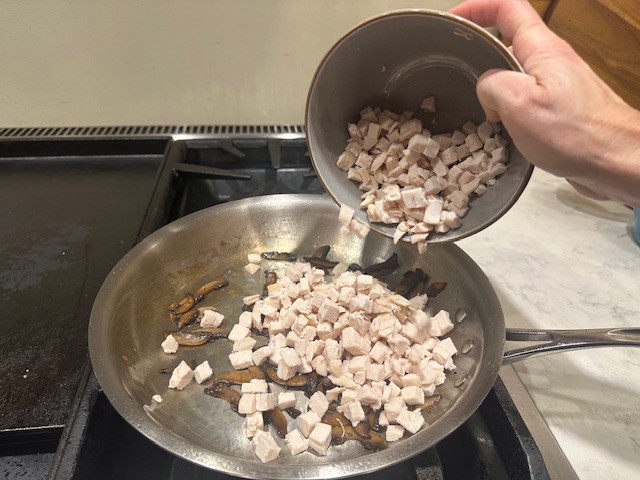
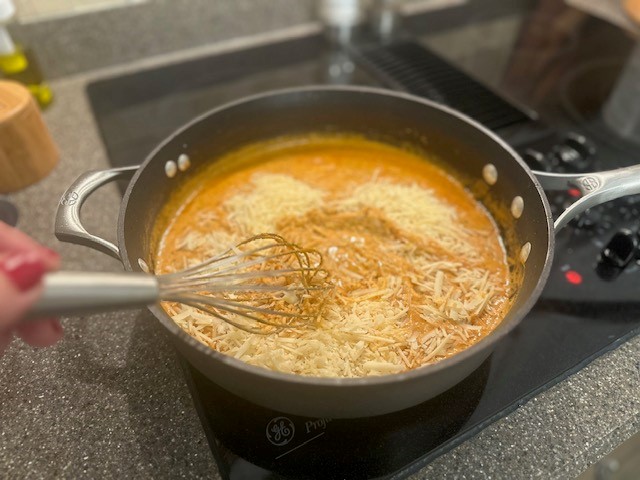
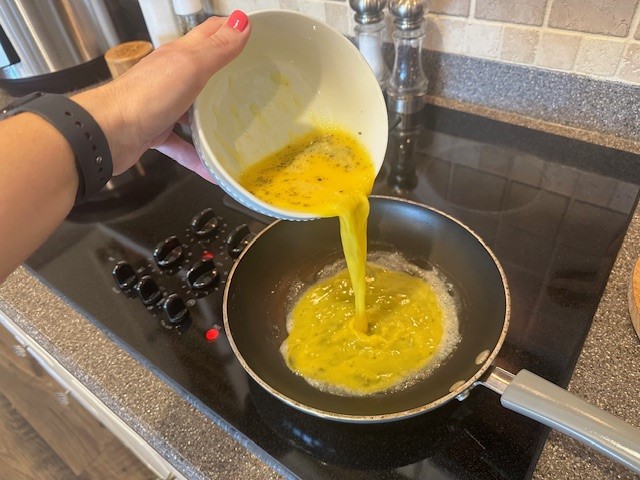
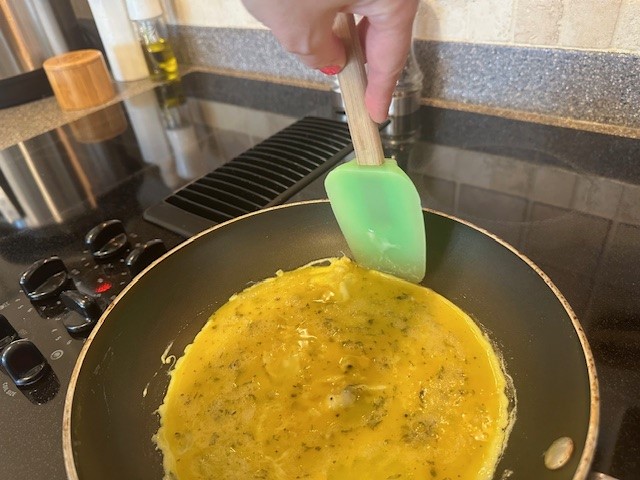
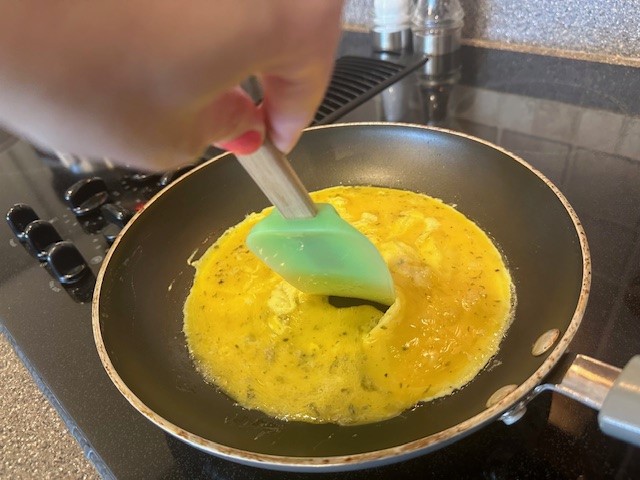
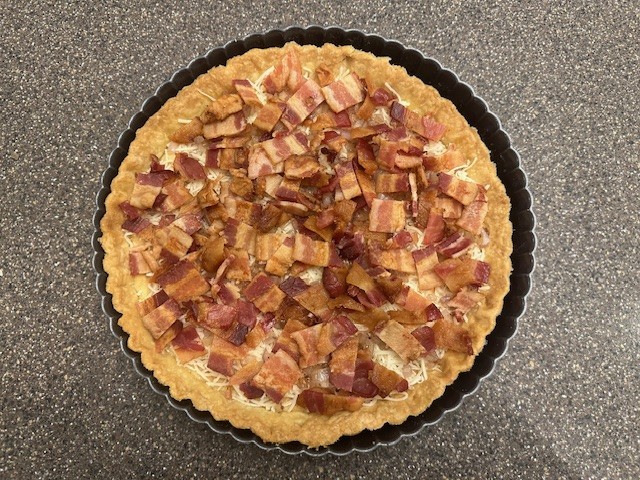
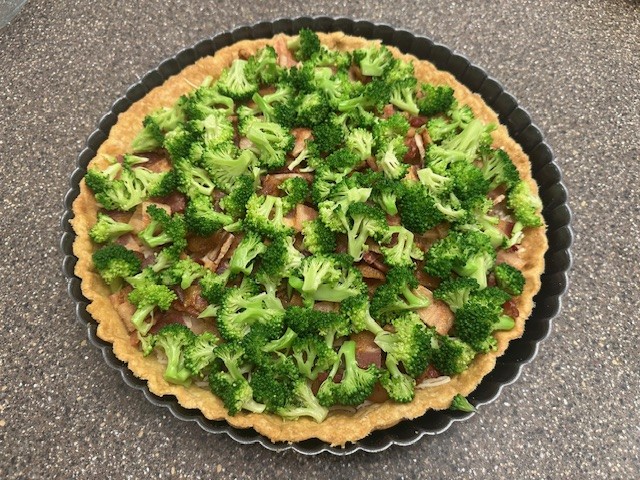
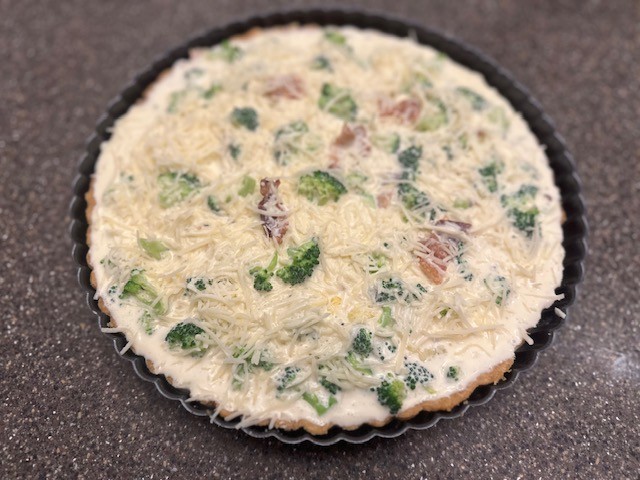
Sprinkle half the cheese blend over the bottom of the pastry shell, then add in the shallots, bacon, broccoli, and the remainder of the cheese. Then pour in the egg custard. Very carefully, use a fork to swirl the ingredients around to ensure that the custard sinks through the layers.

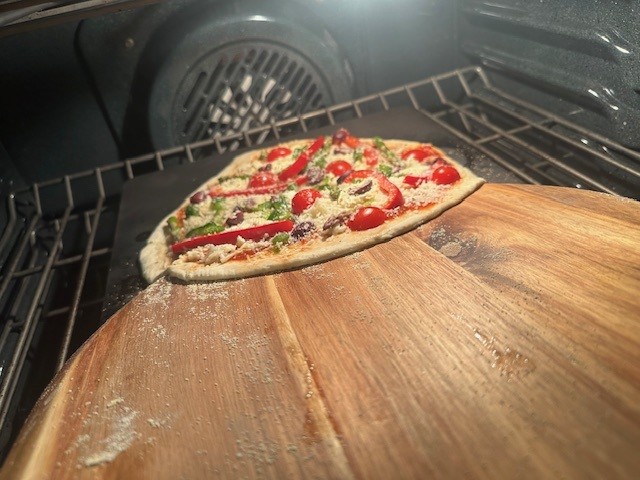
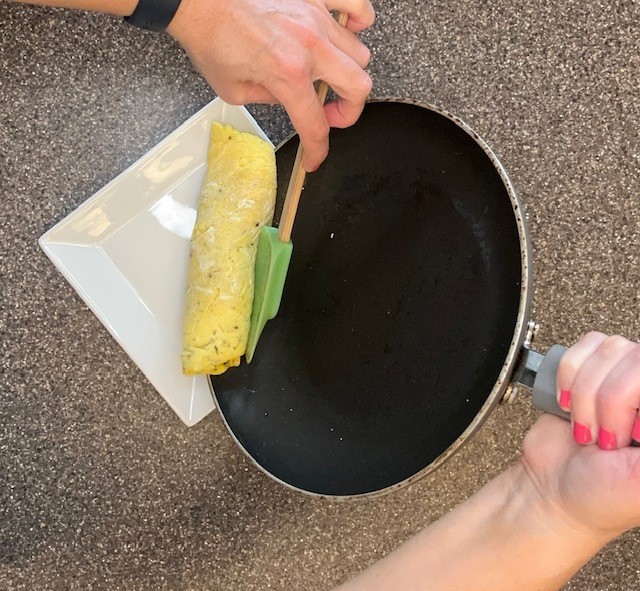
Step 7: Bake the quiche in the preheated oven for about 40-45 minutes. The internal temperature should be 165°F. If not using a thermometer, the edges and top of the quiche should be golden brown, the custard should be firm all the way through, and a knife inserted into the center should not only come out clean but also be hot. * Allow the quiche to cool slightly to fully set before serving. Remove the sides and bottom of the tart pan and serve either warm or at room temperature.
*A little trick we learned in culinary school is to place the knife on the skin between the bottom lip and the chin, after being removed from the center of the dish, and if it is hot to the touch, it's cooked through.

Quiche Lorraine
Equipment
- Food Processor
- 1 11" Round Tart Pan with a removable bottom or a large pie plate
- Cutting Board
- Chef Knife
- Small, Non-Stick Sauté Pan
- Rubber Spatula
- Medium, Heavy-Bottomed Pot
- Large Bowl, filled with Ice
- Kitchen Spider or Stainless Slotted Spoon
- Rolling Pin
- Parchment Paper
- Fork or Stainless Whisk
- Instant-Read Thermometer optional
Ingredients
- 1 Recipe Pate Brisee (Simple Pie Dough) Pate Brisee (Simple Pie Dough) - the desired dish
- 5 Lg. Eggs
- 2 C. Heavy Cream
- 1 Head Fresh Broccoli about two cups blanched
- 1-½ C. Freshly Shredded Gruyere and Swiss Cheese
- 8 oz Thick Cut Bacon 6-8 slices
- 2 Medium Shallots, minced about ¼ cup fresh, before sautéing
- 1 tsp. Kosher Salt
- ½ tsp. Freshly Ground Black Pepper
- Pinch Freshly Grated Nutmeg, to taste
Instructions
- Gather your ingredients, including a prepared recipe for Pate Brisee, a simple pie dough. Preheat the oven to 375°F.
- To prepare the broccoli, use a Chef's Knife to carefully remove the florets from the stalk, and chop the florets into small pieces. Discard the trimmings.
- Next, we'll need to blanch the broccoli. Add water to a small, heavy-bottomed saucepan and bring to a boil. Add in a palmful of kosher salt. While the water is coming up to temperature, fill a large bowl with ice water and set near the stove. Once boiling, add the broccoli and cook, just until the water returns to a boil, about 1-2 minutes. You don't want to overcook it!Immediately move the broccoli from the boiling water directly into the ice bath. This will stop the vegetable from continuing to cook, as well as lock in the bright green color. Leave the broccoli in the ice water for a few minutes, then strain, and set aside.
- In a small sauté pan set over medium-high heat, add in a little olive oil. Sauté the minced shallots just until translucent, 3-4 minutes. Season lightly with salt and pepper. Set aside.
- In a mixing bowl, whisk the eggs, then season with salt, pepper and nutmeg. Slowly incorporate the heavy cream and set aside.
- Grab your prepared, and blind-baked pastry shell, along with all of your prepared filling ingredients.Sprinkle half the cheese blend over the bottom of the pastry shell, then add in the shallots, bacon, broccoli, and the remainder of the cheese. Then pour in the egg custard. Very carefully, use a fork to swirl the ingredients around to ensure that the custard sinks through the layers.
- Bake the quiche in the preheated oven for about 40-45 minutes. The internal temperature should be 165°F. If not using a thermometer, the edges and top of the quiche should be golden brown, the custard should be firm all the way through, and a knife inserted into the center should not only come out clean but also be hot. * Allow the quiche to cool slightly to fully set before serving. Remove the sides and bottom of the tart pan and serve either warm or at room temperature.*A little trick we learned in culinary school is to place the knife on the skin between the bottom lip and the chin, after being removed from the center of the dish, and if it is hot to the touch, it's cooked through.