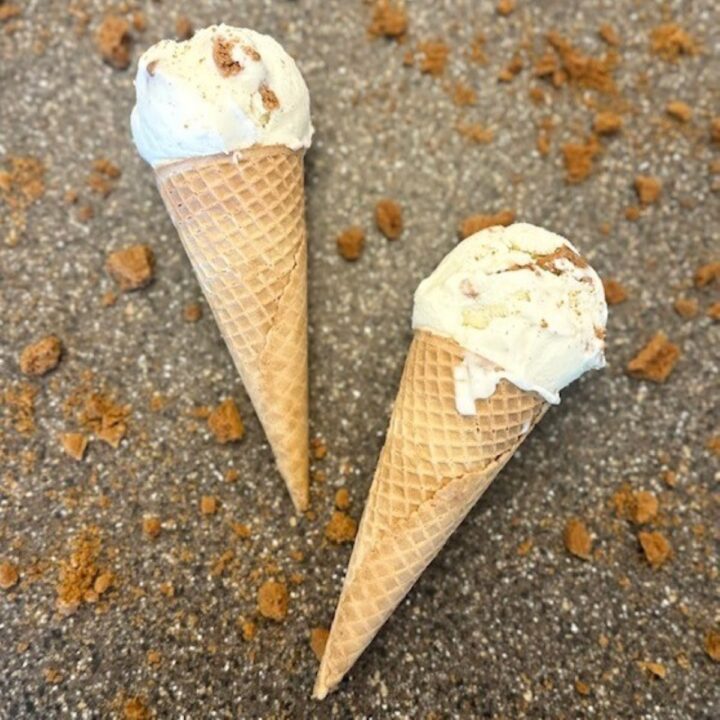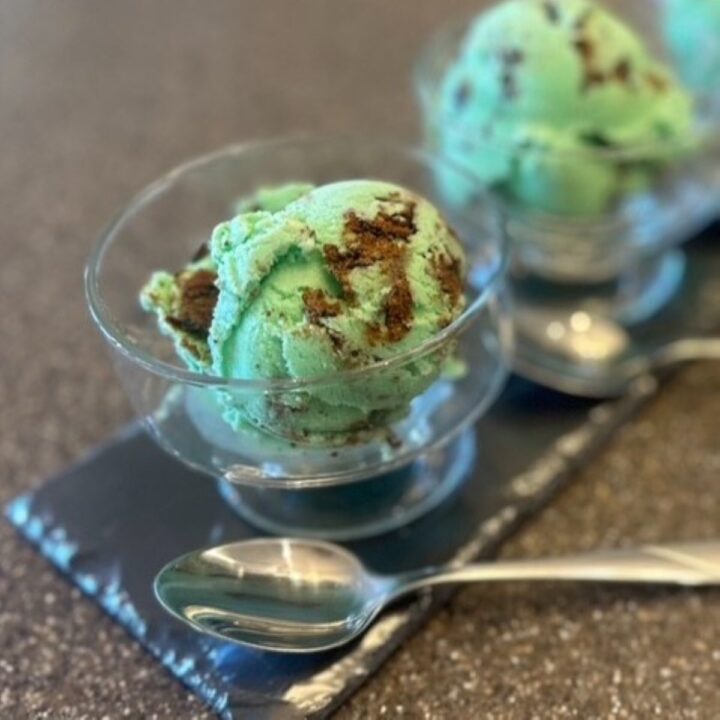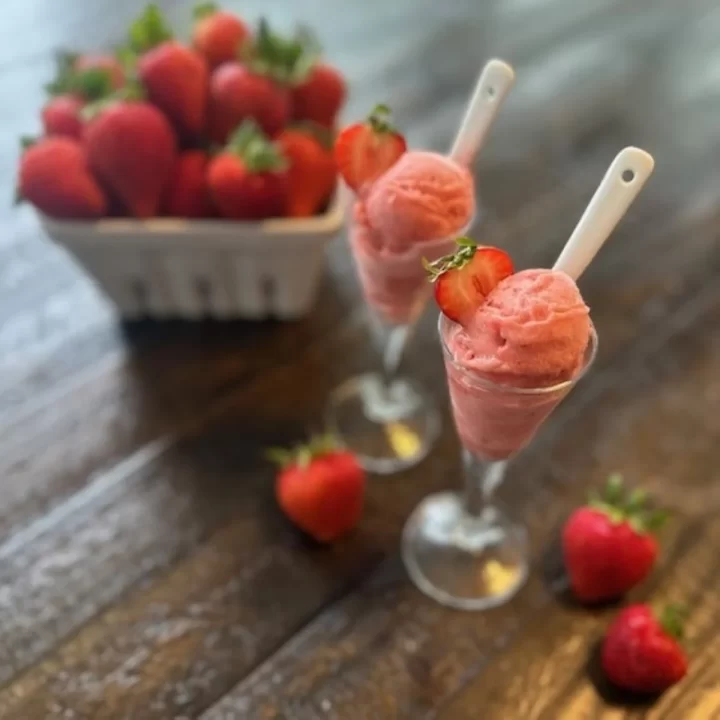

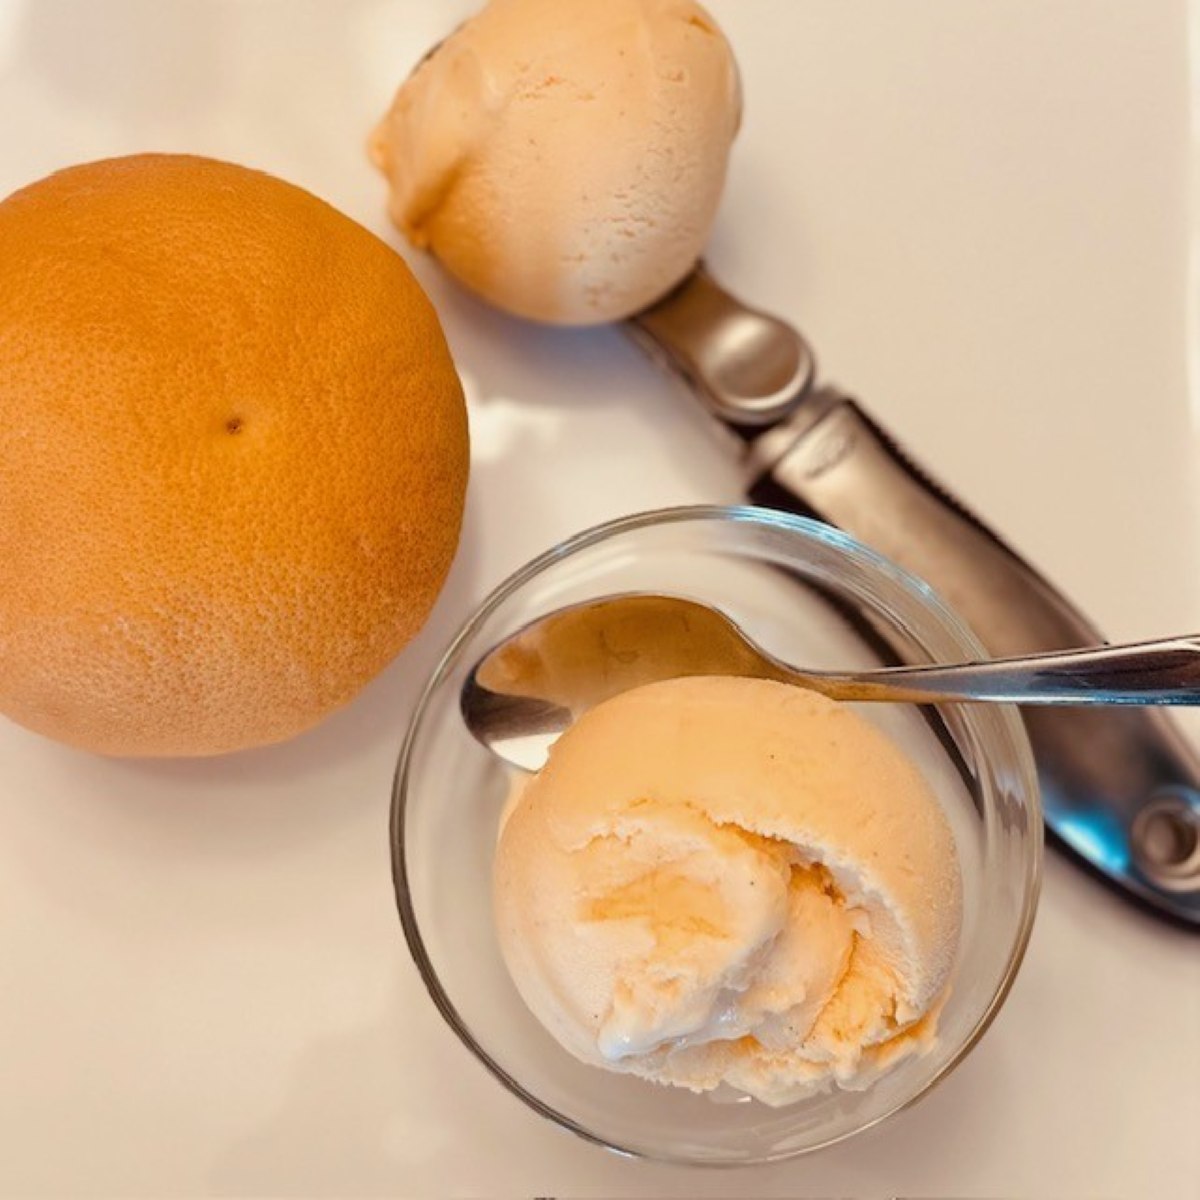
Paired with Mint Chocolate Chip, or my Mint Cookie Crunch, this dreamy orange sherbet is Jim's favorite ice cream combo. The flavors are so reminiscent of those popsicles we had as kids, vanilla cream on a stick, dipped in that sweet, bright orange outer shell. This recipe takes those two delicious flavors and blends them together, with a texture lighter and creamier than ice cream, but just as yummy! It's a perfectly cool, sweet summer treat.
INGREDIENTS
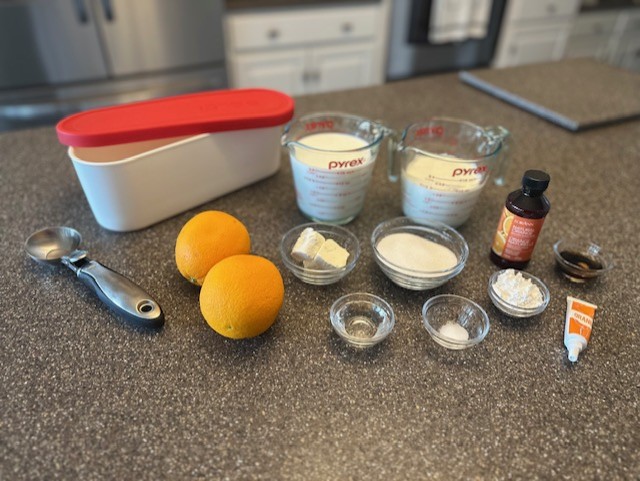
- 2 Cups Whole Milk
- 1-¼ Cups Heavy Cream
- 1-½ Tbsp. Cornstarch
- 2 oz. Cream Cheese
- Pinch Sea Salt
- ½ Cup Granulated White Sugar
- 1-½ Tbsp. Light Corn Syrup
- 2 Med. Oranges
- 2 tsp. Pure Vanilla Extract
- 2 tsp. Natural Orange Extract
- 2 drops Orange Food Coloring
INSTRUCTIONS
Note: If you are using an ice cream maker that requires the canister to be fully frozen prior to use, make sure to put it in your freezer at least 48 hours beforehand. The ice cream maker I use here at home does not require pre-freezing. Its fully automatic and has a commercial-quality compressor built in, which allows you to make batch after batch. The model I have, the Cuisinart ICE-100, is no longer available, but if you enjoy making homemade ice cream, it's definitely worth the investment to look into buying a machine with the built in compressor.
Step 1: Gather all of your ingredients, along with your heavy-bottomed pot.
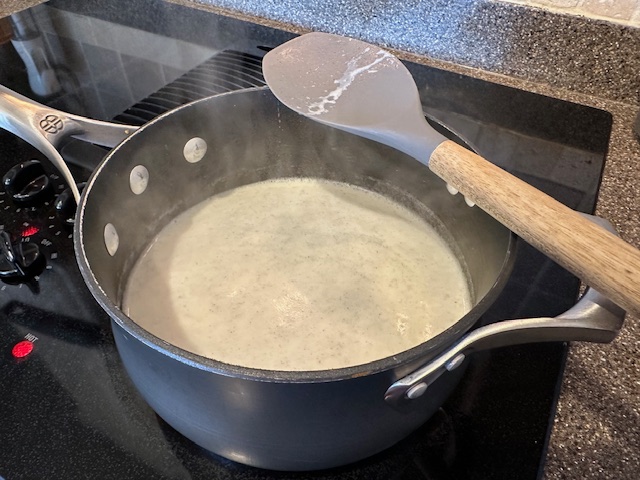
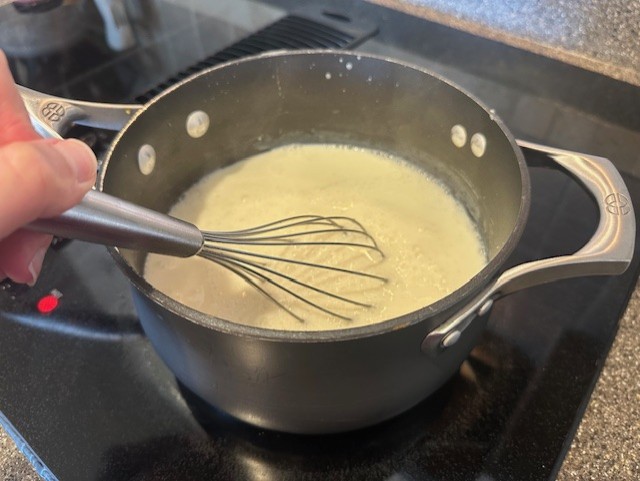
Step 2: Over medium-low heat, pour all but about a quarter cup of the milk (does not have to be exact), the heavy cream, the sugar, the corn syrup and the vanilla extract into the pot and warm the ingredients.

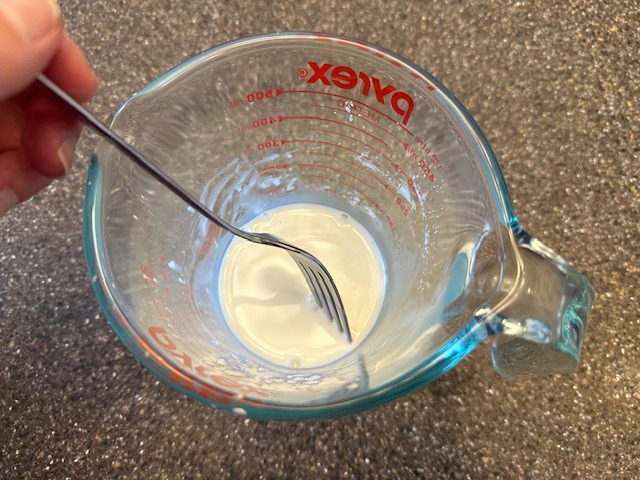
Step 3: To the reserved milk, mix in the cornstarch until you have a thickened slurry. Set aside.
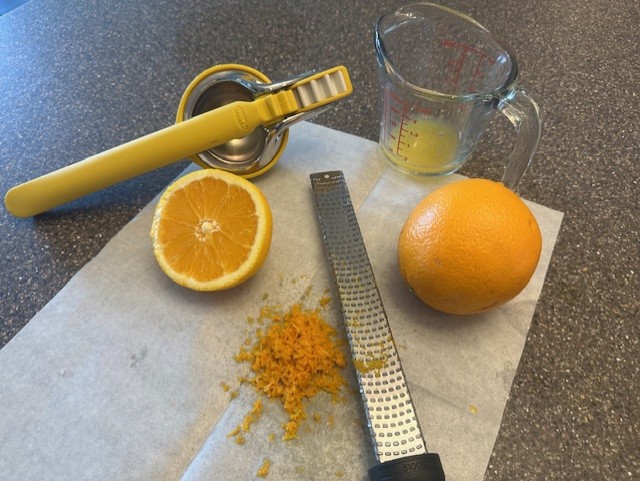
Step 4: Carefully zest both oranges and then cut the fruit in half. If you've got a piece of parchment, use this as your mat, which makes it easier to fold up the sides and transfer the zest later. Squeeze and reserve the orange juice and set aside.
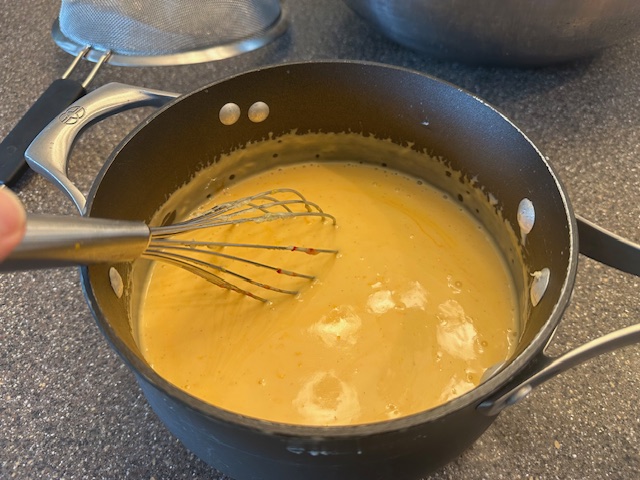
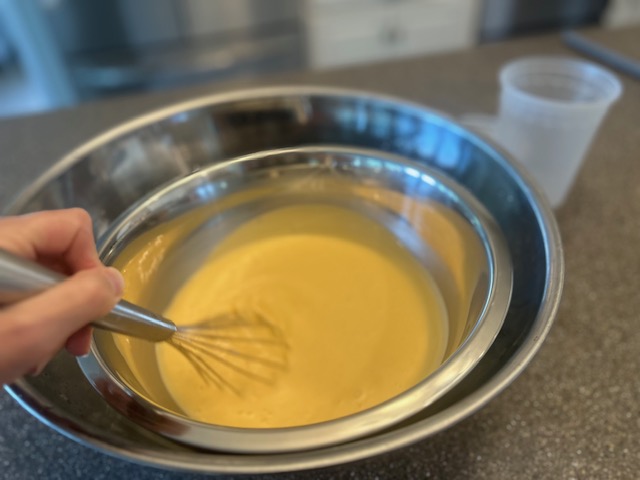
Step 5: Once the pot begins to steam, increase the temperature to a very low simmer. Remove the pot from the heat, whisk in the cream cheese, the cornstarch slurry, and a pinch of sea salt, then return the pot to the stove. Bring the mixture to a light boil for a few minutes, just to make sure the cornstarch has cooked, and the cream cheese has melted and been incorporated. The sherbet base should be thickened slightly.
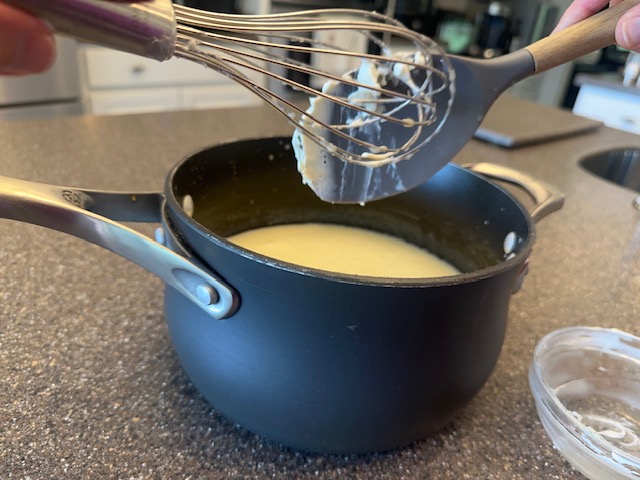
Chefs Note: The corn syrup and cornstarch act as thickening agents and give the base more body, while the addition of cream cheese, made with two key ice cream ingredients, milk and heavy cream, also contains guar gum, a natural thickener and aids to prevent ice crystals from forming during the freezing process.
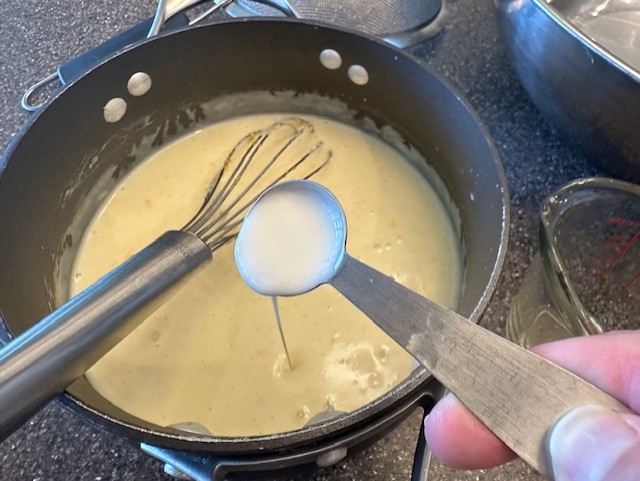
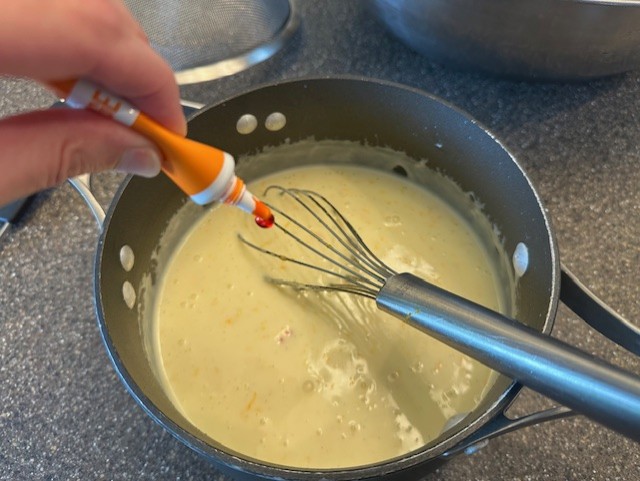
Step 6: Remove the pot from heat, whisking vigorously to cool down the mixture. Once the liquid is no longer steaming, add in the orange juice and zest, mixing everything together. Add in the orange extract, followed by the orange food coloring. Allow the flavors to meld, about ten minutes, while the mixture continues to cool.
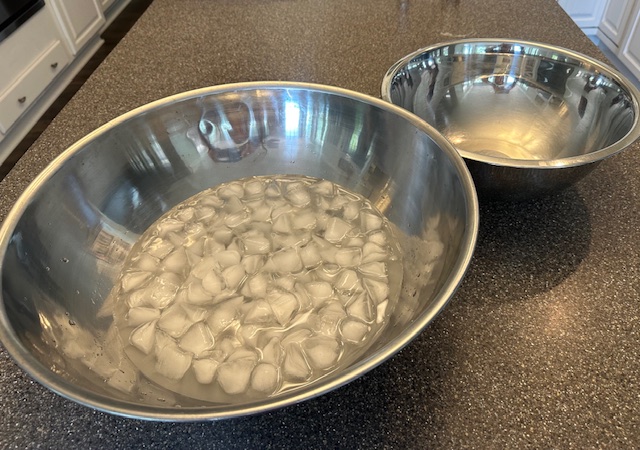
Step 7: Set up your ice bath by filling a large bowl with ice water.
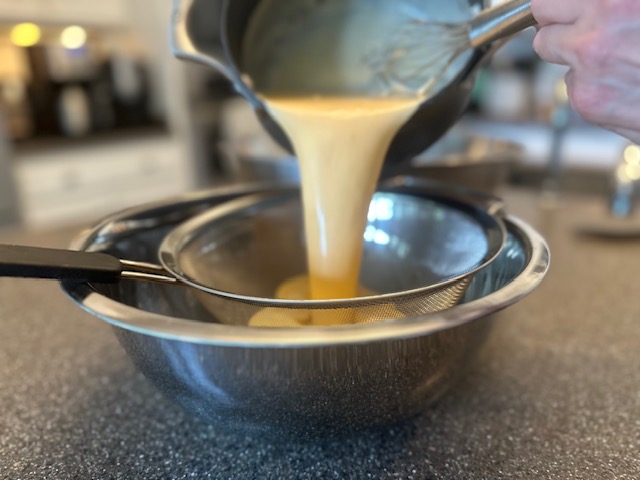
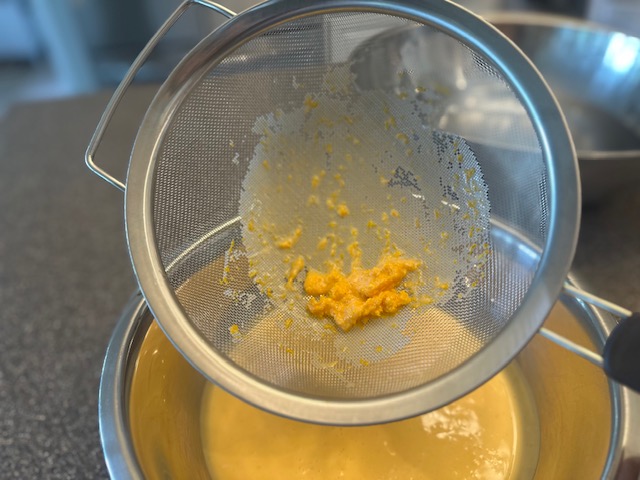
Step 8: Place the fine mesh strainer over the smaller mixing bowl, and pour the sherbet base through, straining out the bits of zest.
Step 9: Move the strained sherbet base over the ice bath and continue whisking until the liquid has cooled enough that it is no longer warm to the touch.
Step 10: Pour the cooled base into a quart-sized container with a tight-fitting lid, or a bowl that can be covered tightly with plastic wrap. Place the container in the refrigerator and allow it to chill and set, a minimum of 4 hours, or overnight.

Chefs Note: If you're in a hurry, keep the mixture in the fridge for about an hour, and then move it into the freezer for another hour or so. The texture (and temperature) of the base is an important step in ensuring the perfect texture of your finished sherbet, so try not to rush this step if you can help it.
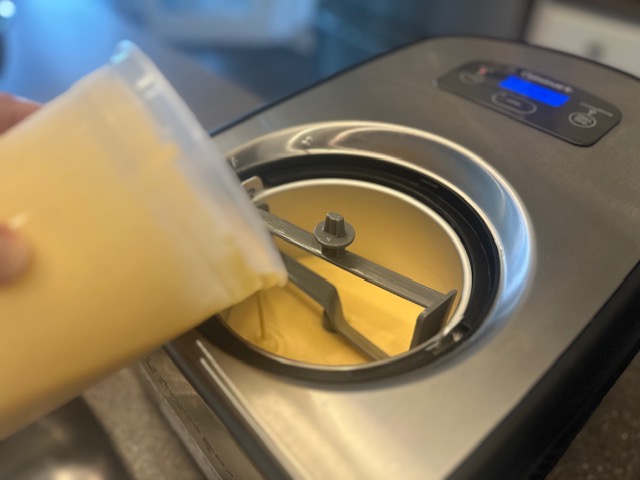
Step 11: After your sherbet has had time to chill, you can begin setting up your ice cream maker. Pour the mixture directly into the base, following the instructions of your particular equipment, and begin to churn. The process takes anywhere from 30-60 minutes.
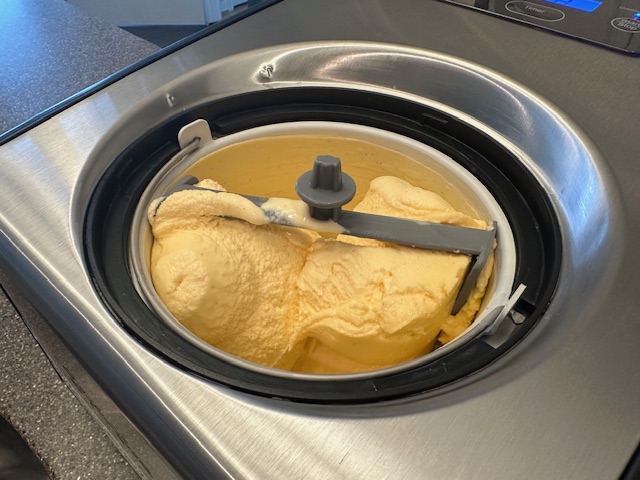
You'll know that your freshly churned sherbet is done once the mixture is thick and creamy, similar to the texture of soft serve, the machine has started to slow down a bit, and/or you may be able to see that some of the ice cream has begun freezing along the sides of the canister. You want to avoid over-mixing, as this may damage your machine.
Step 12: Carefully spoon your orange dreamsicle sherbet directly into your ice cream container, securing the lid and popping the container into the freezer as soon as you can to avoid melting. For the ideal consistency, you'll want to allow the sherbet to freeze for about 6 hours before it's a perfectly scoopable consistency. After that, you'll want to allow 5-10 minutes of time at room temperature to ensure the mixture isn't too hard to scoop.
Orange Dreamsicle Sherbet
Equipment
- Measuring Cups and Spoons
- Large, Heavy-Bottomed Pot
- Fork
- Wire Whisk
- Rubber Spatula
- Chef Knife
- Cutting Board
- Microplane Hand-Held Grater or Zester
- Piece of parchment paper, optional
- Large Bowl, filled with Ice
- Medium Bowl
- Quart-Sized Container, with Lid (or plastic wrap)
- 1-½ Quart Ice Cream Container
Ingredients
- 2 Cups Whole Milk
- 1-¼ Cups Heavy Cream
- 1-½ Tbsp. Cornstarch
- 2 oz. Cream Cheese
- Pinch Sea Salt
- ½ Cup Granulated White Sugar
- 1-½ Tbsp. Light Corn Syrup
- 2 Med. Oranges
- 2 tsp. Pure Vanilla Extract
- 2 tsp. Natural Orange Extract
- 2 drops Orange Food Coloring
Instructions
- Note: If you are using an ice cream maker that requires the canister to be fully frozen prior to use, make sure to put it in your freezer at least 48 hours beforehand. The ice cream maker I use here at home does not require pre-freezing. Its fully automatic and has a commercial-quality compressor built in, which allows you to make batch after batch. If you enjoy making homemade ice cream, it's definitely worth the investment!
- Gather all of your ingredients, along with your heavy-bottomed pot.
- Over medium-low heat, pour all but about a quarter cup of the milk (does not have to be exact), the heavy cream, the sugar, the corn syrup and the vanilla extract into the pot and warm the ingredients.
- To the reserved milk, mix in the cornstarch until you have a thickened slurry. Set aside.
- Carefully zest both oranges and then cut the fruit in half. If you've got a piece of parchment, use this as your mat, which makes it easier to fold up the sides and transfer the zest later. Squeeze and reserve the orange juice and set aside.
- Once the pot begins to steam, increase the temperature to a very low simmer. Remove the pot from the heat, whisk in the cream cheese, the cornstarch slurry, and a pinch of sea salt, then return the pot to the stove. Bring the mixture to a light boil for a few minutes, just to make sure the cornstarch has cooked, and the cream cheese has melted and been incorporated. The sherbet base should be thickened slightly.
- Remove the pot from heat, whisking vigorously to cool down the mixture. Once the liquid is no longer steaming, add in the orange juice and zest, mixing everything together. Add in the orange extract, followed by the orange food coloring. Allow the flavors to meld, about ten minutes, while the mixture continues to cool.
- Set up your ice bath by filling a large bowl with ice water.
- Place the fine mesh strainer over the smaller mixing bowl, and pour the sherbet base through, straining out the bits of zest.
- Move the sherbet base over the ice bath and continue whisking until the liquid has cooled enough that it is no longer warm to the touch.
- Pour the cooled base into a quart-sized container with a tight-fitting lid, or a bowl that can be covered tightly with plastic wrap. Place the container in the refrigerator and allow it to chill and set, a minimum of 4 hours, or overnight.Chefs Note: If you're in a hurry, keep the mixture in the fridge for about an hour, and then move it into the freezer for another hour or so. The texture (and temperature) of the base is an important step in ensuring the perfect texture of your finished sherbet, so try not to rush this step if you can help it.
- After your sherbet has had time to chill, you can begin setting up your ice cream maker. Pour the mixture directly into the base, following the instructions of your particular equipment, and begin to churn. The process takes anywhere from 30-60 minutes.
- You'll know that your freshly churned sherbet is done once the mixture is thick and creamy, similar to the texture of soft serve, the machine has started to slow down a bit, and/or you may be able to see that some of the ice cream has begun freezing along the sides of the canister. You want to avoid over-mixing, as this may damage your machine.
- Carefully spoon your orange dreamsicle sherbet directly into your ice cream container, securing the lid and popping the container into the freezer as soon as you can to avoid melting. For the ideal consistency, you'll want to allow the sherbet to freeze for about 6 hours before it's a perfectly scoopable consistency. After that, you'll want to allow 5-10 minutes of time at room temperature to ensure the mixture isn't too hard to scoop.