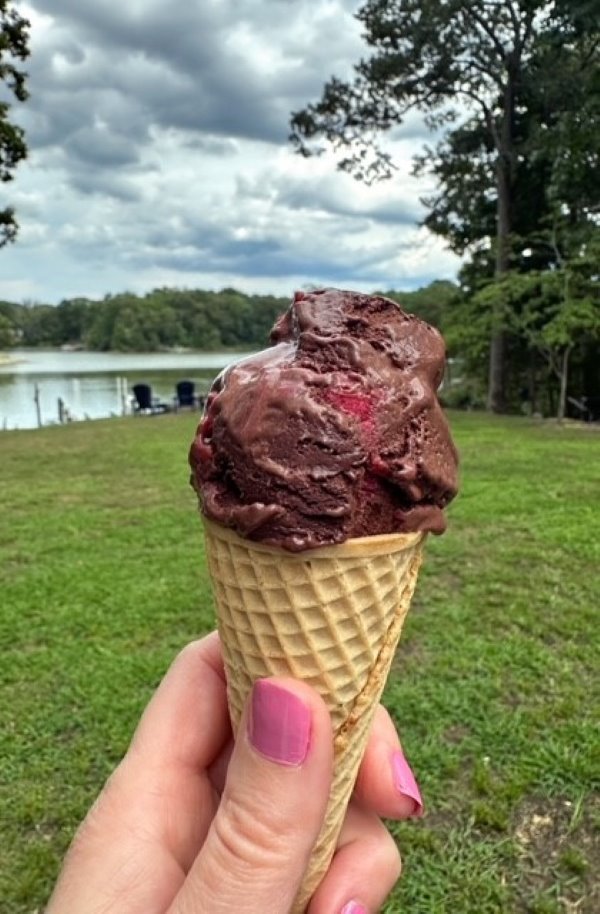
In the summertime, we love taking Jet Ski rides out through Breton Bay and over to the local wharf, where this cute little ice cream shop called Frog Town serves delicious hand dipped treats alongside gorgeous, waterfront views and spectacular sunsets. My favorite flavor by far has been their chocolate raspberry ice cream, so here's my version using a gelato base, a creamy blend of cocoa and bittersweet dark chocolate swirled with tart, fresh raspberry puree. You'll need an ice cream maker, but well worth the investment if you enjoy making homemade ice cream, gelato and sorbets like we do. Plan a day ahead to ensure your gelato base has plenty of time to chill before churning, and a minimum of six hours of freezing afterwards before enjoying!
INGREDIENTS
Gelato
- 2 ¼ Cups Whole Milk
- ⅓ Cup Heavy Cream
- ½ Cup Unsweetened Cocoa Powder
- 2 oz. Good Quality Bittersweet Chocolate, 60-70%, Chopped (NOT Chocolate Chips)
- 4 Large Egg Yolks
- ½ Cup Granulated White Sugar
- 1 Tbsp. Pure Vanilla Extract
- 1 Scant Pinch of Salt
Fresh Raspberry Puree
- 1 ½ Cups Fresh (or Frozen) Raspberries
- 3 Tbsp. Granulated White Sugar (more if needed to adjust sweetness)
DIRECTIONS
Step 1: Before beginning this recipe, make sure your ice cream maker bowl has been placed into the freezer. It will need to have been in the freezer a minimum of 24 hours to ensure it is cold enough to properly churn the gelato base, so plan accordingly.
This 2-Quart Capacity Ice Cream Maker from Cuisinart is a great choice or, if you have a KitchenAid Stand Mixer, this Ice Cream Maker Attachment is also a great option. If you want to skip the step of having to freeze your ice cream bowl every time you want to make homemade frozen treats, I absolutely love my fully automatic Cuisinart ICE-100 1.5-Quart Ice Cream and Gelato Maker, which comes with two different paddles, doesn't require any pre-freezing and can churn out batch after batch. You just plug it in, set the timer and you're ready to go.
Step 2: Gather all of your gelato ingredients.
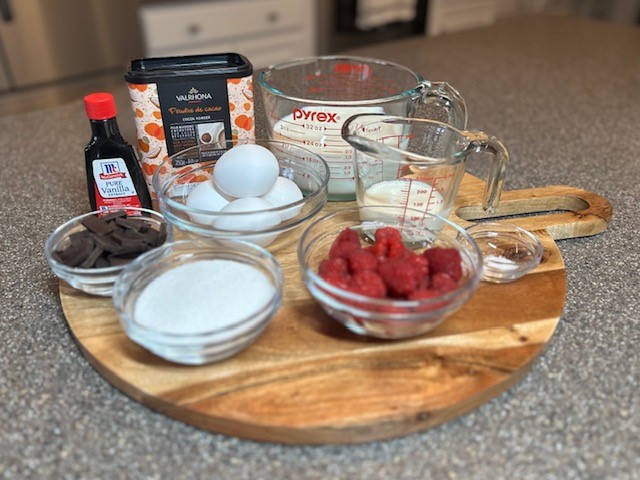
Step 3: In a heavy- bottomed saucepan, warm the milk and heavy cream to a light simmer, but do not allow to boil.
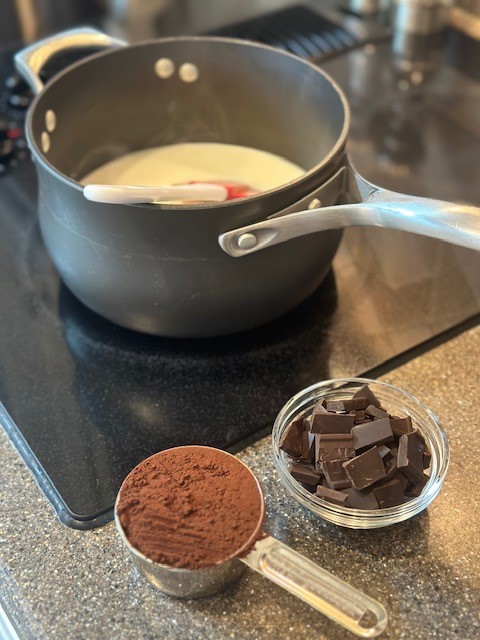
Step 4: Carefully whisk in cocoa powder and scant pinch of salt until blended.
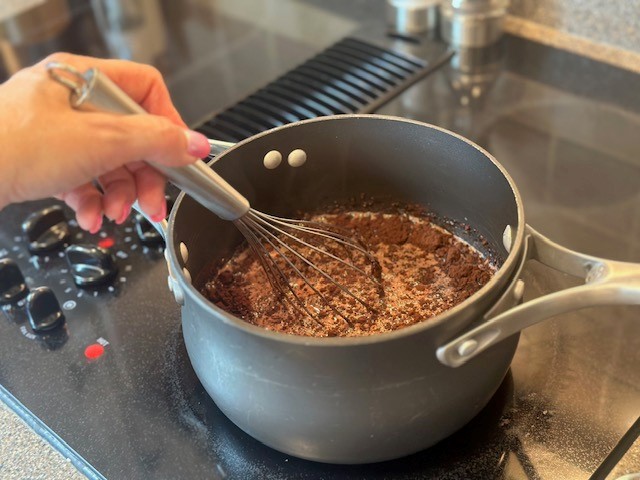
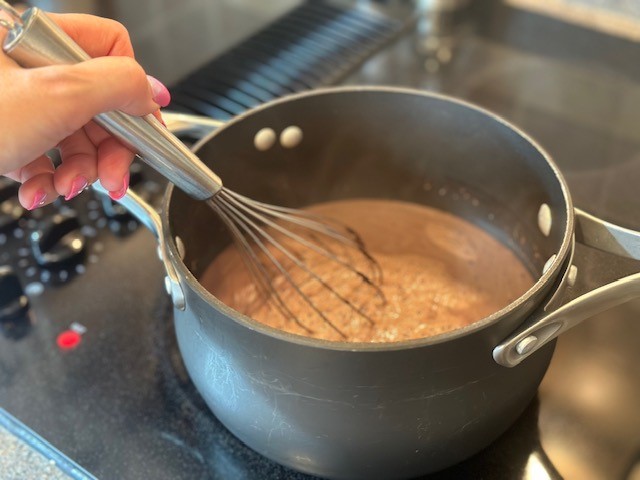
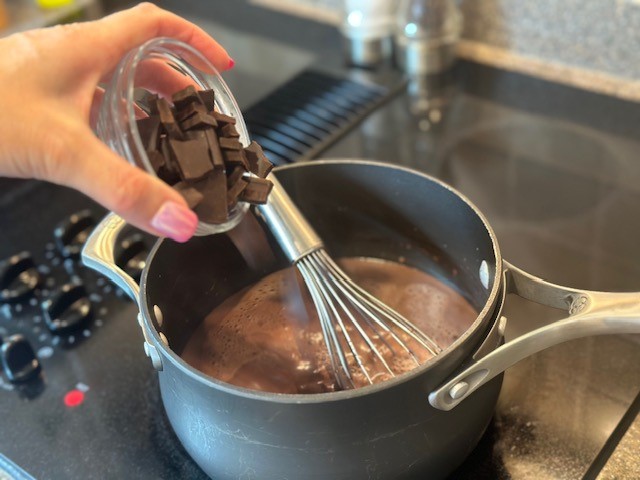
Step 5: Add the chocolate and whisk until fully melted. Remove the pot from heat, stirring occasionally.
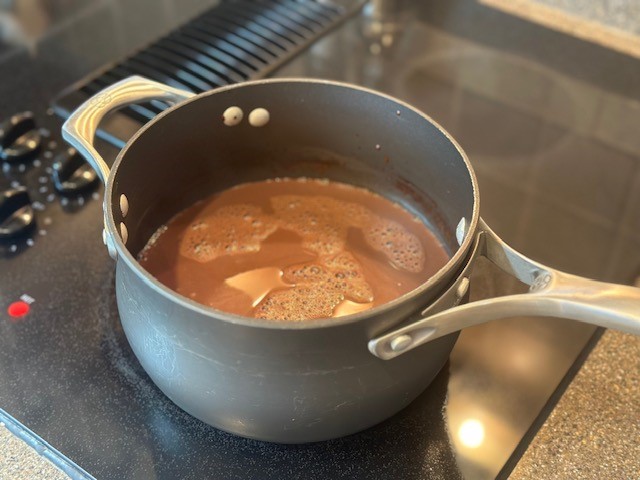
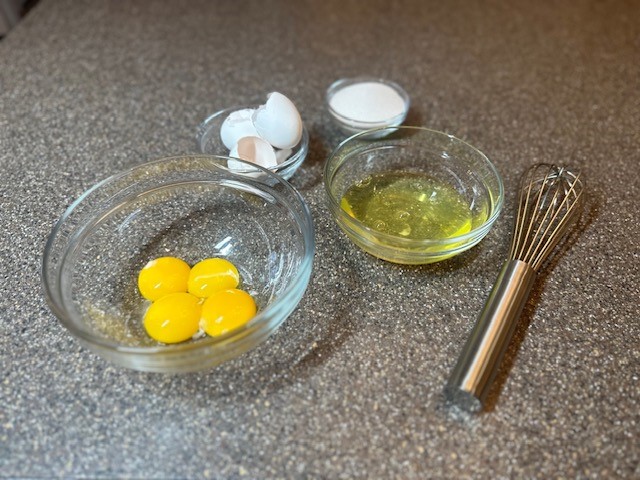
Step 6: Separate 4 large eggs, and reserve the yolks for another recipe, if you wish. Add the sugar and whisk together to blend.
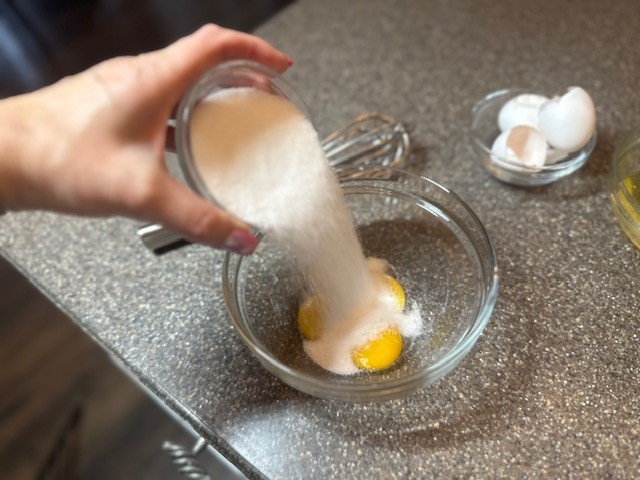
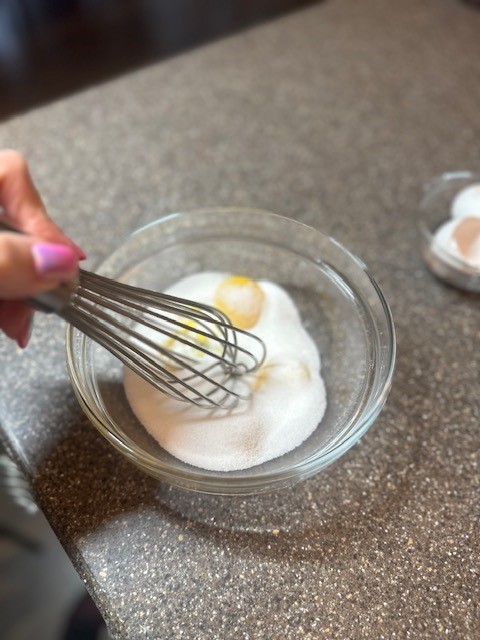
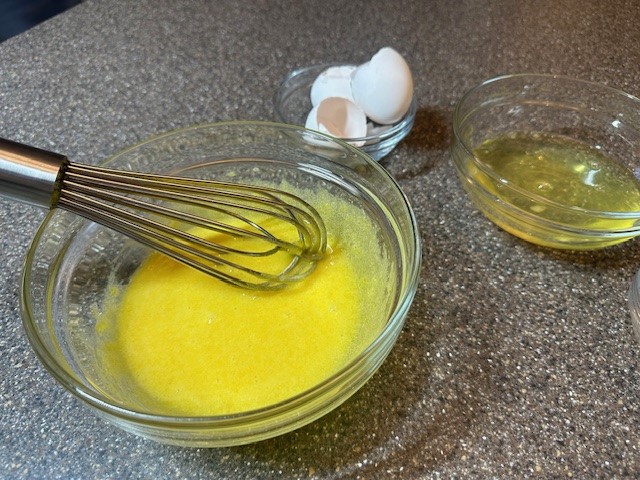
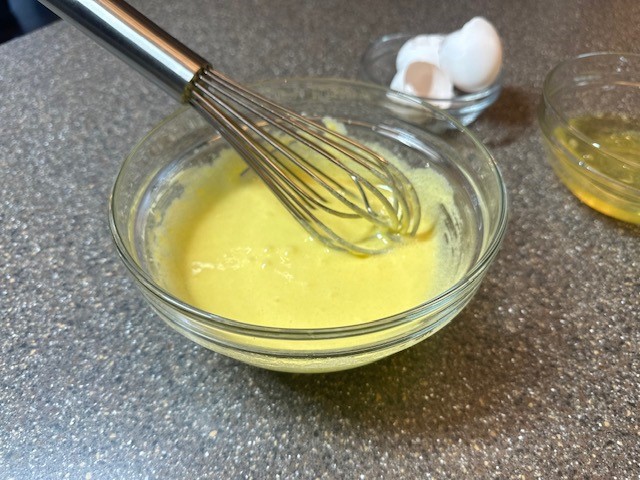
Step 7: Continuing whisking the egg mixture until pale in color. This will ensure that the sugar has completely dissolved.
Step 8: Give the chocolate mixture a good whisk. Begin tempering the eggs by slowly adding in small amounts of the warm chocolate mixture and whisking thoroughly, a little bit at a time, until blended, and repeat several times.
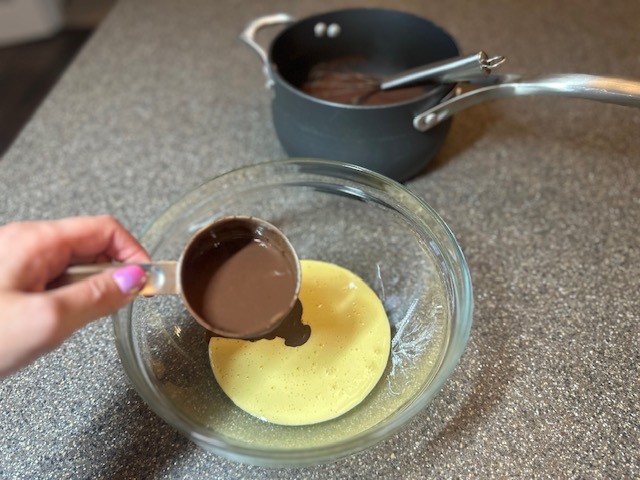
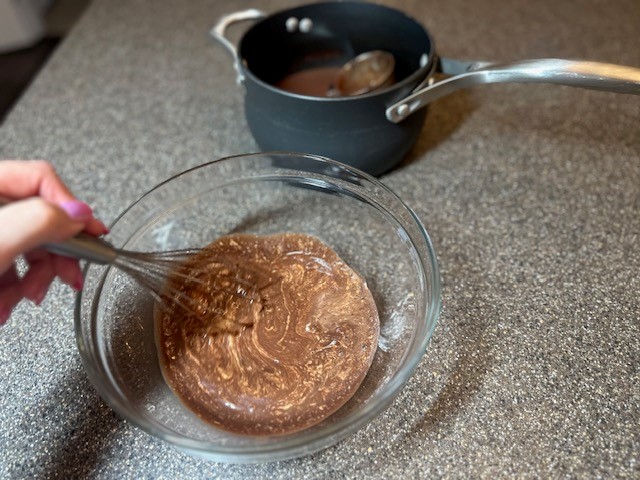
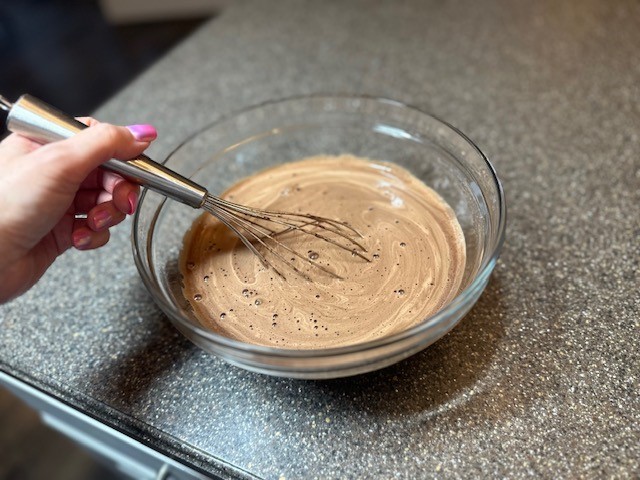
Step 9: Feel the bottom and sides of the bowl. If warm to the touch, your eggs are properly tempered, and you can add the remaining chocolate mixture into the egg mixture. Doing so beforehand may result in creating chocolatey scrambled eggs, so don't rush this step. Be sure to run your spatula along the bottom and sides of the pot to ensure there are no traces of remaining chocolate.
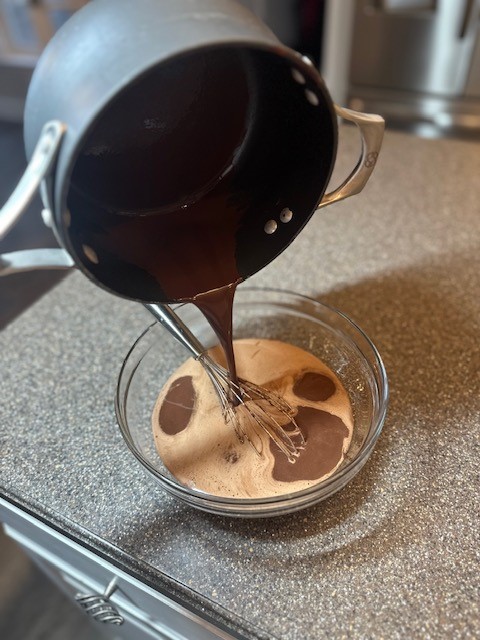
Step 10: Pour the chocolate gelato base back to the pot and return to medium heat, stirring consistently using a wooden spoon. As the base cooks, the color of the mixture will go from pale and creamy to richer and darker as it thickens.
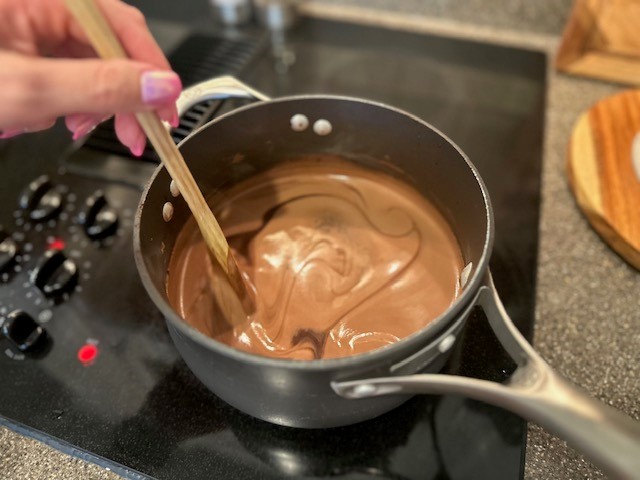
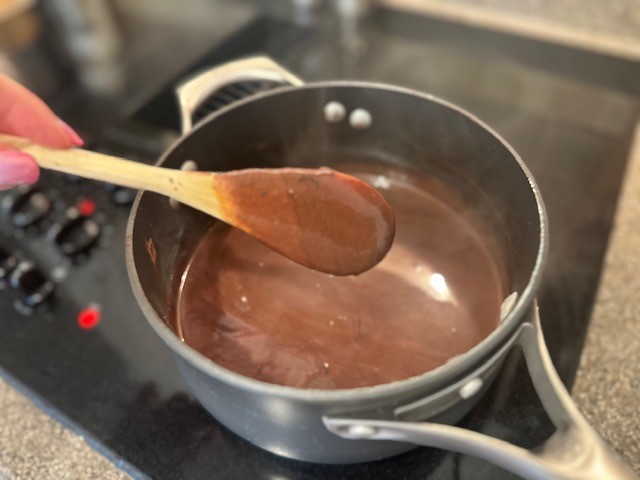
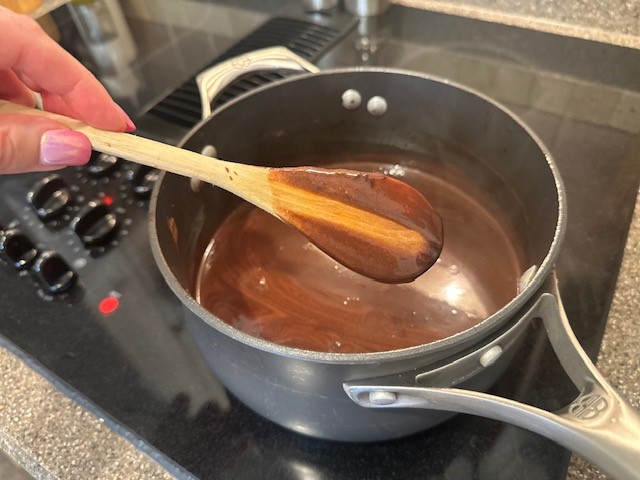
Step 11: Continue stirring until the base thickens to the point where you can run your finger along the back of the wooden spoon and you can easily see a definitive line, around 20 minutes. If the mixture is too thin and runs back over the trail, continue cooking. Don't rush this step, as you want to ensure that your base is thoroughly cooked.
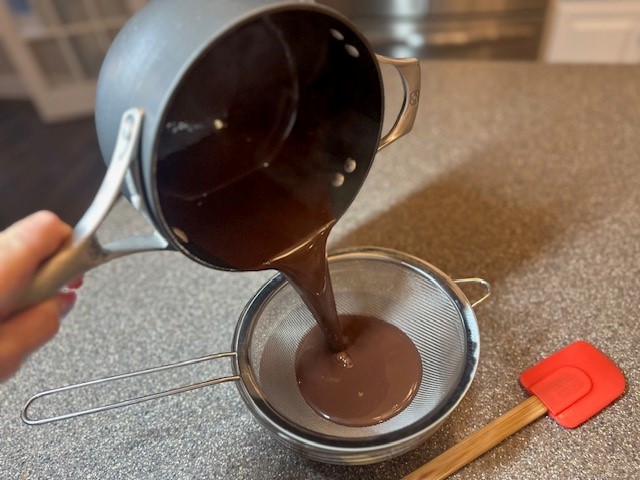
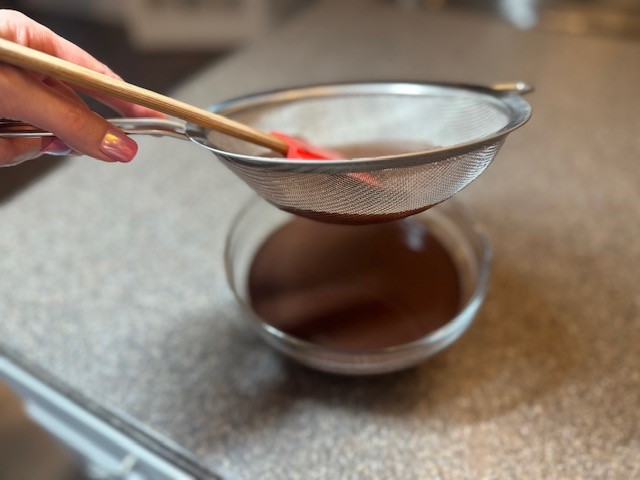
Step 12: Place a wire sieve (or fine metal strainer) over a medium sized heat-proof bowl, and pour the cooked gelato base through, using a rubber spatula to scrape the mixture through. This will ensure that your gelato is smooth. Make sure to use your spatula to scrape along the bottom of the sieve.
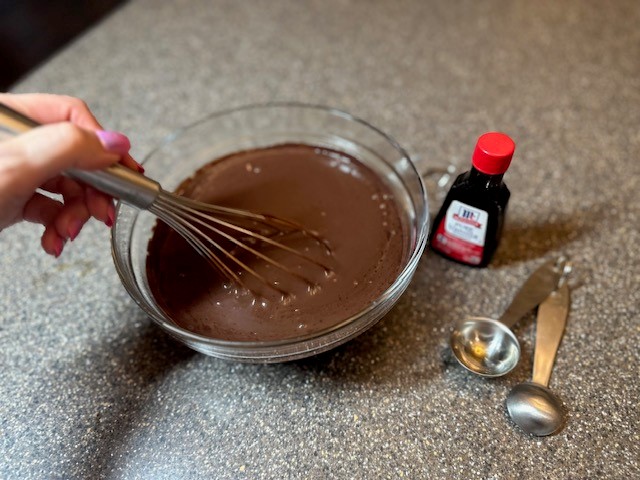
Step 13: Whisk to cool slightly and then add in the vanilla extract. Doing this step after removing the base from heat avoids cooking off the alcohol, which keeps the finished gelato from freezing solid. It also adds depth of flavor.
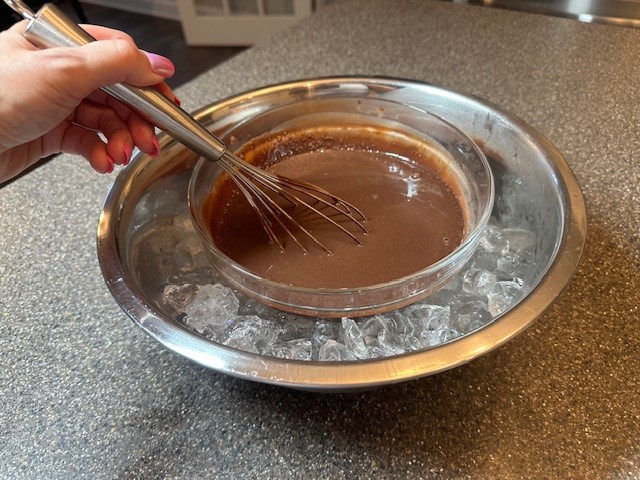
Step 14: Set up a cooling station by filling a large bowl with ice, and then placing the bowl with the gelato base in the center. Be careful that the ice cubes or water from the melted ice does not get into the center bowl. Whisk to help cool down the base as quickly as possible.
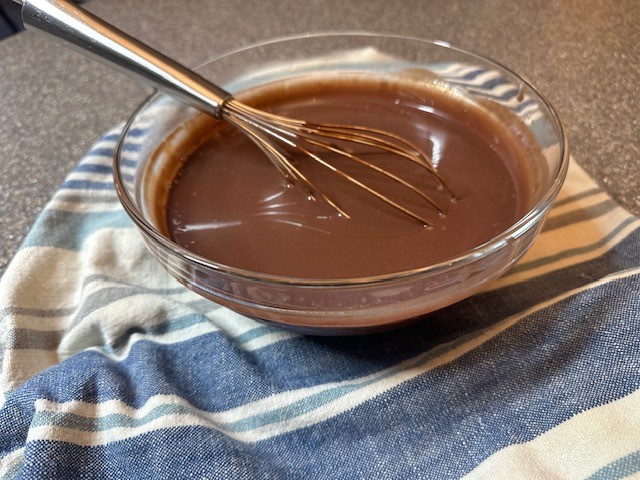
Step 15: Once the gelato base has cooled enough to be handled (it does not need to be fully cooled), carefully remove the bowl from the ice bath and dry the bottom on a towel. Whisk to scrape down the sides of the bowl.
Step 16: Cover the bowl either with a lid, or tightly with plastic wrap. Place in the fridge and refrigerate for a minimum of several hours, but overnight will yield the best results for the flavors to fully develop and allow the mixture to get as cold as possible for churning.
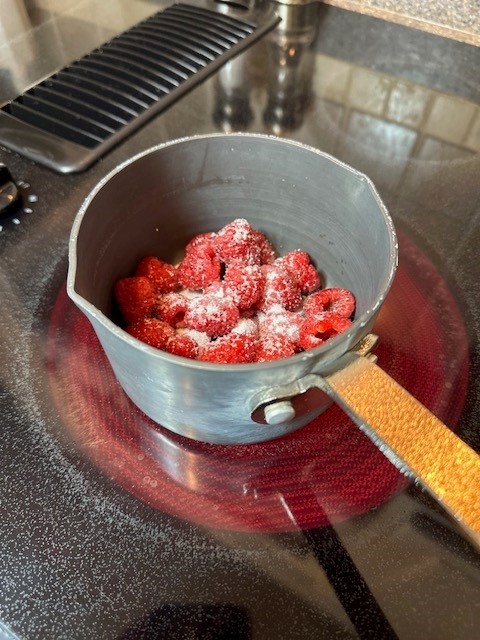
Step 17: In the meantime, prepare the raspberry puree by adding the raspberries, sugar and scant pinch of salt to a small saucepan over medium low heat.
Step 18: Cook down the fruit slowly, stirring every so often until the raspberries have broken down. Taste the fruit to see if any adjustments need to be made to the sweetness.
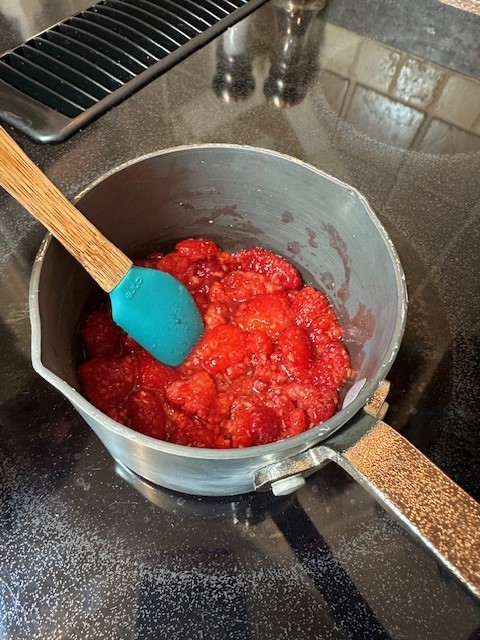
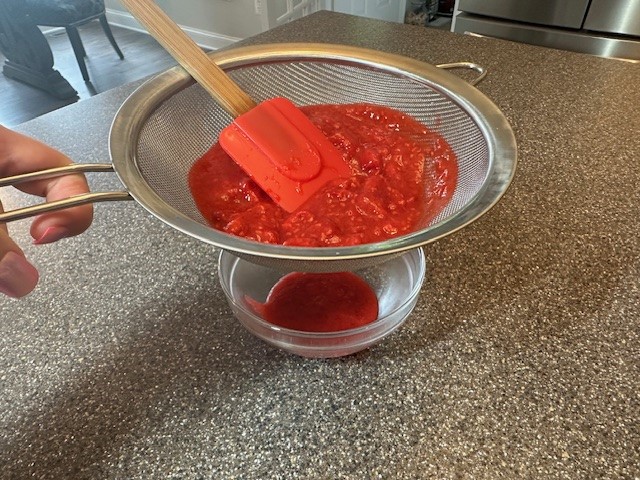
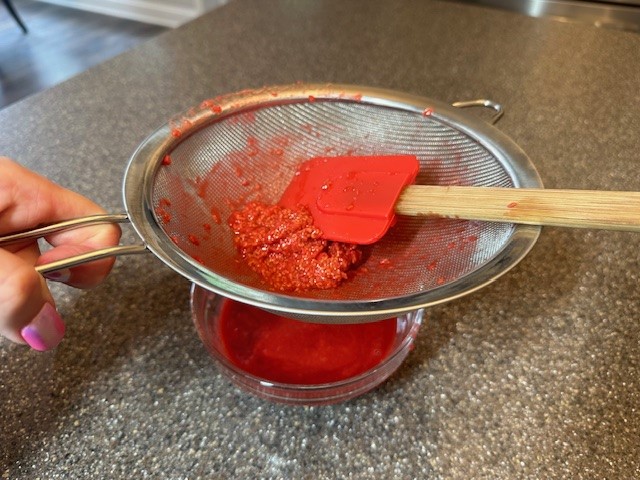
Step 19: Place a fine metal strainer over a medium sized bowl, and begin pressing the fruit puree through, separating out the seeds. Be sure to scrape the bottom of the sieve from the underside frequently to capture more of the raspberries. Discard the seeds. Stir the vanilla extract into the raspberry puree, cover and refrigerate.
Step 20: When ready to churn, remove the gelato base from the refrigerator. Use a rubber spatula to give the mixture a good stir, scraping the bottom and sides of the bowl. The base should be thick, smooth and creamy.
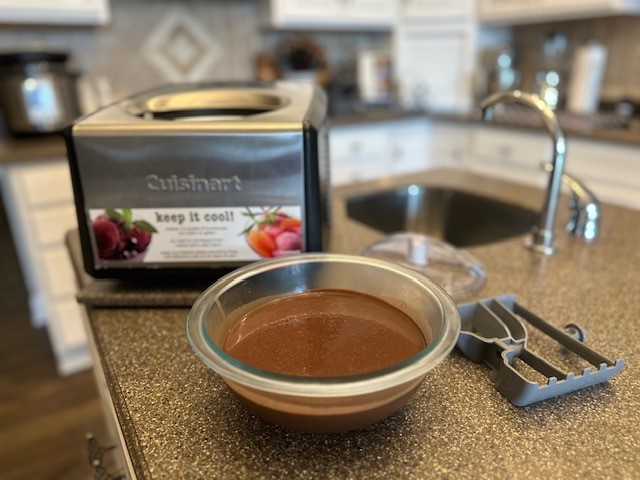
Step 21: Following the instructions for your ice cream maker, prepare the freezer core by inserting the paddle attachment into position and pour your gelato base directly into the machine.
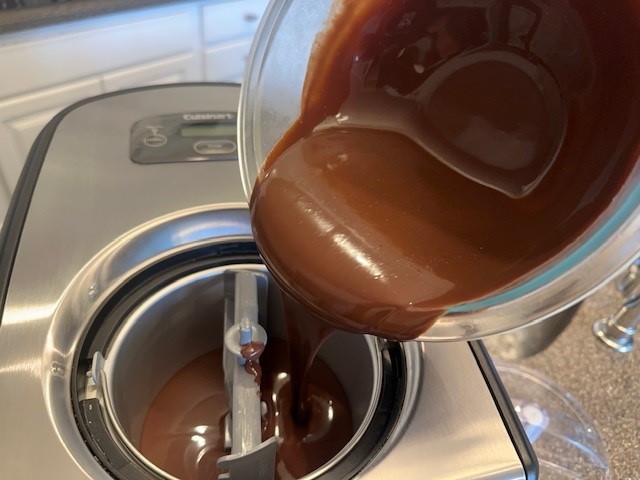
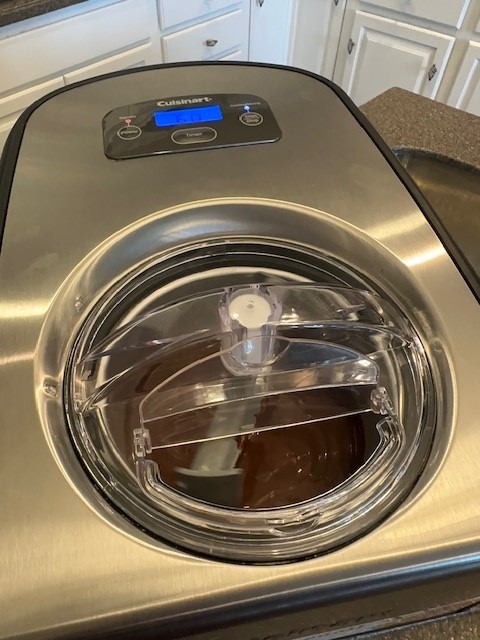
Step 22: Turn the machine on and allow the gelato to churn. Depending on your machine, it could take anywhere from 20-45 minutes to process. You'll know your gelato is ready once the machine starts to slow down.
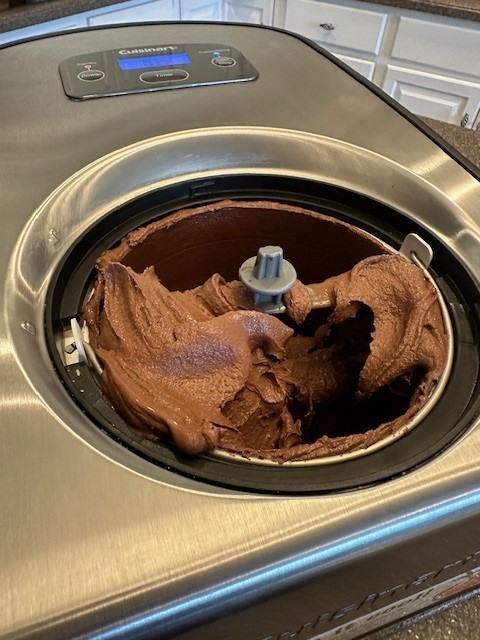
Step 23: Turn off the machine and grab your raspberry puree. Using a rubber spoon, firm rubber spatula or wooden spoon (avoid using any metal utensils) scoop the gelato from the machine and place directly into the ice cream tub, swirling ribbons of the raspberry puree throughout the layers. Work quickly as the gelato will be soft and melt easily.
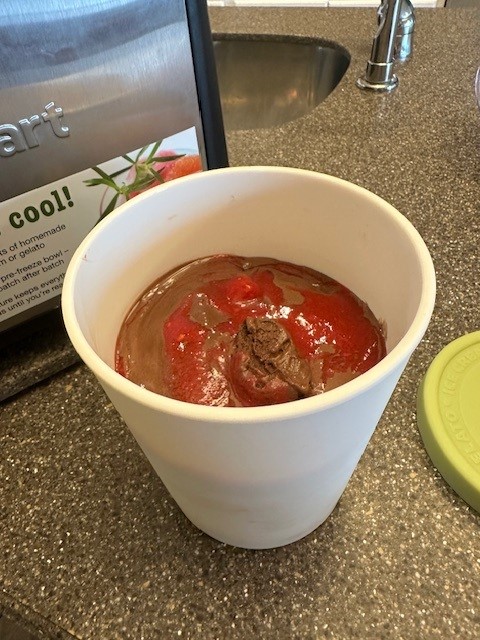
Step 24: Seal up your container and immediately move the gelato into the freezer for minimum of 6 hours or until set. I love these ice cream containers from Tovolo with a tight-sealing, easy-fit rubber lid.
You may wish to allow the gelato to sit at room temperature for a few minutes for easier scooping before serving. Recipe yields approximately 1 Quart. Enjoy!
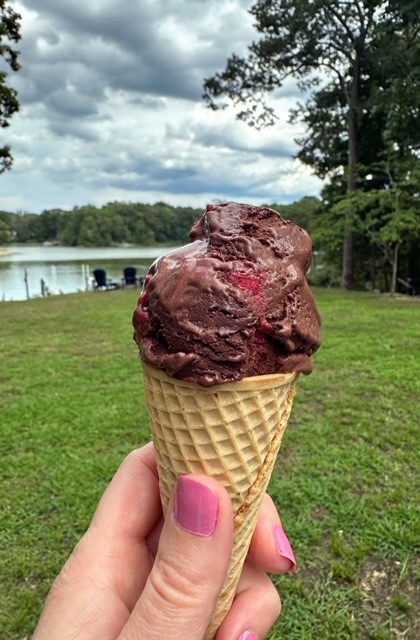
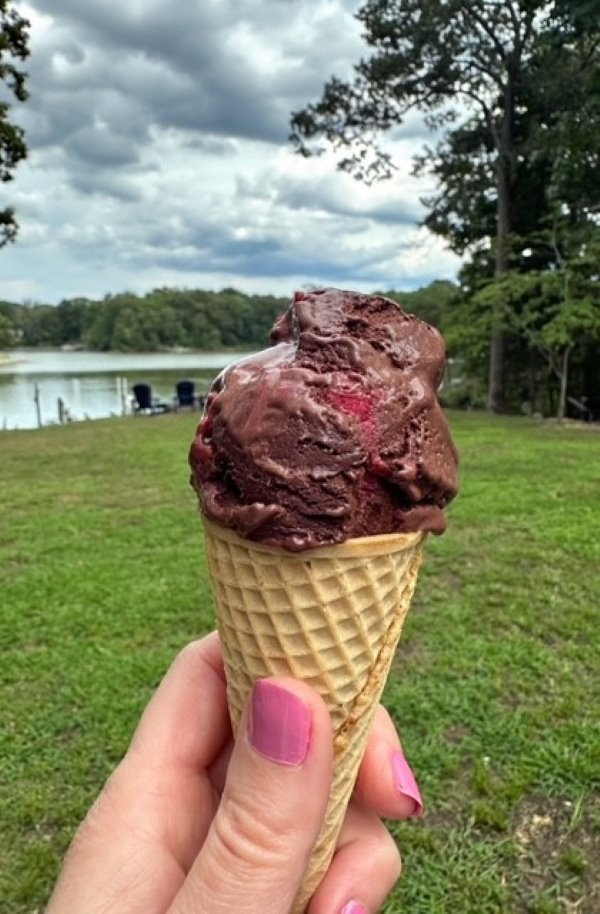
Decadent Homemade Chocolate Raspberry Gelato
Equipment
- Ice Cream Maker Minimum 1.5 Quart Capacity
- Heavy- Bottomed Saucepan
- Small Saucepan
- Measuring Cups and Spoons
- Wire Whisk
- Rubber Spatula
- Large, Heat-Proof Mixing Bowl
- Medium, Heat-Proof Mixing Bowl Preferably with Lid
- Medium Bowls
- Wooden Spoon
- Fine Mesh Metal Sieve Or Strainer
- Plastic Wrap (if mixing bowls do not have lids)
Ingredients
Chocolate Gelato
- 2 ¼ Cups Whole Milk
- ⅓ Cup Heavy Cream
- ½ Cup Unsweetened Cocoa Powder
- 2 Oz. Good Quality Bittersweet Chocolate, Chopped 60-70% (NOT Chocolate Chips!)
- 4 Large Egg Yolks
- ½ Cup Granulated White Sugar
- 1 Tbsp. Pure Vanilla Extract
- 1 Pinch Kosher Salt
Raspberry Puree
- 1 ½ Cups Fresh (or Frozen) Raspberries
- 3 Tbsp. Granulated Sugar (more if needed to adjust sweetness)
- 1 Pinch Kosher Salt
Ice Bath
- Ice Cubes
Instructions
- Before beginning this recipe, make sure your ice cream maker bowl has been placed into the freezer. It will need to have been in the freezer a minimum of 24 hours to ensure it is cold enough to properly churn the gelato base, so plan accordingly.
- Gather all of your gelato ingredients.
- In a heavy- bottomed saucepan, warm the milk and heavy cream to a light simmer, but do not allow to boil.
- Carefully whisk in cocoa powder and scant pinch of salt until blended.
- Add the chocolate and whisk until fully melted. Remove the pot from heat, stirring occasionally.
- Separate 4 large eggs, and reserve the yolks for another recipe, if you wish. Add the sugar and whisk together to blend.
- Continuing whisking the egg mixture until pale in color. This will ensure that the sugar has completely dissolved.
- Give the chocolate mixture a good whisk. Begin tempering the eggs by slowly adding in small amounts of the warm chocolate mixture and whisking thoroughly, a little bit at a time, until blended, and repeat several times.
- Feel the bottom and sides of the bowl. If warm to the touch, your eggs are properly tempered, and you can add the remaining chocolate mixture into the egg mixture. Doing so beforehand may result in creating scrambled eggs, so don't rush this step. Be sure to run your spatula along the bottom and sides of the pot to ensure there are no traces of remaining chocolate.
- Move the chocolate gelato base back to the pot and return to medium heat, stirring consistently using a wooden spoon. As the base cooks, the color of the mixture will go from pale and creamy to richer and darker as it thickens.
- Continue stirring until the base thickens to the point where you can run your finger along the back of the wooden spoon and you can easily see a definitive line, around 20 minutes. Don't rush this step, as you want to ensure that your base is thoroughly cooked.
- Place a fine metal strainer over a medium sized heat-proof bowl, and pour the cooked gelato base through, using a rubber spatula to scrape the mixture through. This will ensure that your gelato is smooth.
- Whisk to cool slightly and then add in the vanilla extract. Doing this step after removing the base from heat avoids cooking off the alcohol, which keeps the finished gelato from freezing solid. It also adds depth of flavor.
- Set up a cooling station by filling a large bowl with ice, and then placing the bowl with the gelato base in the center. Be careful that the ice cubes or water from the melted ice does not get into the center bowl. Whisk to help cool down the base as quickly as possible.
- Once the gelato base has cooled enough to be handled (it does not need to be fully cooled), remove the bowl from the ice bath and dry the bottom on a towel. Whisk to scrape down the sides of the bowl.
- Cover the bowl either with a lid, or tightly with plastic wrap. Place in the fridge and refrigerate for a minimum of several hours, but overnight will yield the best results for the flavors to fully develop and allow the mixture to get as cold as possible for churning.
- In the meantime, prepare the raspberry puree by adding the raspberries, sugar and scant pinch of salt to a small saucepan over medium low heat.
- Cook down the fruit slowly, stirring every so often until the raspberries have broken down. Taste the fruit to see if any adjustments need to be made to the sweetness.
- Place a fine metal strainer over a medium sized bowl, and begin pressing the fruit puree through, separating out the seeds. Be sure to scrape the bottom of the sieve from the underside frequently to capture more of the raspberries. Discard the seeds. Stir the vanilla extract into the raspberry puree, cover and refrigerate.
- When ready to churn, remove the gelato base from the refrigerator. Use a rubber spatula to give the mixture a good stir, scraping the bottom and sides of the bowl. The base should be thick, smooth and creamy.
- Following the instructions for your ice cream maker, prepare the freezer core by inserting the paddle attachment into position and pour your gelato base directly into the machine.
- Turn the machine on and allow the gelato to churn. Depending on your machine, it could take anywhere from 20-45 minutes to process. You'll know your gelato is ready once the machine starts to slow down.
- Turn off the machine and grab your raspberry puree. Using a rubber spoon, firm rubber spatula or wooden spoon (avoid using any metal utensils) scoop the gelato from the machine and place directly into the ice cream tub, swirling ribbons of the raspberry puree throughout the layers. Work quickly as the gelato will be soft and melt easily.
- Seal up your container and immediately move the gelato into the freezer for minimum of 6 hours or until set. You may wish to allow the gelato to sit at room temperature for a few minutes for easier scooping before serving. Recipe yields approximately 1 Quart. Enjoy!

