Home
Bites
Eats
Breads
Sides
Sweets
Basics
About
menu icon
Bites
Eats
Breads
Sides
Sweets
Basics
subscribe
search icon
Bites
Eats
Breads
Sides
Sweets
Basics
×
Home
Breads
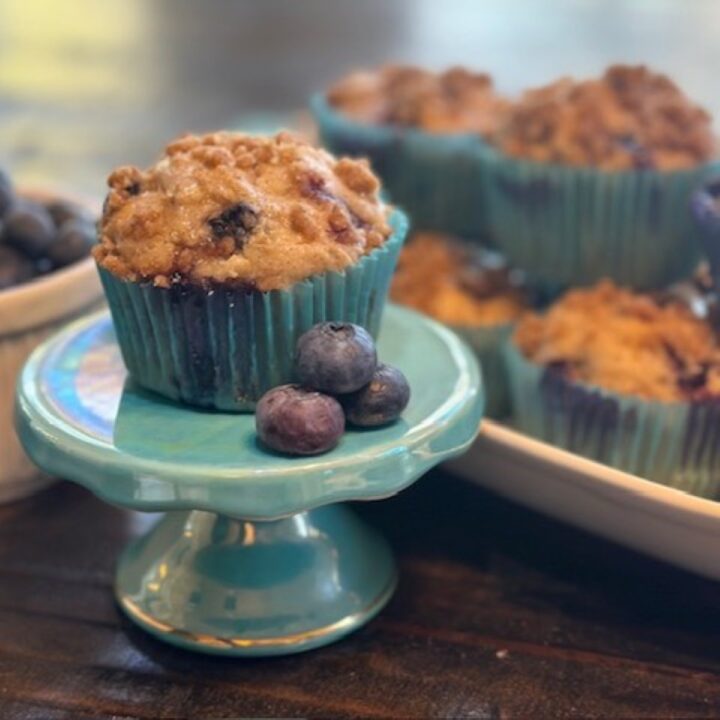
Blueberry Muffins
Orange Glazed Sweet Rolls
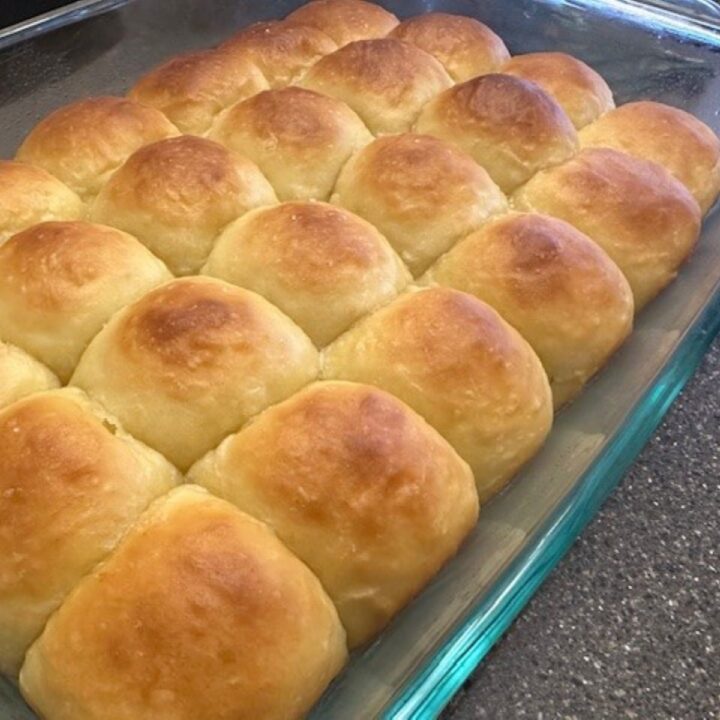
Homemade Potato Dinner Rolls
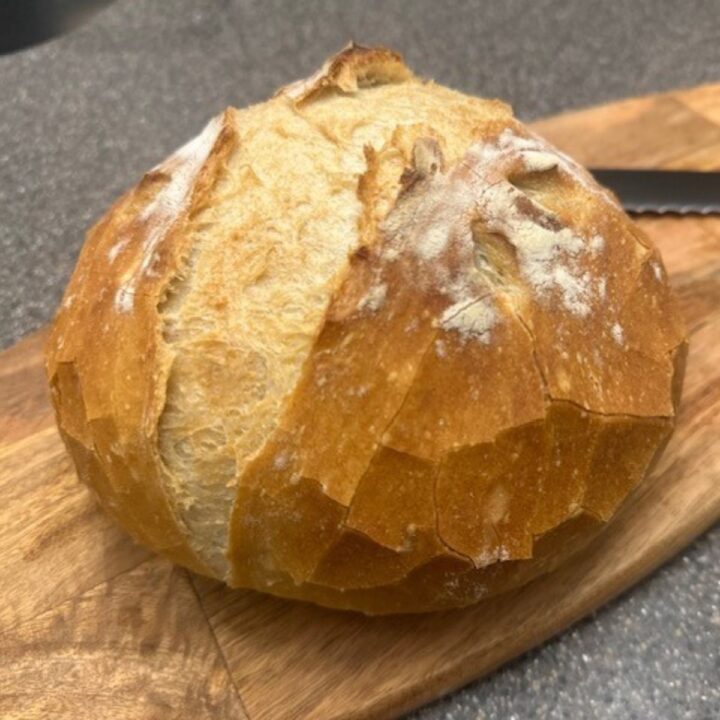
Freshly Baked Boule
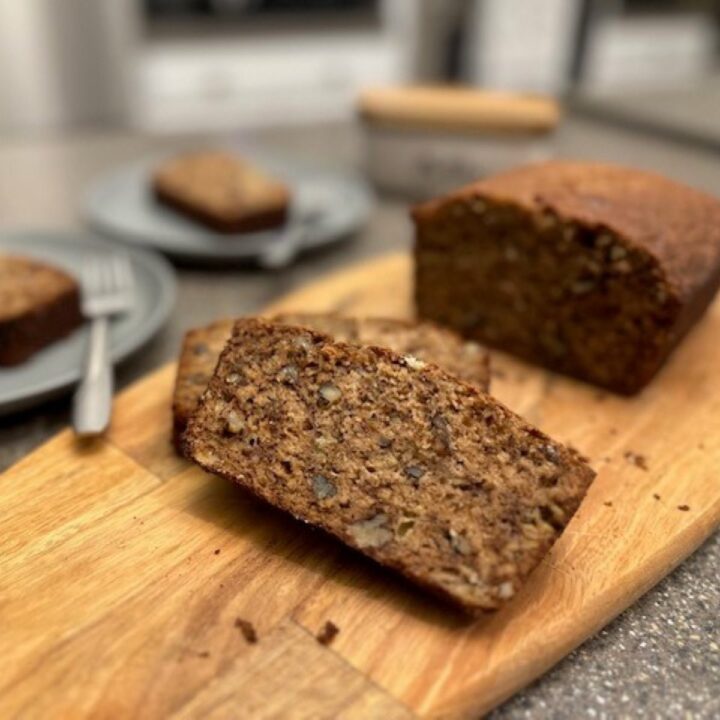
Banana Nut Bread
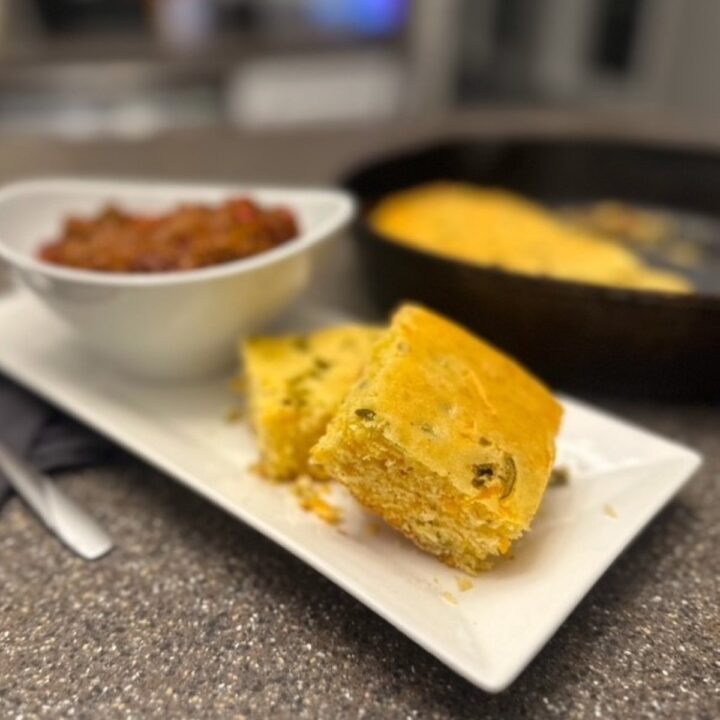
Jalapeño Cheddar Cast Iron Skillet Cornbread
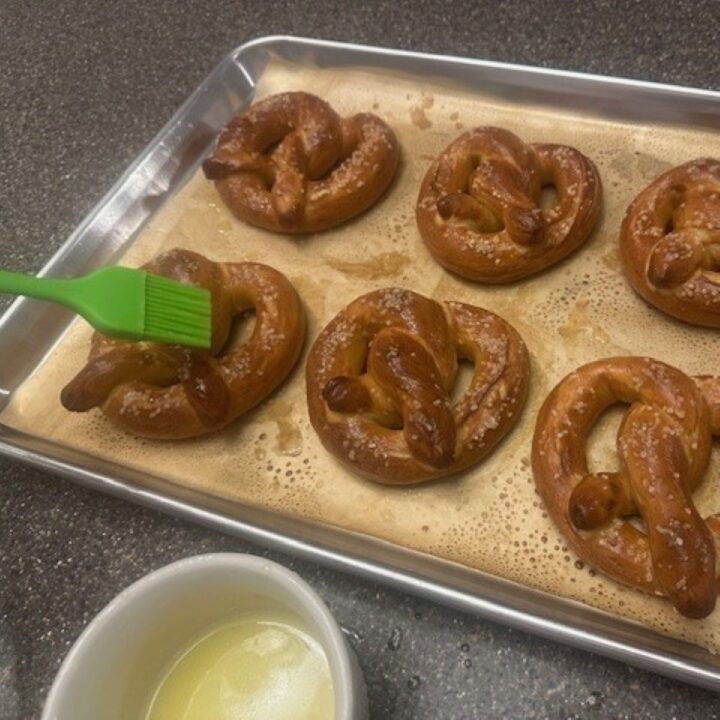
Classic Soft Pretzels
Brioche
Buttery, Flaky Croissants
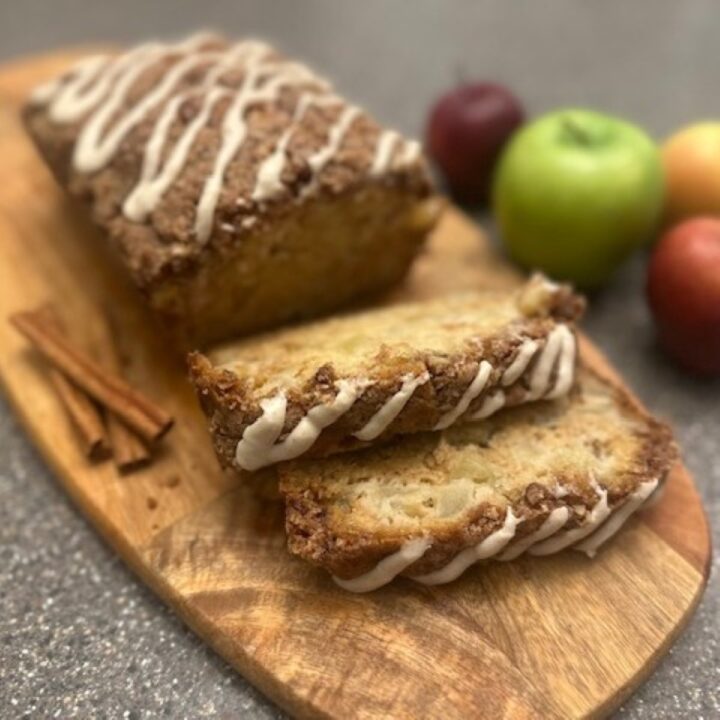
Apple Streusel Bread