Home
Bites
Eats
Breads
Sides
Sweets
Basics
About
menu icon
Bites
Eats
Breads
Sides
Sweets
Basics
subscribe
search icon
Bites
Eats
Breads
Sides
Sweets
Basics
×
Home
Basics
Classic foundational recipes, helpful culinary tips and more.
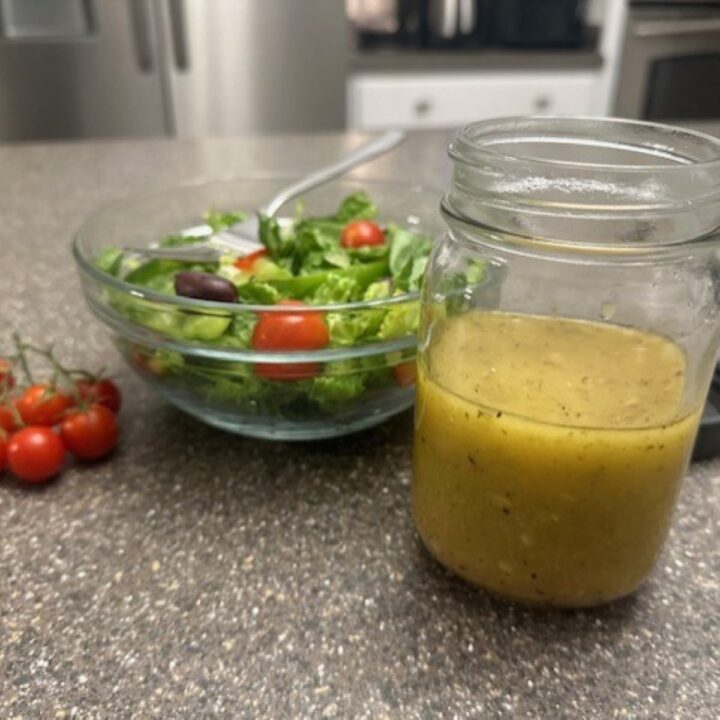
Champagne Vinaigrette
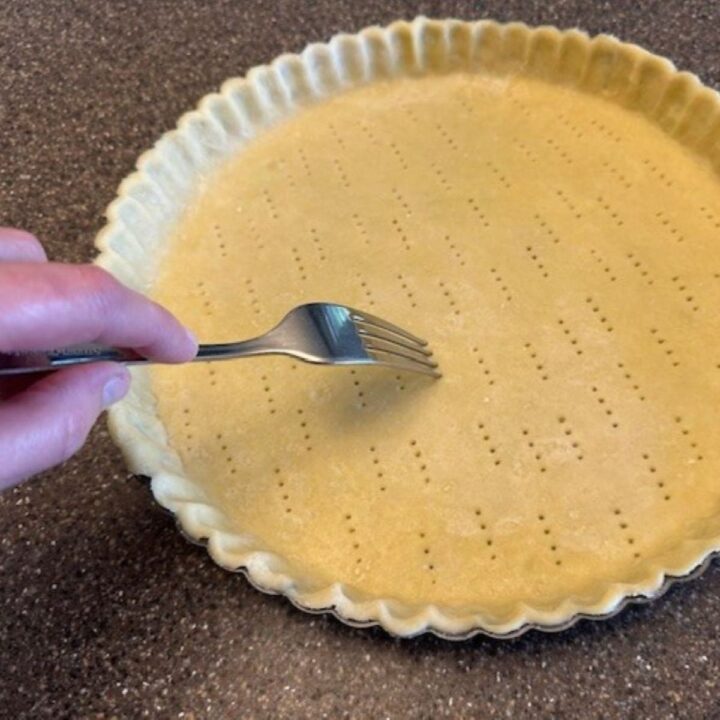
Pate Brisee (Simple Pie Dough)
Pineapple Citrus Spice Marinade
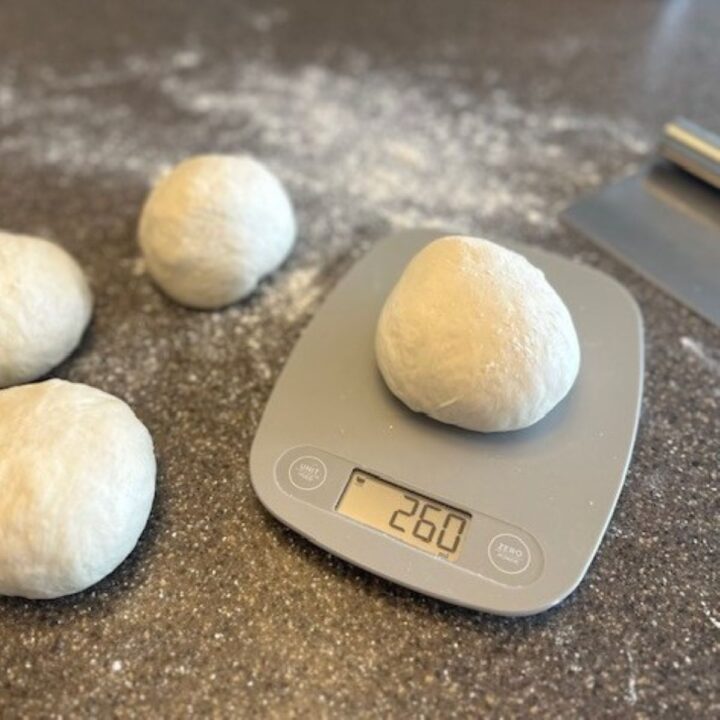
Artisan Pizza Dough
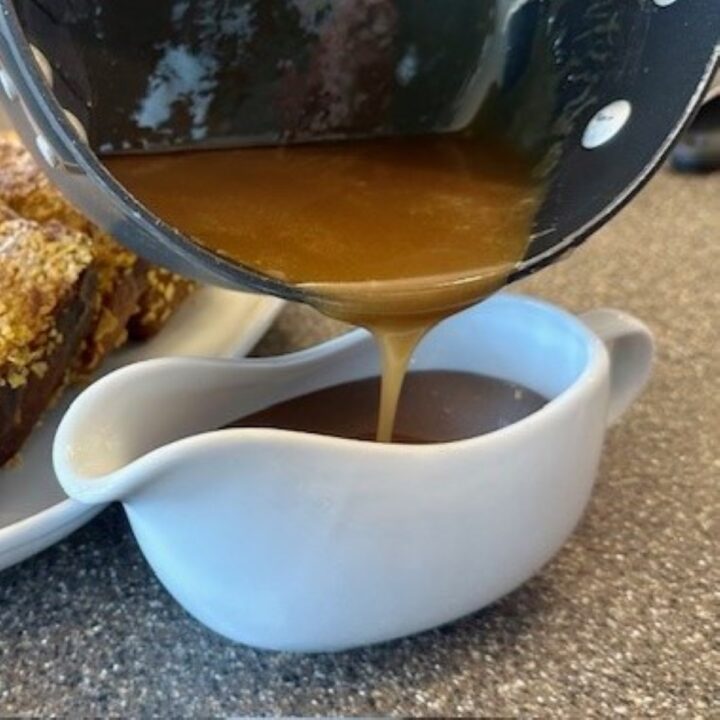
Decadent Salted Caramel Sauce
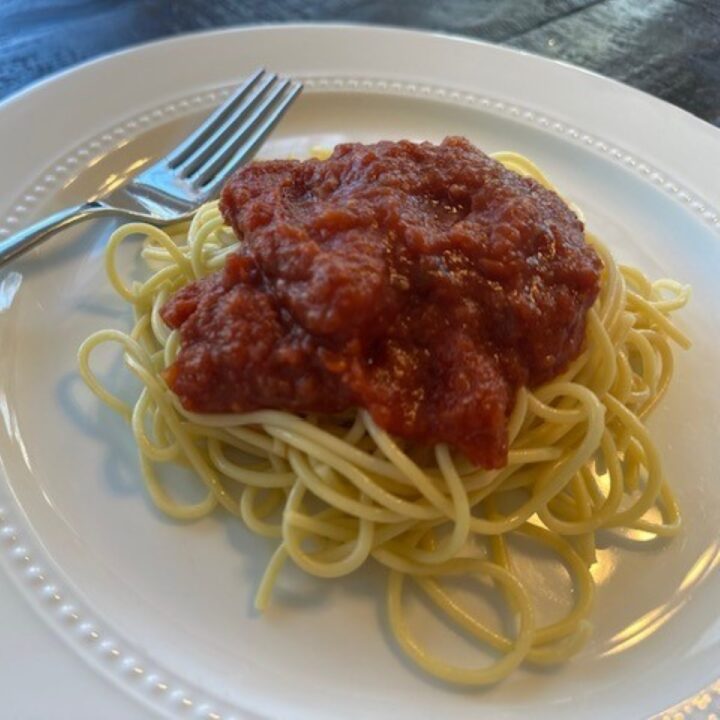
Homemade Winter Marinara
Classic Simple Syrup
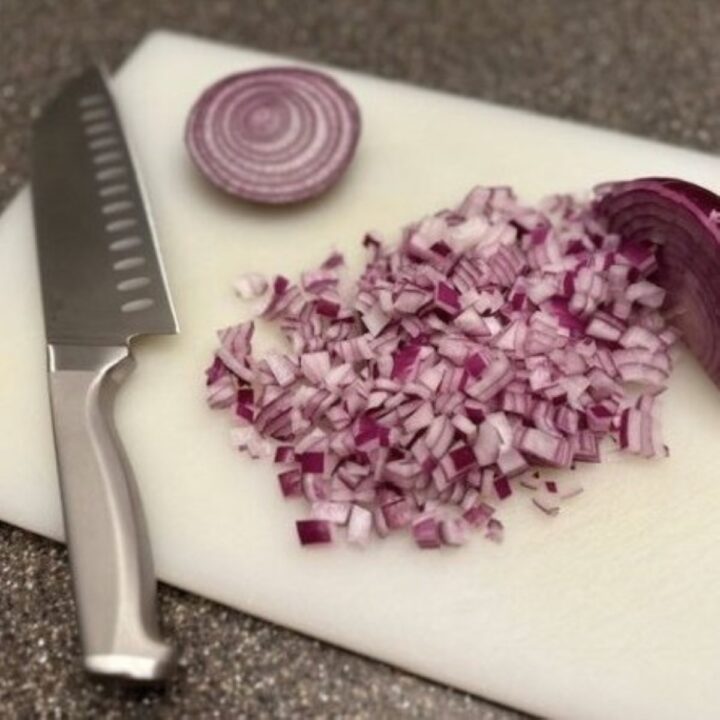
Basics: Diced Onion
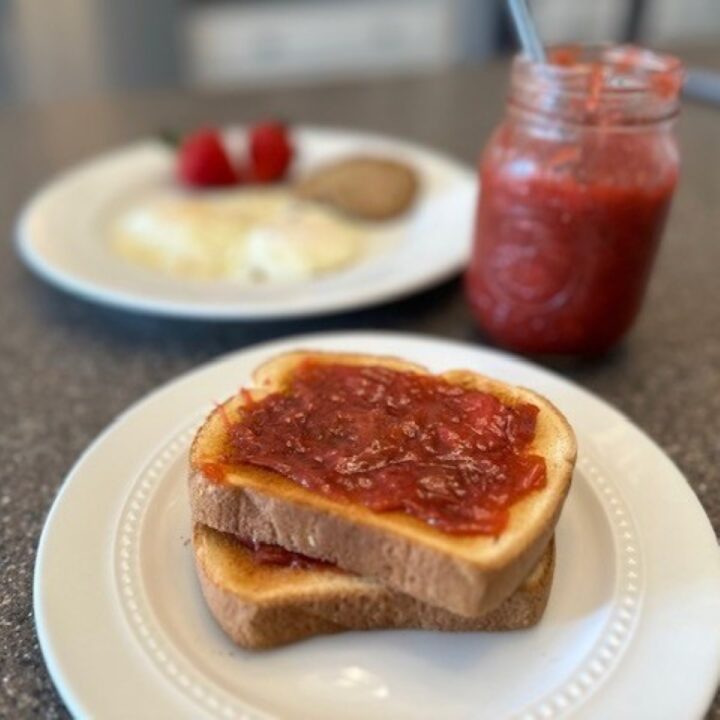
Homemade Strawberry Rhubarb Jam
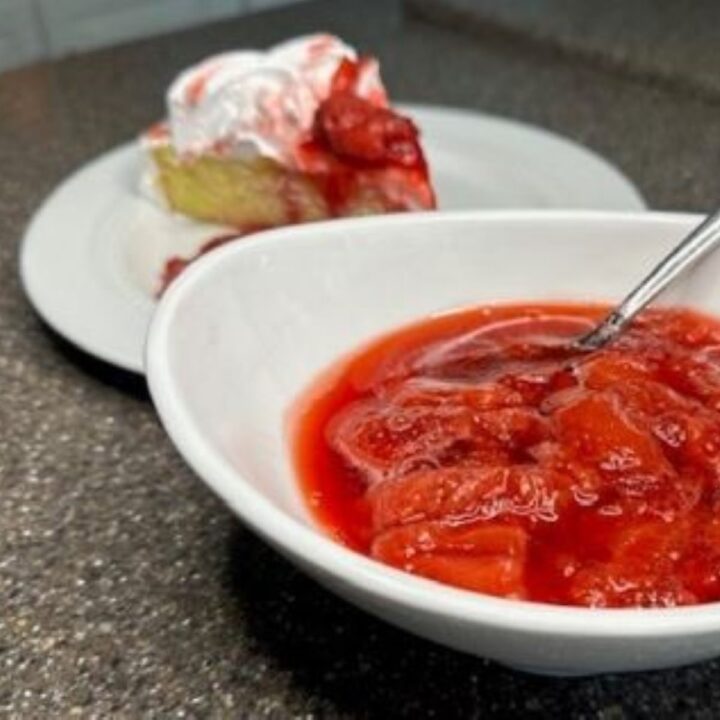
Fresh Strawberry Sauce